
Today’s nail art was brought to you by cupcakes, the water spotted technique, and water decals. Today’s tutorial brought to you by my desire to figure out why I wasn’t getting larger spots.

It’s funny how things come together. I could have done advanced/reverse stamping cupcakes as I have tons of different stamping plates with them, but I also have three different sheets of cupcake water decals. All unused. However, they’re all rather small for my current nail length. So I had the choice of the decal I used today or some elaborate framing scheme with stamping or freehand. Since today is also National Flower Day, I decided to go with the decal with flowers. And that set the limitations for my color scheme, so the design for this cupcake nail art was pretty set. Simple!

Nail art products used
- Base Polishes:
- Bee’s Knees Lacquer’s “Keep Summer Safe“
- Water Spotted:
- Color Club’s “French Tip” + Zoya’s “Cole” and “Elodie“
- Water Decal:
- A cupcake water decal sheet from Aliexpress STZ-477
I used several layers of water spotted patterns to achieve my look. Starting with a sheer and super shimmery polish and layering with two orange/coral polishes and finishing with some white. How does water spotting work? Well…
How to Water Spot
It’s a pretty simple technique. You need a cup, some sort of alcohol based spray (hair spray, hand sanitizer or a spray bottle filled with rubbing alcohol), and your polish. Then…
- Put a few drops of polish on the water, let it spread out over the surface a bit, and then spray it with the spray.
- Dip your finger in (hopefully lined with tape or liquid latex for easier cleanup) at about a 45° angle.
- Use a toothpick to clear the surface of the water and pull your finger out.
- Rinse and repeat with as many colors as your heart desires.
It looks like cutepolish’s tutorial on YouTube is the oldest record of this technique. Check it out if you need to see it in action. She claims that you can control spot size by how far your sprayer is to the water’s surface, but I’ve found it’s not that simple…
Water Spotted Spot Size Samples
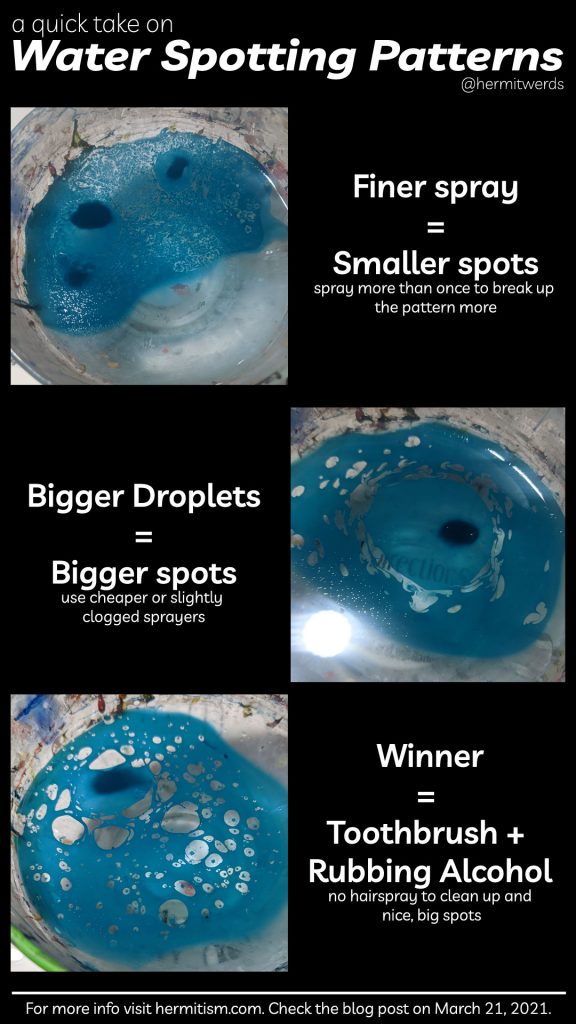
One thing I haven’t seen addressed by anyone is that the spots in the cutepolish’s tutorial are quite big, but the spots in other tutorials are often very fine and look less like spots. I had a theory that it had more to do with how fine your spray was so I decided to test it.
All samples were made in a fresh cup of fairly cold water with three drops of Maniology’s “Dust”. Spraying was done about 4-6 inches away from the water’s surface at about a 60° angle, except with the eyedropper.
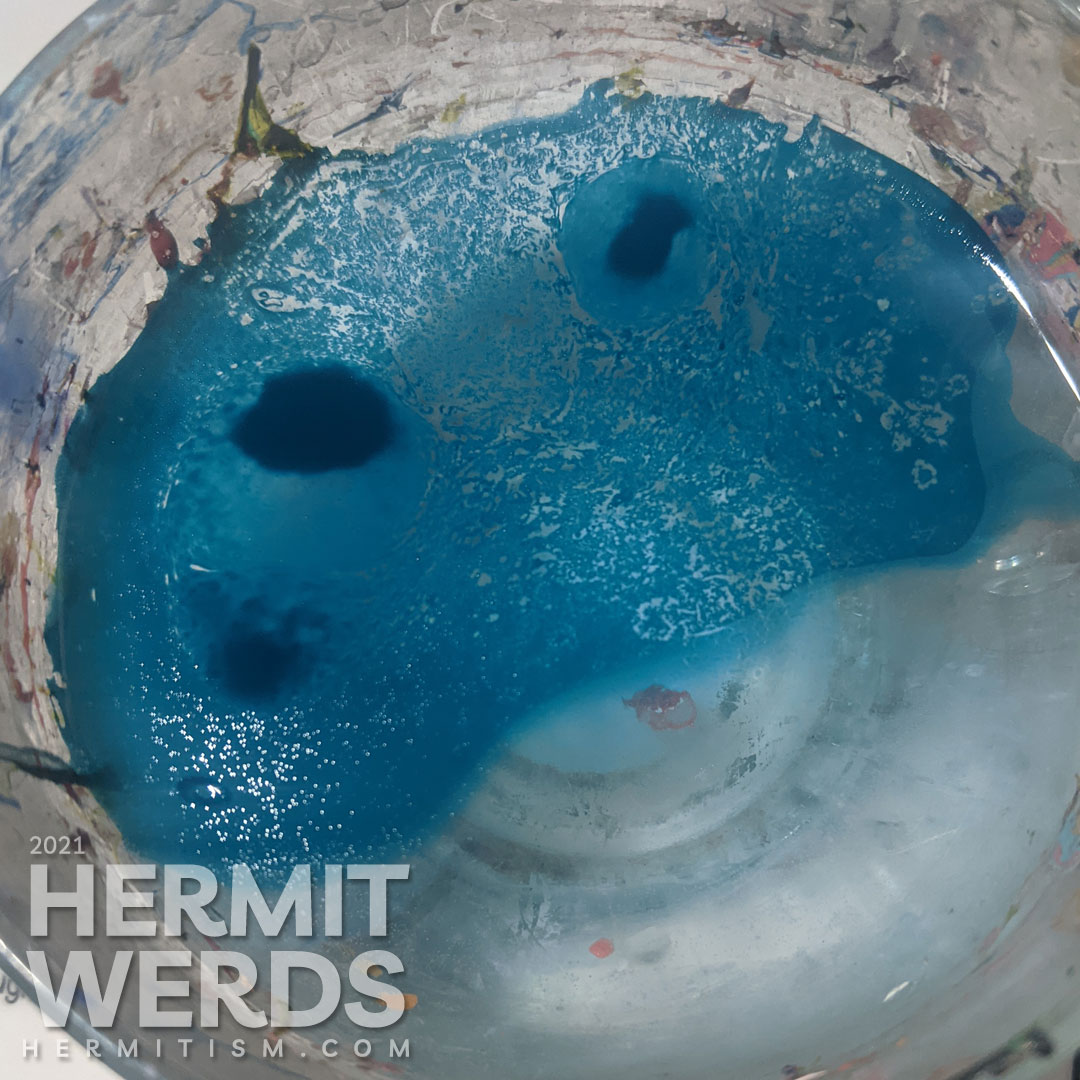
Rubbing Alcohol from a $1 mini spray bottle. One spray.
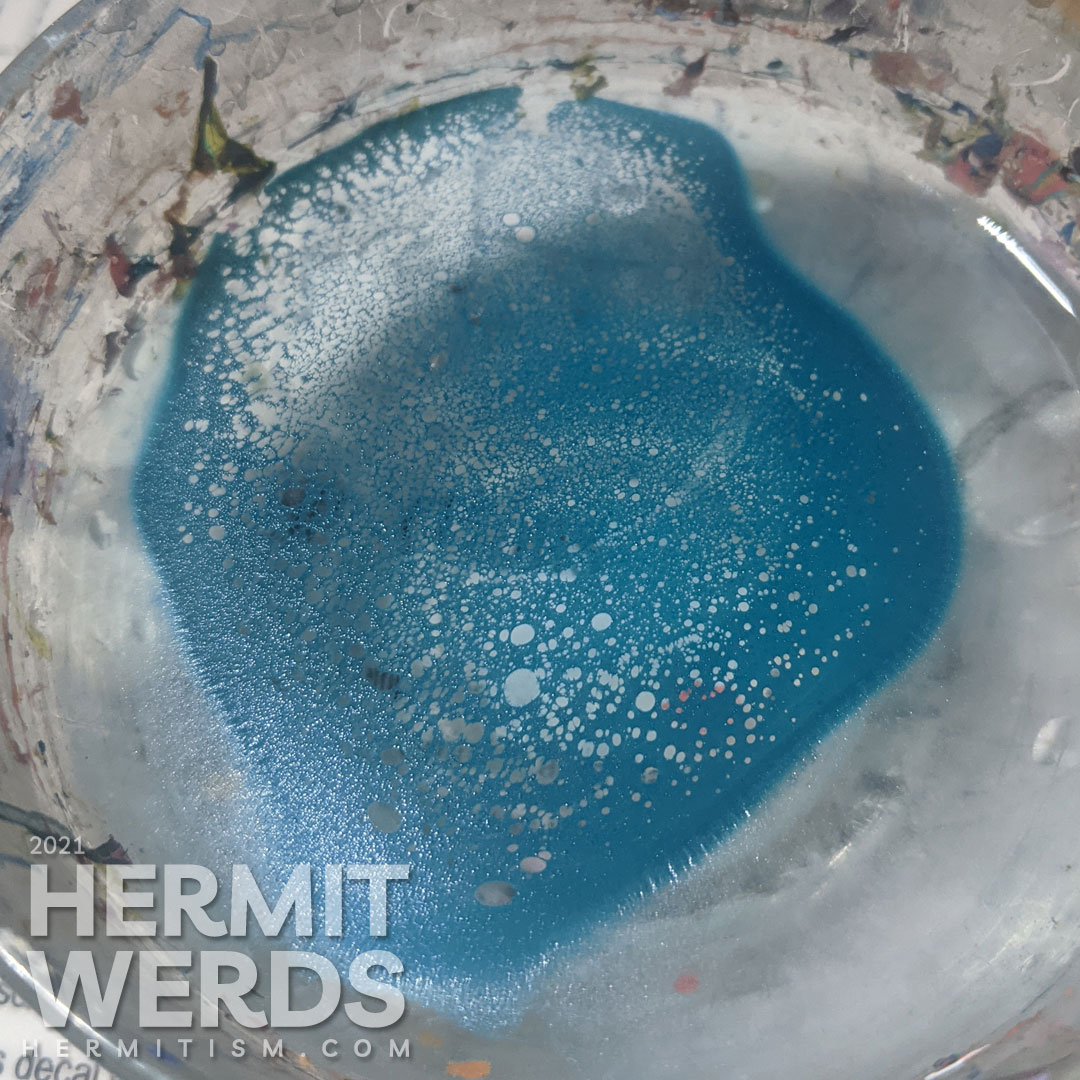
Hairspray with a fine sprayer. Two sprays.

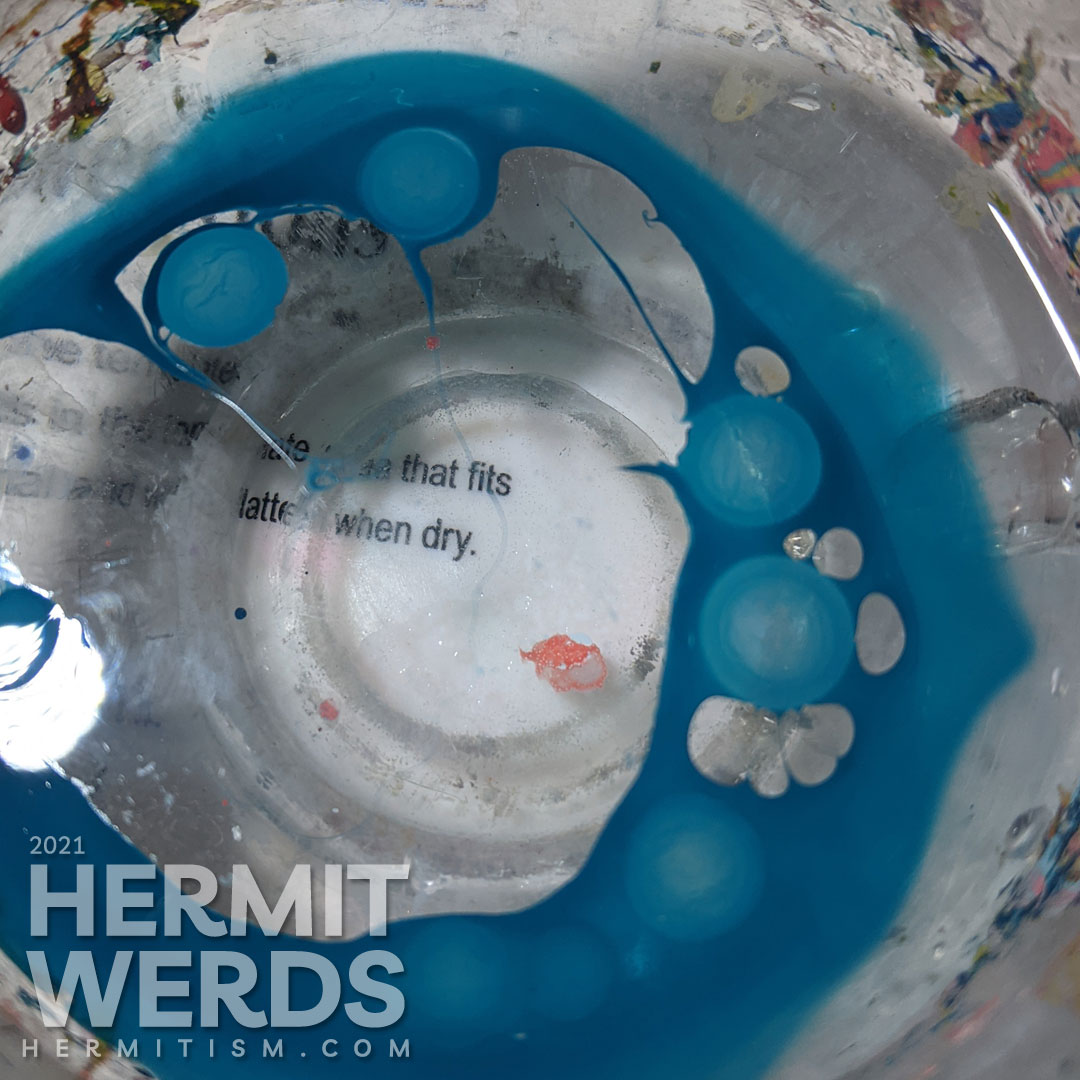
Hairspray with a cheaper, less fine nozzle. I only did one spray. Two would have been perfect.
Eyedropper. Work fast! As the polish dries your rubbing alcohol will not pass through the polish.
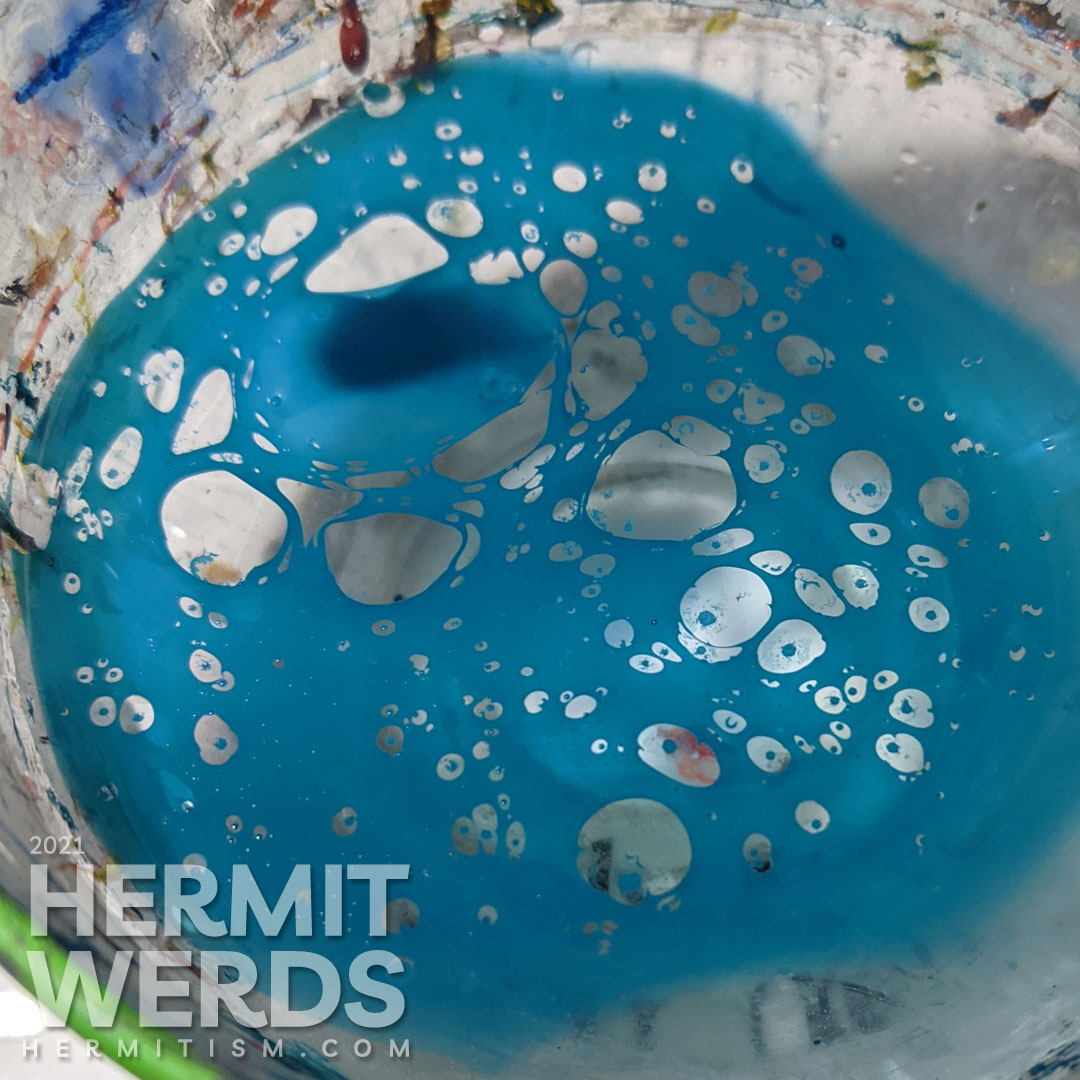
Toothbrush sprayed with rubbing alcohol and then spattered by running a finger along the bristles.
Conclusions: As you can see, the two fine sprays had identical patterns. It’s nice enough and what I used for my nail art, but it’s not the same as cutepolish’s. Then when I used a cheaper sprayer that produced a less fine mist, the results were closer. I really should have given it a second spray! Note that an old hairspray bottle that’s slightly clogged up would also probably work. The eyedrop one I threw in because I had an eyedropper to hand. I would not call the results water spotting, really, but the results are cool! Finally, the toothbrush actually worked really well. I prefer it because spraying your work area with hairspray leaves a sticky residue, but you can just use rubbing alcohol with the toothbrush so no extra cleanup!
TLDR: the toothbrush w/rubbing alcohol works best if you want big spots.
Back to the cupcake nail art photos…
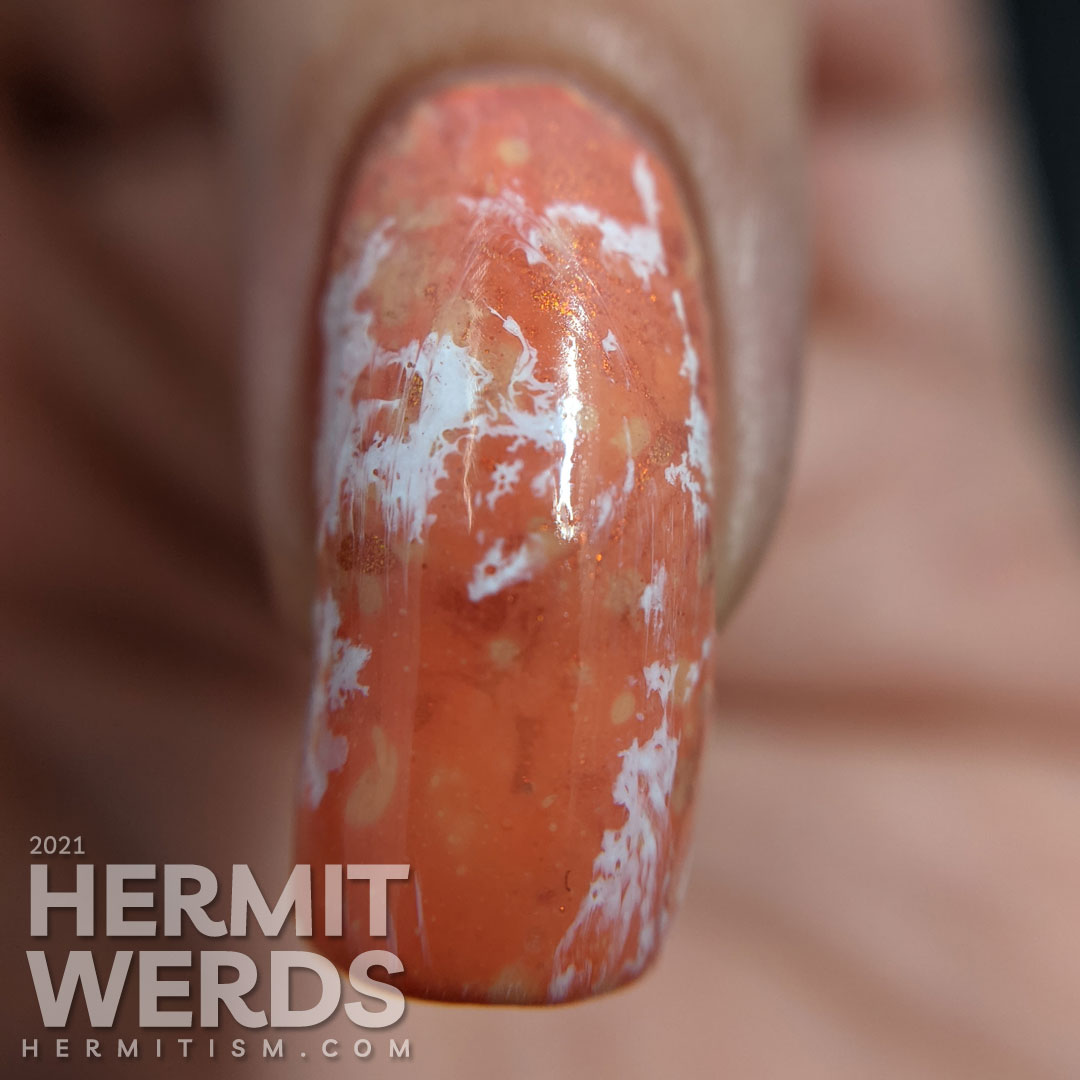
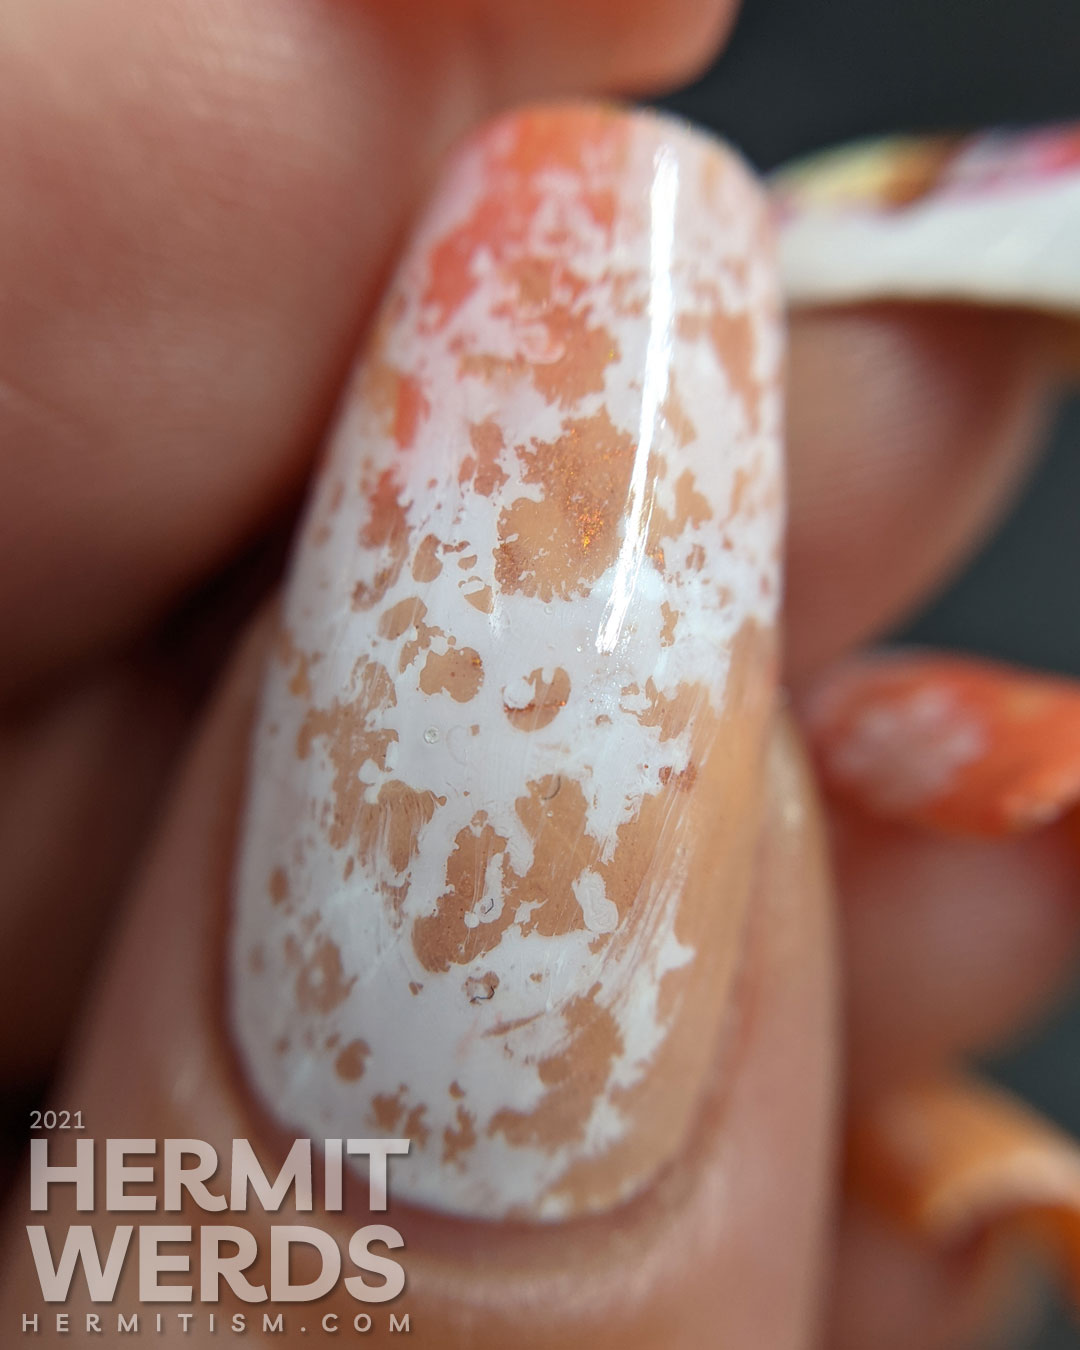
Let’s start with some macros from a fine spray. I apologize for the lint. I have been especially plagued with the stuff lately. I think with this look I actually loved it when my topcoat smeared things around a little. Remember to thoroughly wipe off your top coat brush if you’re using it to smear things so you don’t contaminate your top coat!
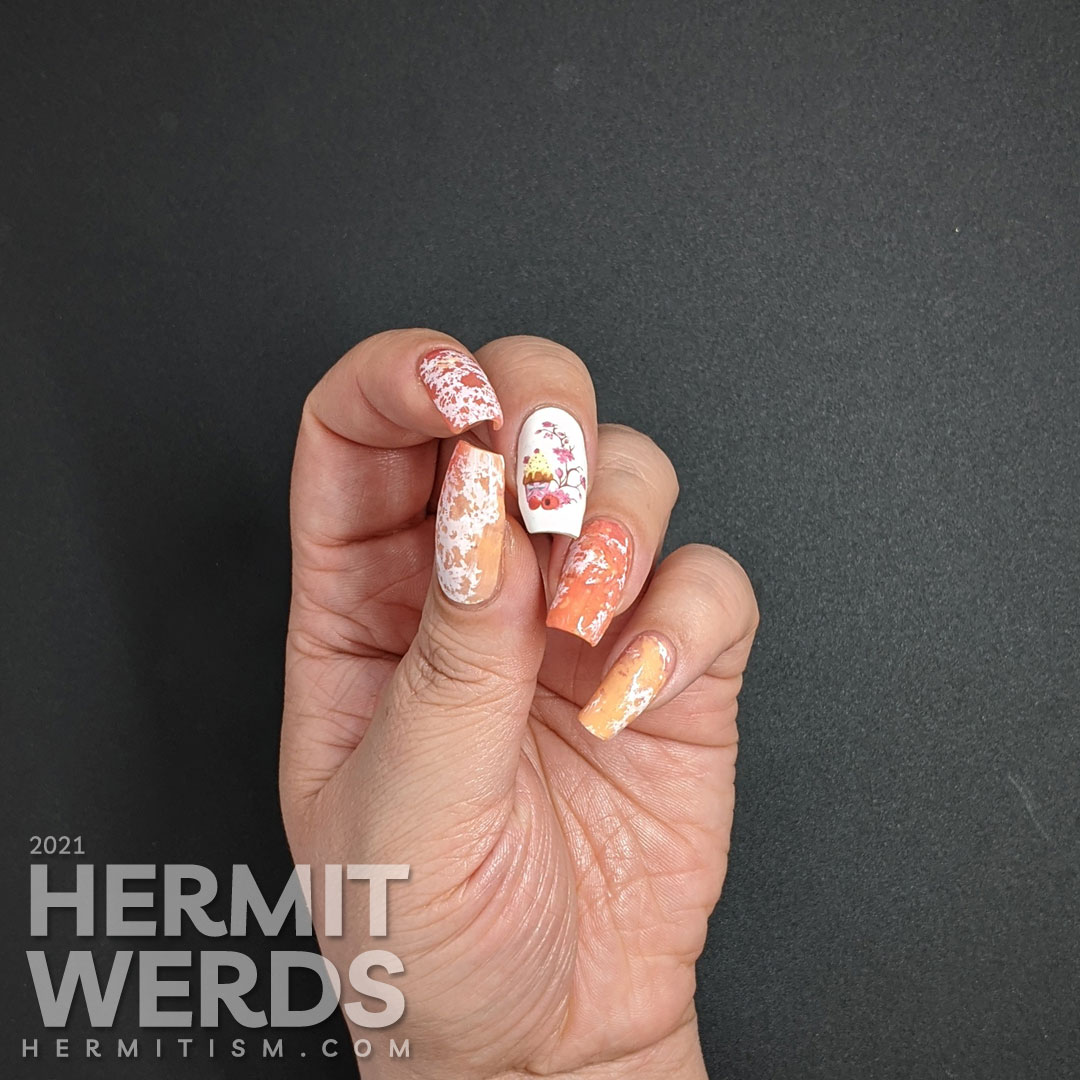
And all together now!

And farther away. It looks much more like a marble on some nails. The trick seems to be to only grab a little of the spotted pattern if you want a marble look. Especially if you’re going for a bold color like white.
I hope my little experiment helps you get the results you wanted. Until next time, friends! 🙋♀️
InfoGraphic / Quick Summary of Water Spotting Patterns
Looks super amazing 😀