My brain tends to be a very literal creature. If you give it a prompt for tiger, there will be an actual tiger. Maaaaybe I will do a tiger print. Or maybe I will think of a tiger lily, but reject it because that was not the prompt giver’s original intent. But it will be Tiger. It’s why I have so much admiration for people who can tackle the abstract. Because there is no speckled design with gold leaf and marble lines reminiscent of tiger stripes in my life.
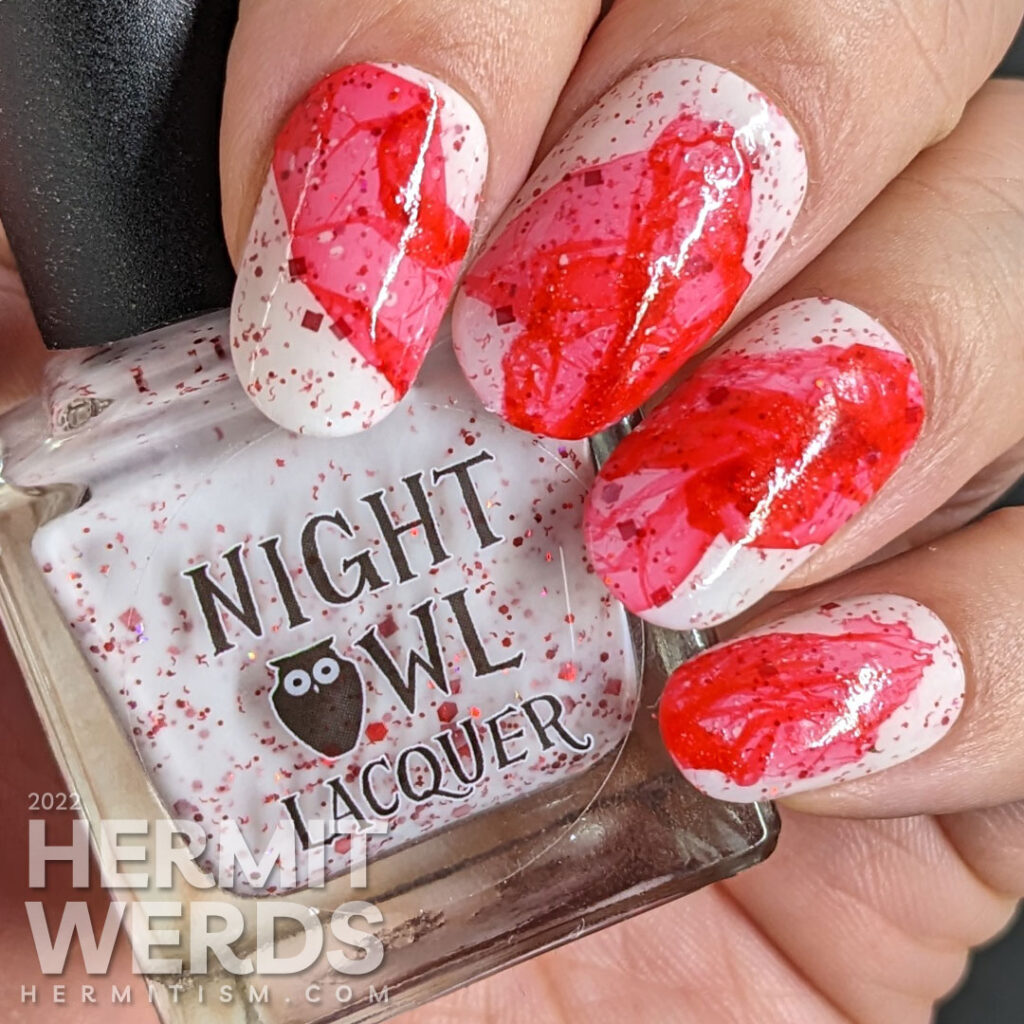
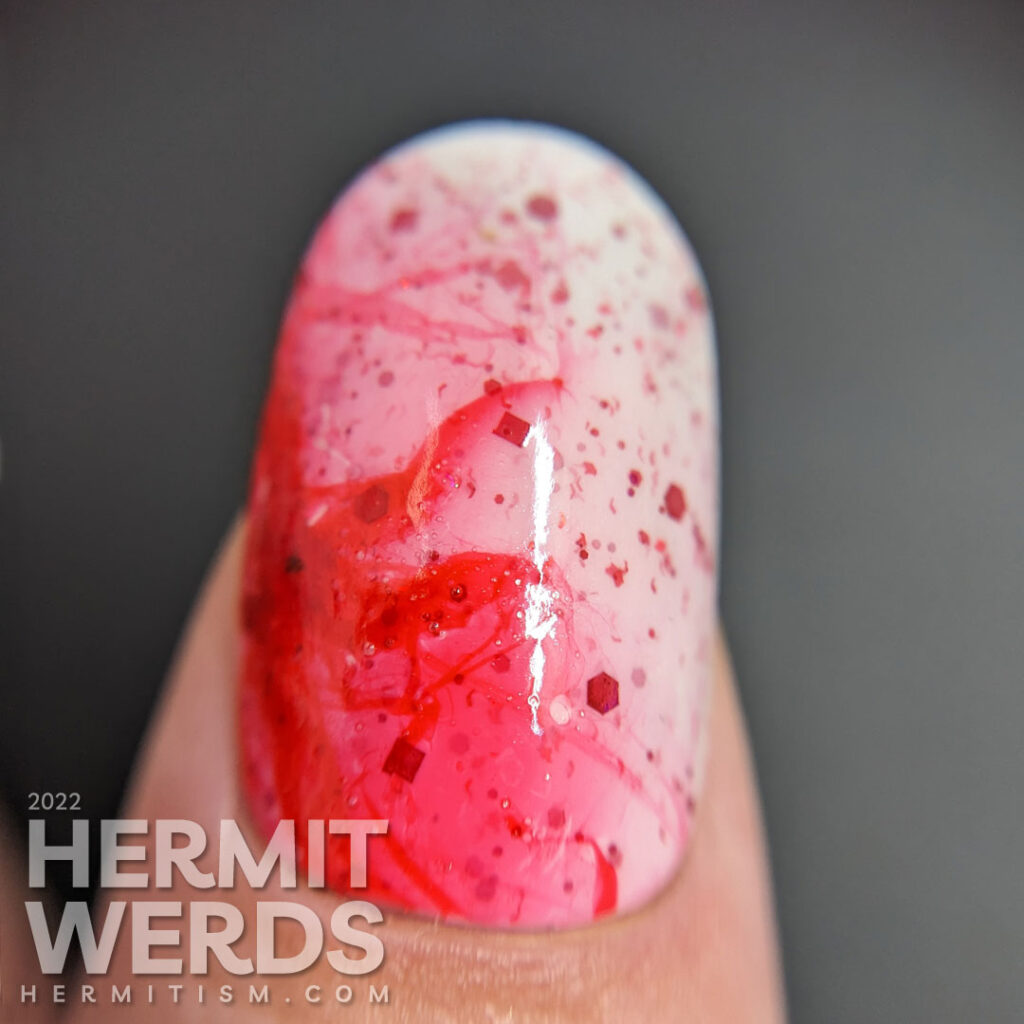
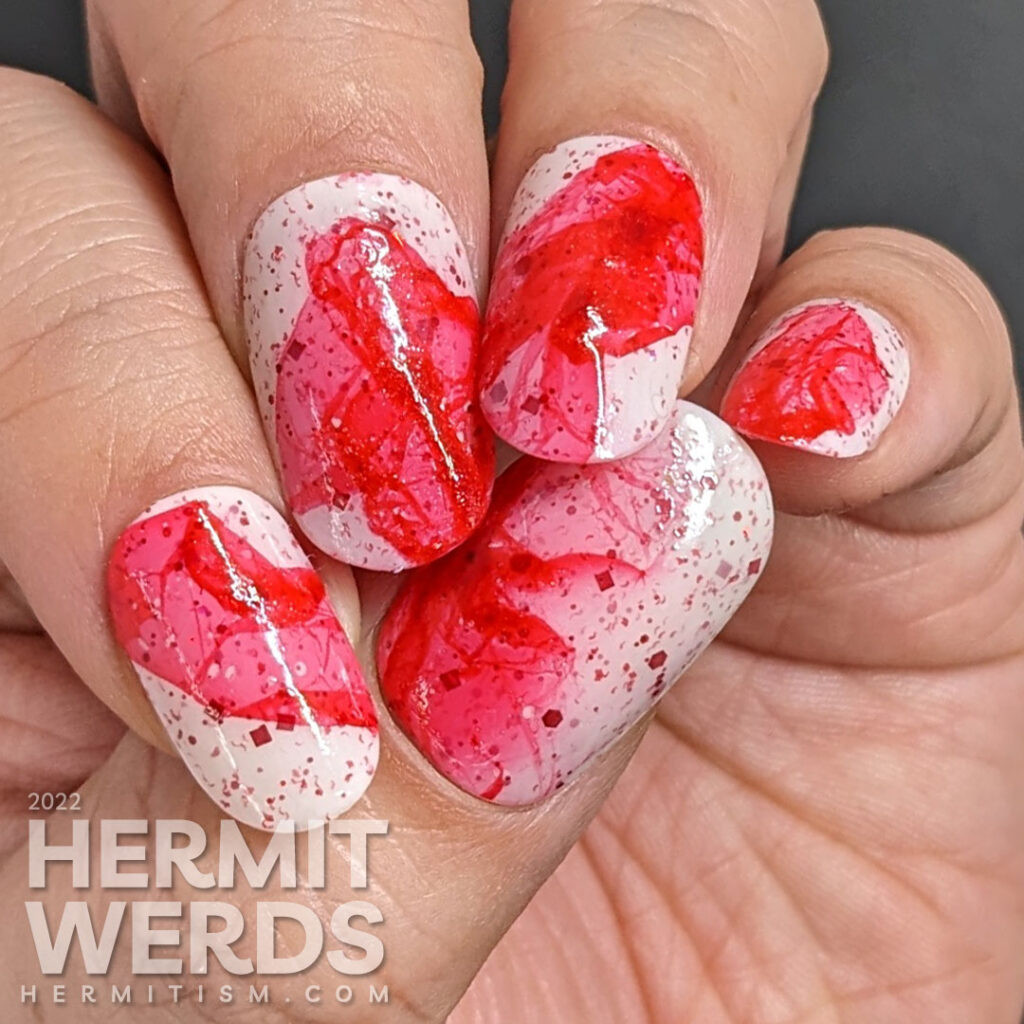
But sometimes I can walk backwards into abstract, which is how we got today’s look. Do you remember in Sweet Gingerbread when I talked about doing something cool and realizing I didn’t need to add the stickers? Yeah, that’s today’s look where I realized my previously planned candy cane mani was going to have to wait because this abstract beauty was it. Introducing: peppermint petals
Nail art products used
- Base Polish:
- Night Owl Lacquer’s “Candy Cane“
- Petal technique:
- Flower petals made with a red jelly, All Lacquered Up’s “Strawberry Margarita“
Items in italics are debuting on the blog for the first time.
Sometimes nail artists refer to this as the petal technique, which should explain my post title (alliteration is an automatic yes around here). However, you will find it much easier to find using its other name–veil technique–because using the word “petal” will pull up a lot of flower tutorials.
It has been four years since I last tried something like this and I had forgotten everything. So I found a tutorial and quickly threw this together, but I learned things that I think will help next time…
Veil Technique tips
- Spread: In the tutorial I watched, the cup used was large enough that Laurart created two veils at once. She helped them spread out by tapping the cup and blowing on it. You can also use a water marbling tool in the areas that appear clear but actually have a very thin layer of polish preventing spread.
- Mold: Once it’s spread out, you shape it with the two halves of a broken q-tip. The soft cotton-y wands gently mold the polish where a water marbling tool cuts right through.
Warning: if you wait too long the polish will be too dry to let it stick together well. - Application: You can pick up the veil with the q-tips, but I found that it caused the veil to further slump in on itself and it’s why I have such thick layers on the fingernails. I finally got smart and dunked my thumbnail in, which is why it’s the prettiest with the greatest contrast between layers. You can also pick up a veil with a clear stamper.
- Done: Then let it dry on its own and top coat. Gentle blotting with lint-free paper towels or a finger can assist in the drying process.
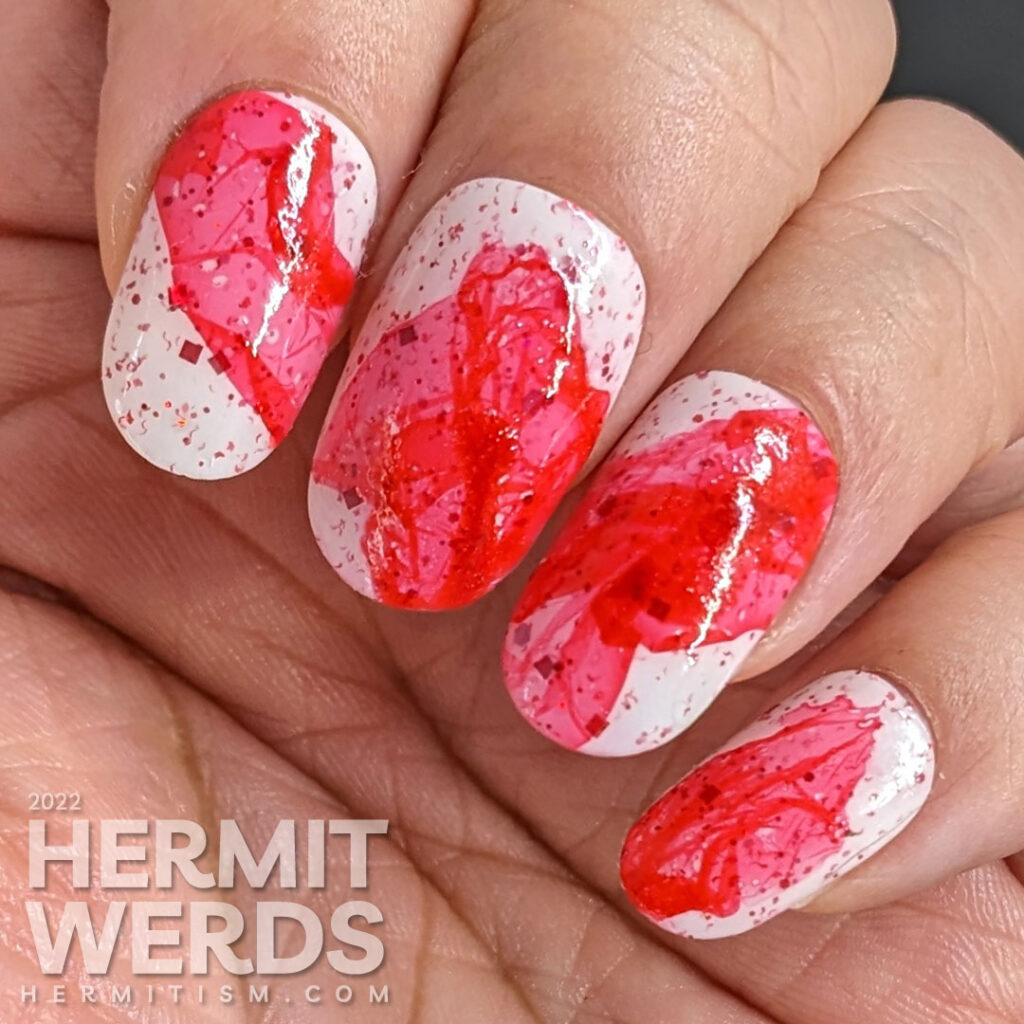
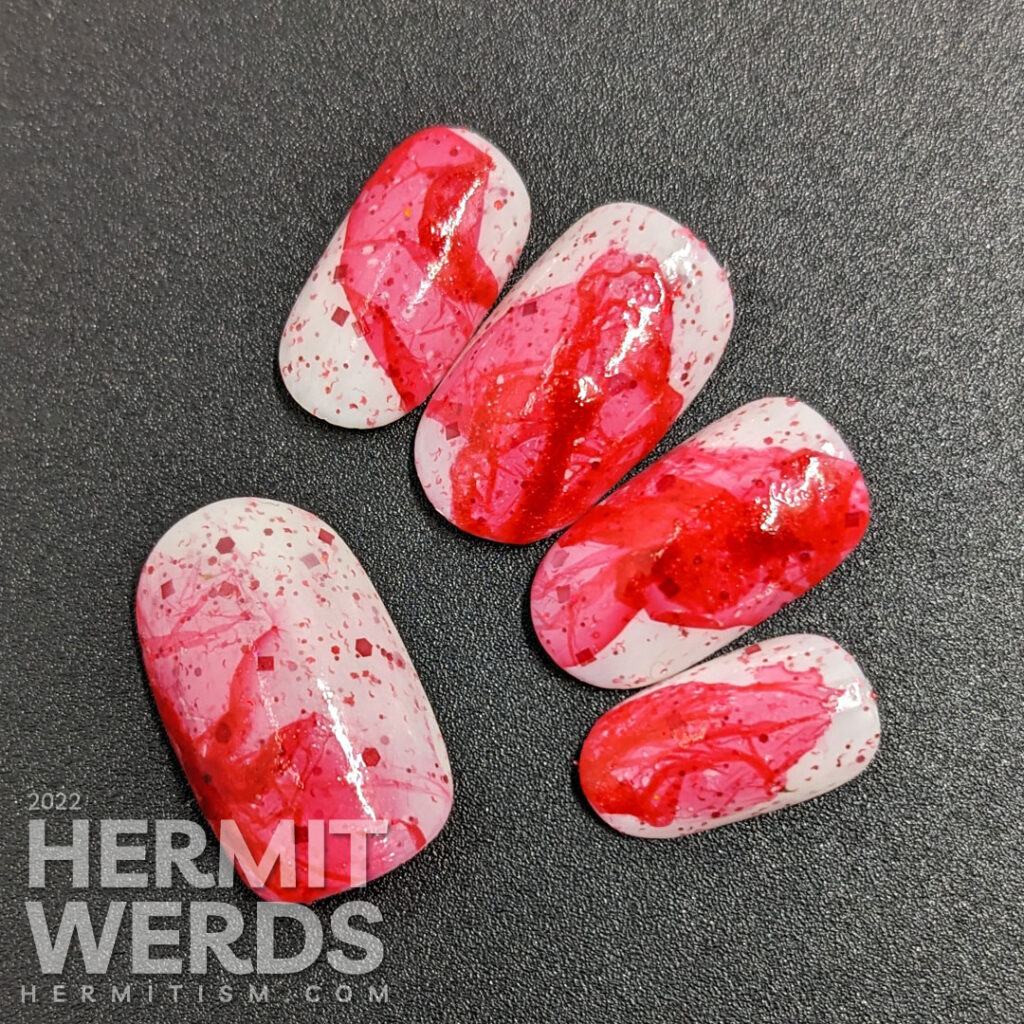
And there you have it. Abstract peppermint nail art on a base polish by Night Owl Lacquer that is literally called “Candy Cane”. 😁
Previous veiled nail art
I stopped with just a veil this time, but as you can see it works well with stamping too.
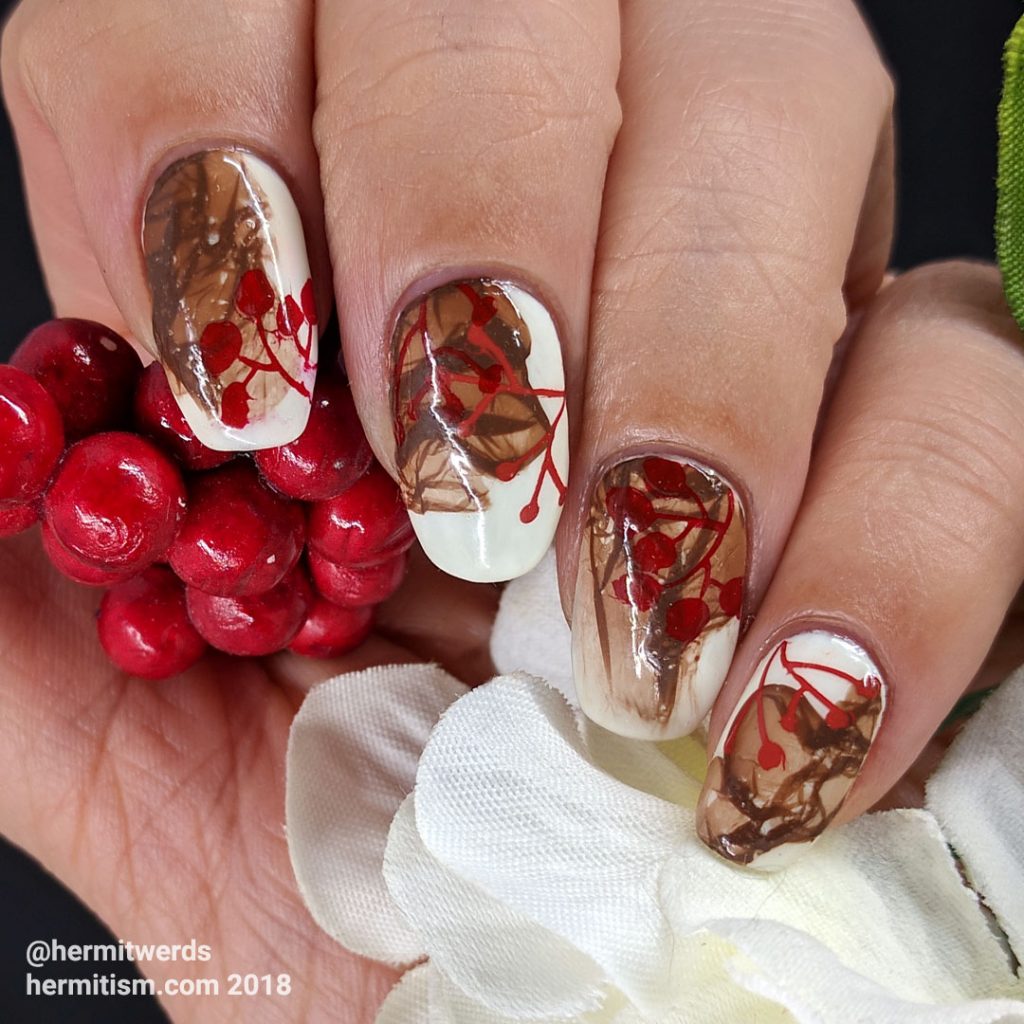
Mystery Berries
I posted this in February 2018 when the veil technique was new to the nail art world. It looks very Christmas-y, but I’m sure I was just thinking “winter”.
Final peppermint nail art photos
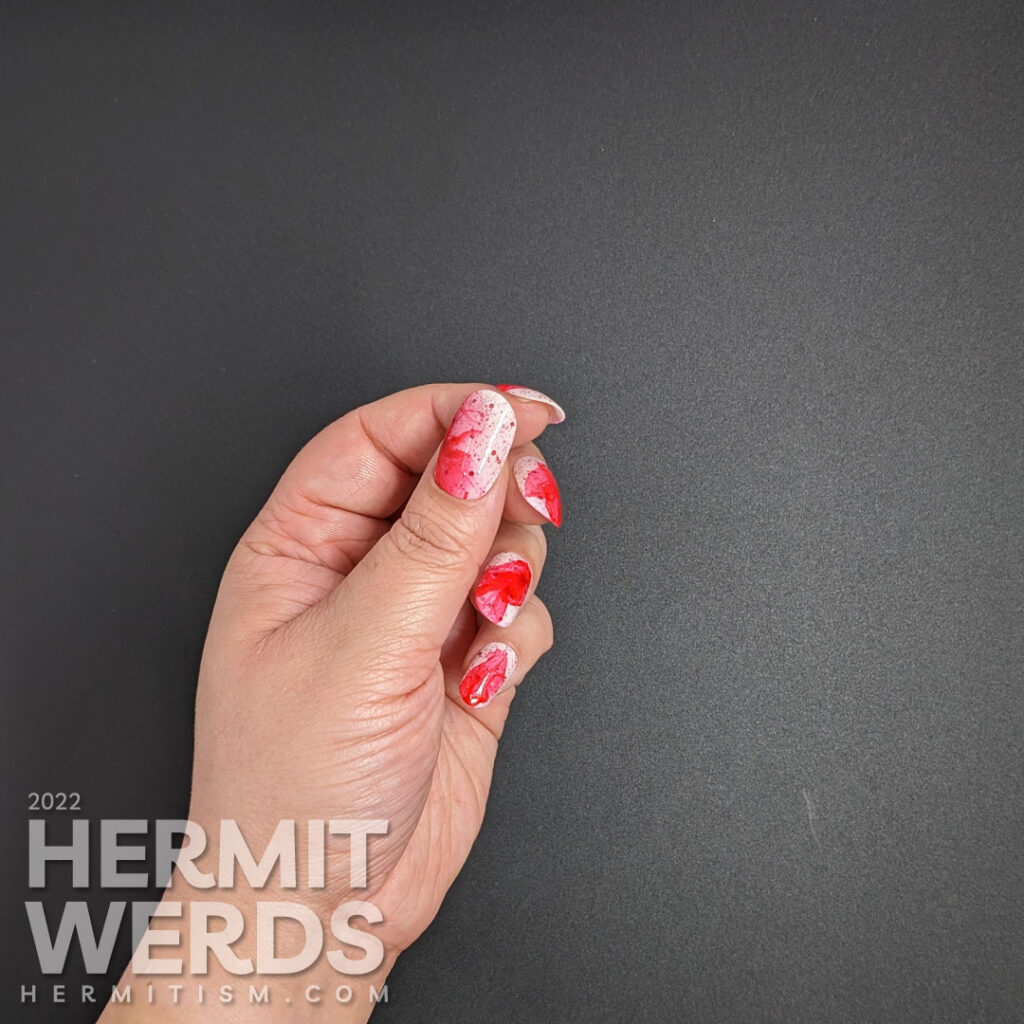
Until next time, friends! 🙋♀️

Leave a Reply