
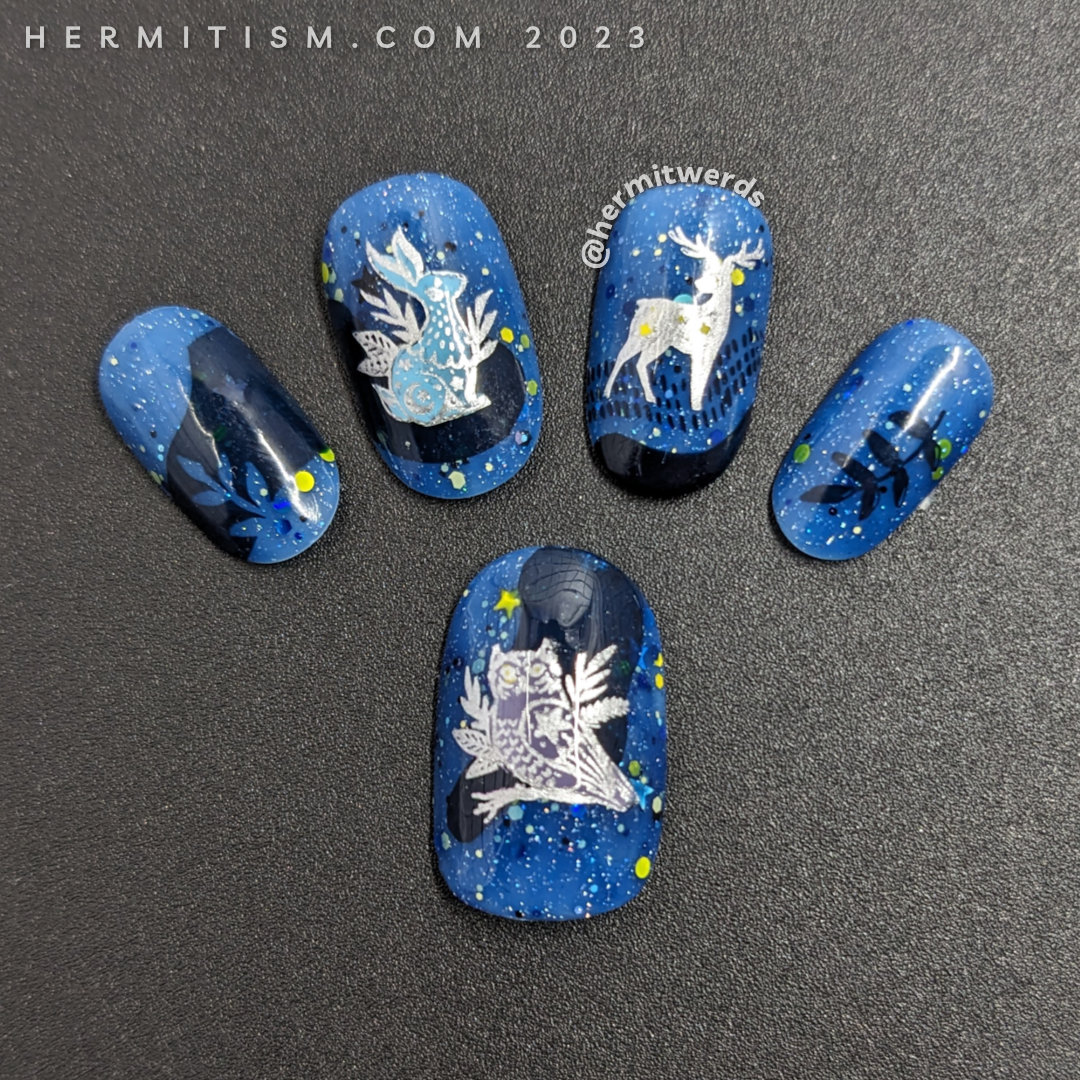
The title of the post is the name of the prompt I painted for. So I’m not being very imaginative there, but I do think I’m improving on the think out of the box thing. Because if I’d painted this a few years ago it would have been some trees or other landscaping against a night sky or some kind of fox in its den. Very literal. And now I’m like…I’ve got a fall plate with celestial animals. Go!
Maybe in ten years I will be able to paint the design in a different color scheme with the confidence that my subject will still translate. 😂
Nail art products used
- Base Polish:
- By Danny Vianna’s “Starry Sky“
- Stamping Polishes:
- Essie’s “No Place Like Home” and Maniology’s “Kraken“
- Reverse Stamping Polishes:
- Maniology’s “Blue Ribbon“, “Marzipan“, and “Pencils Down“
- Stamping Plates:
- Hit the Bottle “Easily Abstracted 01“ (blobs, leaves,striped lines)
- Moyou London “Fall In Love Collection-13“ (celestial deer, rabbit, owl)
Items in italics are debuting on the blog for the first time.
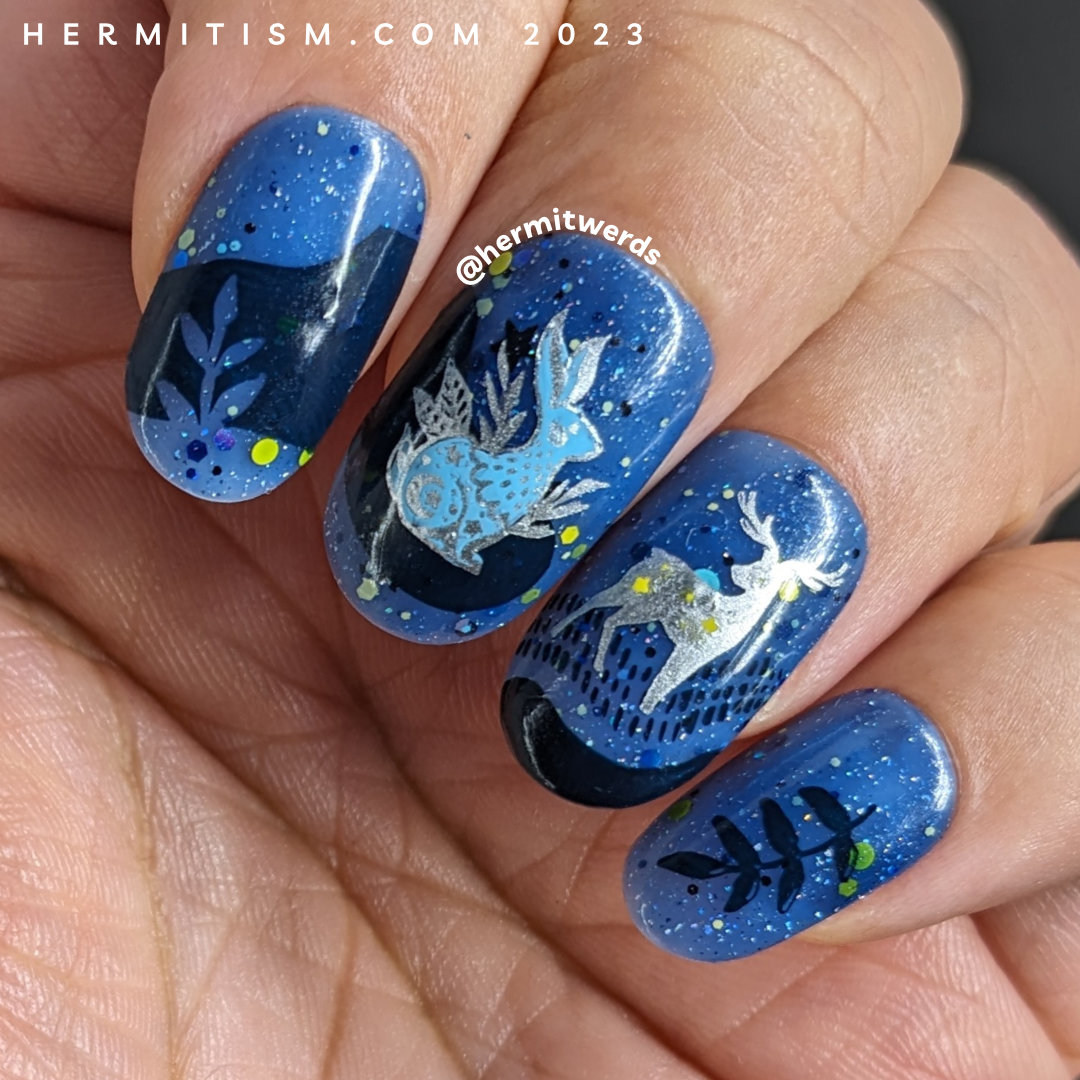
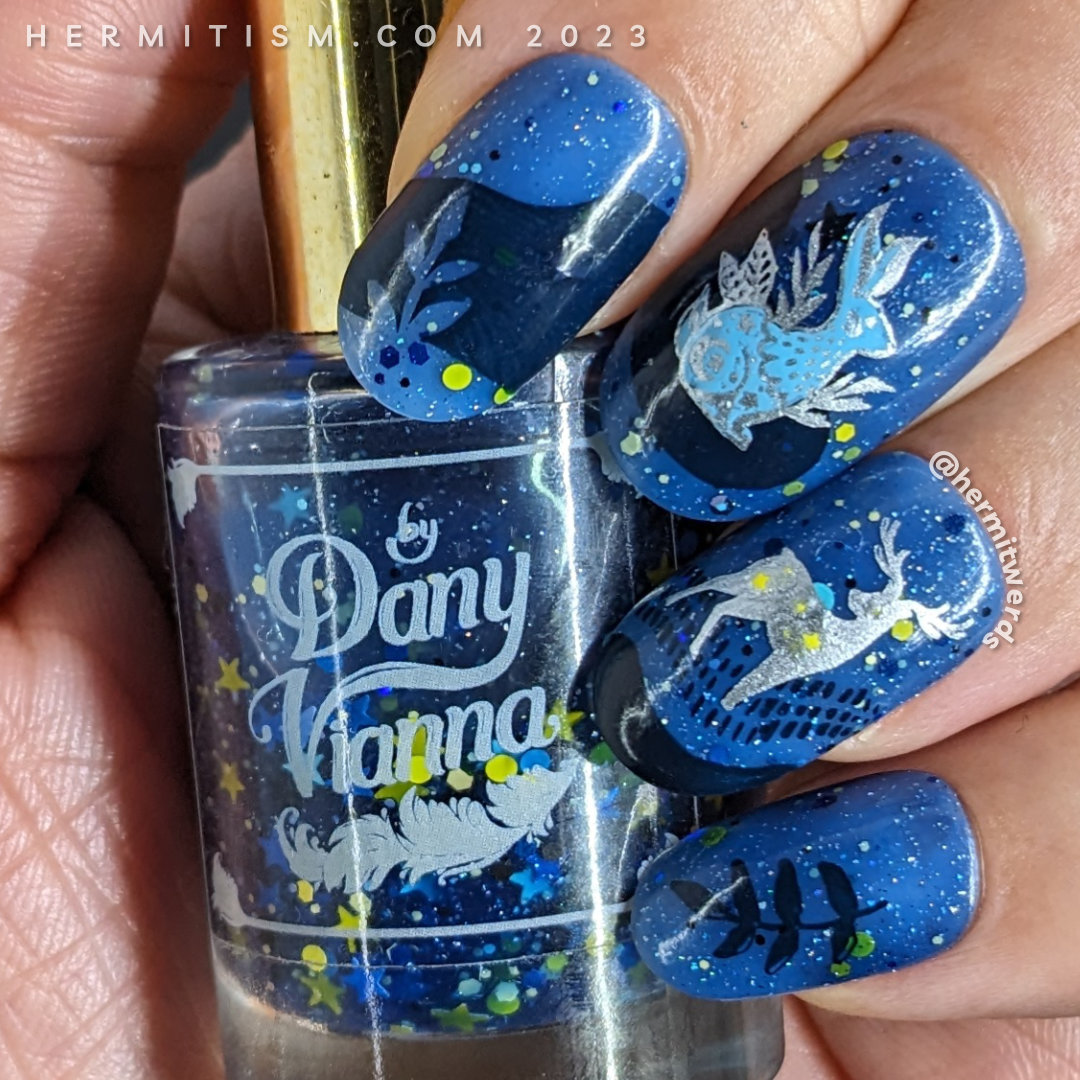
I suspect I was helped in interpreting the prompt less literally by my base polish: By Danny Vianna’s “Starry Sky”. It’s a blue jelly with blue, yellow, and white hex glitters in a few different sizes plus star glitters. So basically it’s the night sky in a bottle and people loved it so much that it was sold at the Polish Pickup sale twice. I’d passed on it the first time, but I couldn’t resist it a second.
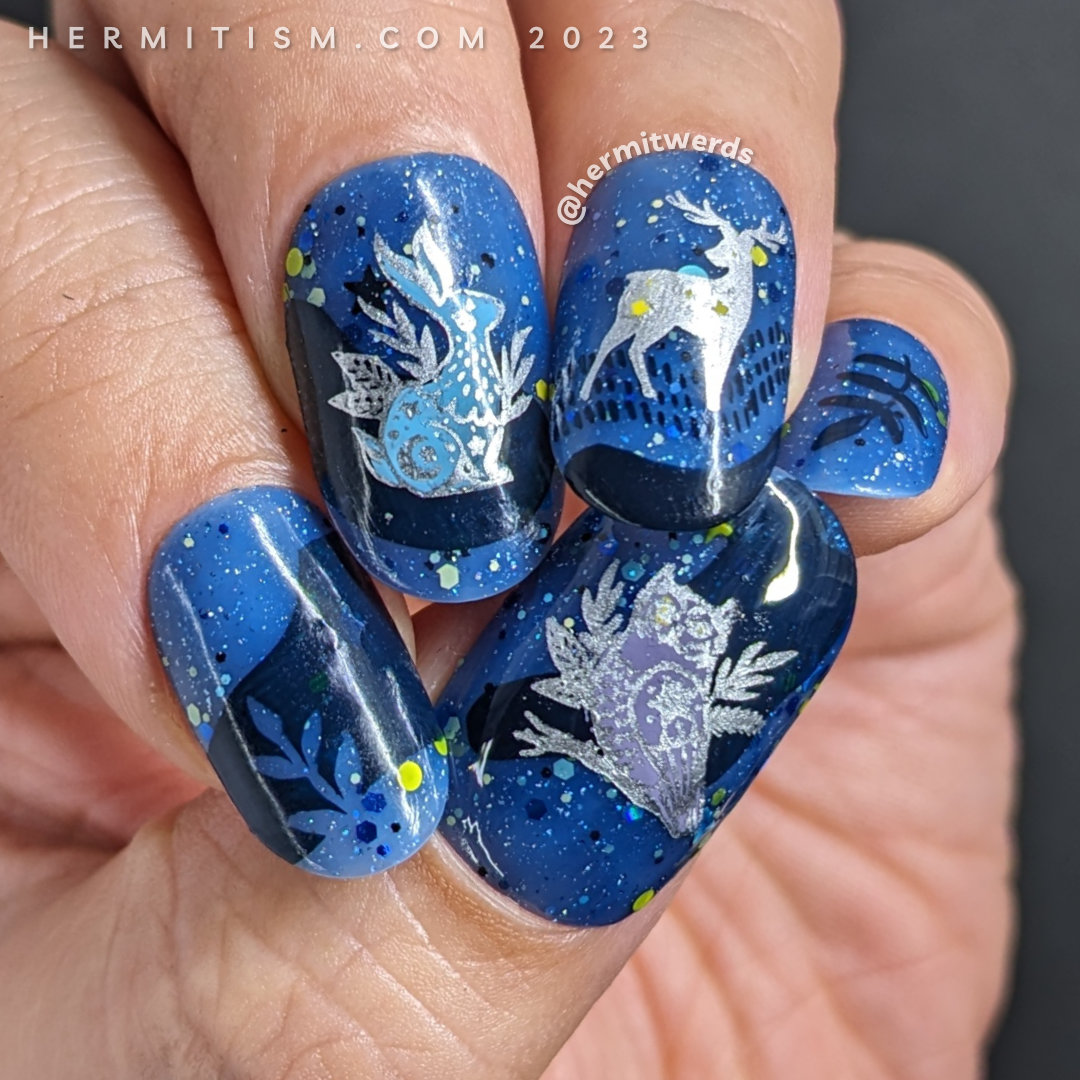
From there I thought some blobs would help anchor the stamping images and they kinda turned out to be a progression of a sort. With a cut out of a leaf on the far left to the leaf silhouette on the right. The way the blobs look like they’re flowing across multiple nails was a complete accident, but I like it!
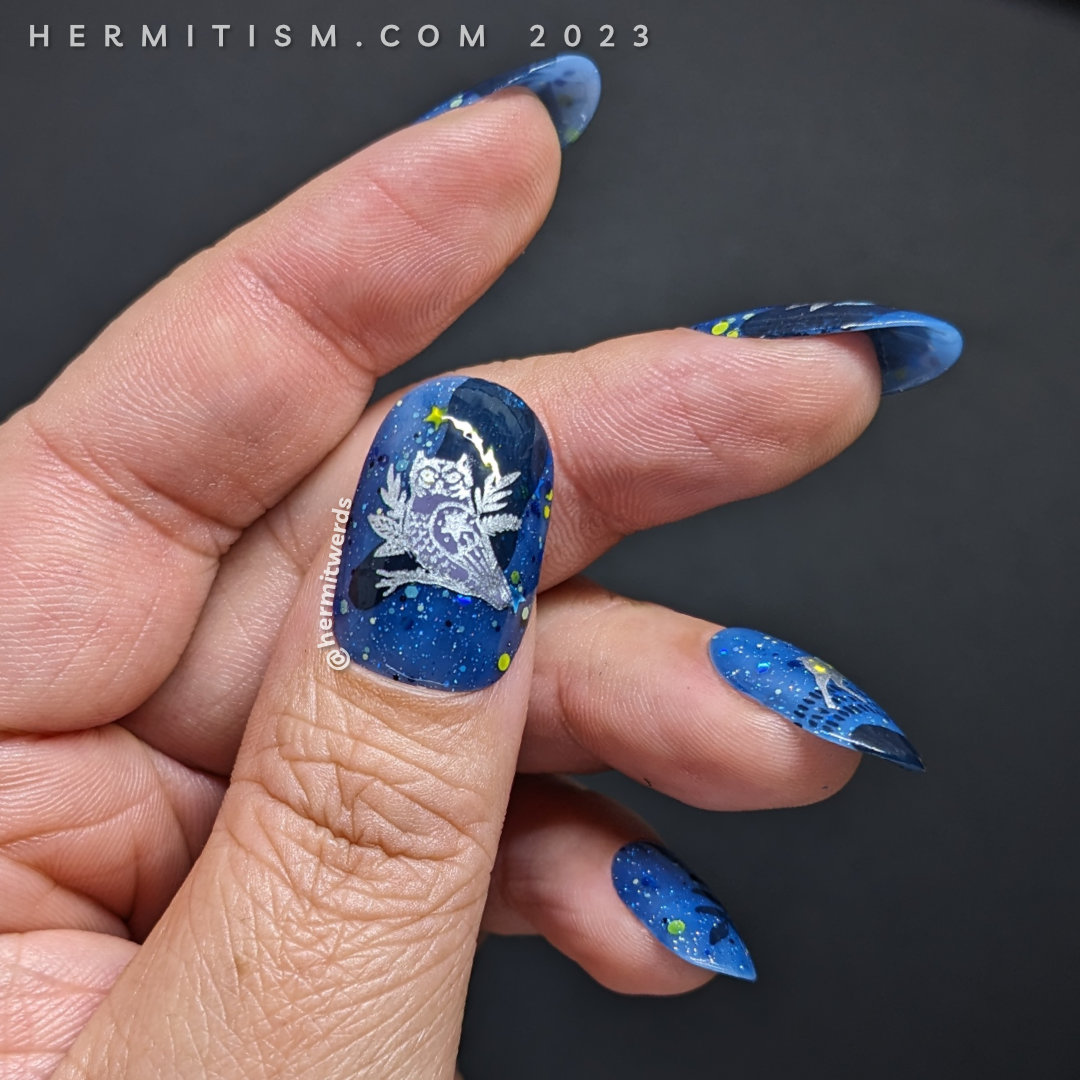
After that I picked the owl, deer, and rabbit as my celestial animal stamping decals and filled them in with almost-pastel colors (any lighter and it would blend in with the silver outlines).
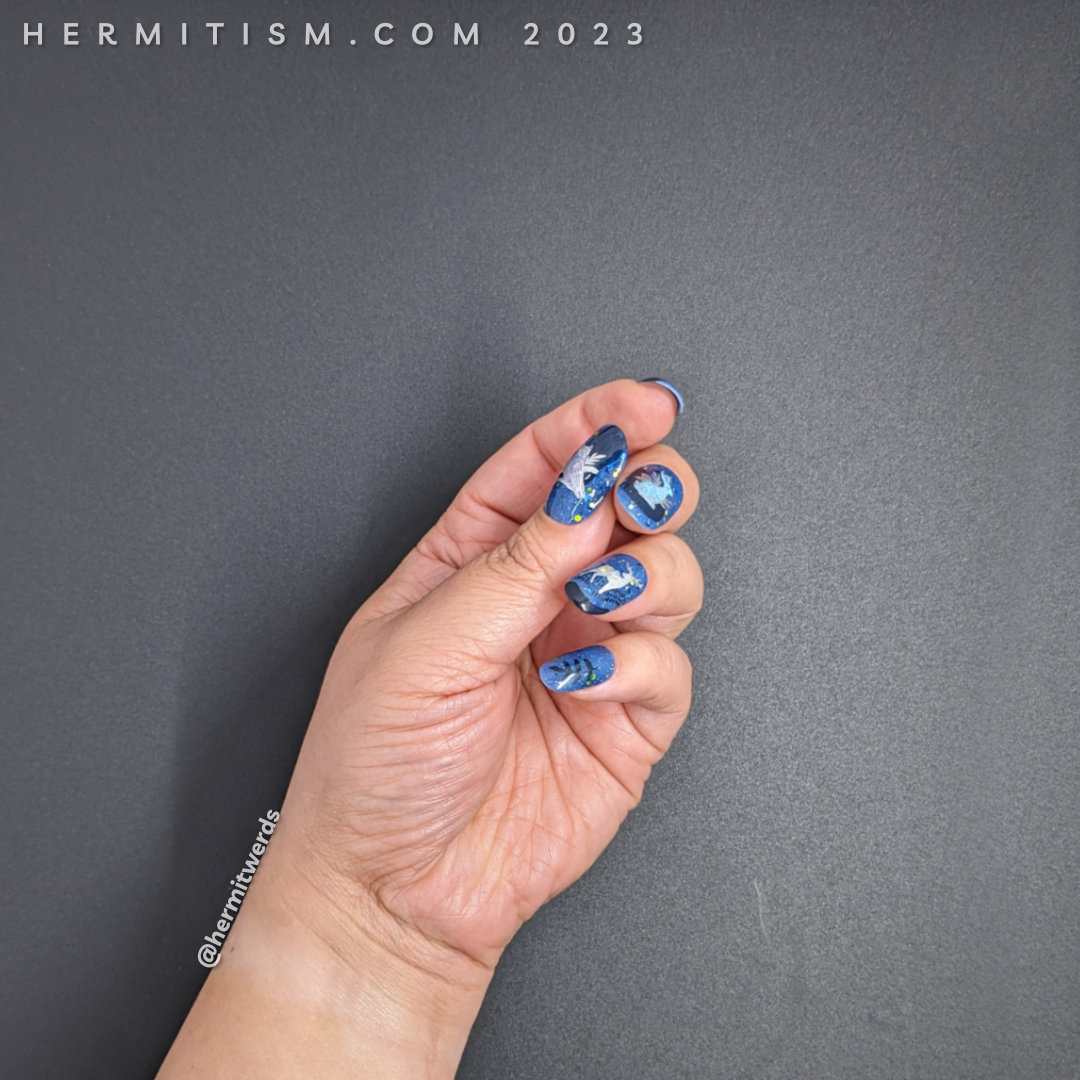
Final celestial night nail art photos
Until next time, friends! 🙋♀️
Hi Lisa,
I stumbled across your nail art when searching for ideas for ‘blue nails’, blue being my favourite colour. I think I have this MOYOU plate – I was wondering how you achieved the ‘cut out leaf’ effect? In my brain I am thinking it would be a stencil, but I am almost certain there is a simpler way used here. If you could give me any tips I would be most grateful. All the best, Sue
Hi, Sue! I actually did not do anything to achieve the “cut out leaf” effect. Hit the Bottle’s “Easily Abstracted” stamping plate has three different blobs with a leaf shape cut out of it. You can find the plate here right now, but if you wait a little longer it will get listed on Lantern & Wren for a lower price.
As for tips on how to achieve the effect (without just freehanding it), you can also create your own stamping stencil. Draw your stencil on a thin piece of cardstock or paper and cut the shape out of it with an Exacto knife. Then, find yourself a stamping plate with a big empty rectangle. Put your polish down, scrape at a low angle, pop your stencil over the rectangle, and pick up with your stamper. I’ve used this technique a few times to create patterned shapes like a plaid heart but it works for solids too.
Hi again! Thanks so much for your reply, Lisa. I get how it was done now, and I will check that plate out, and the stencil idea is an interesting one I had not thought of. All the best, Sue x
Glad I could help, Sue! 🙂