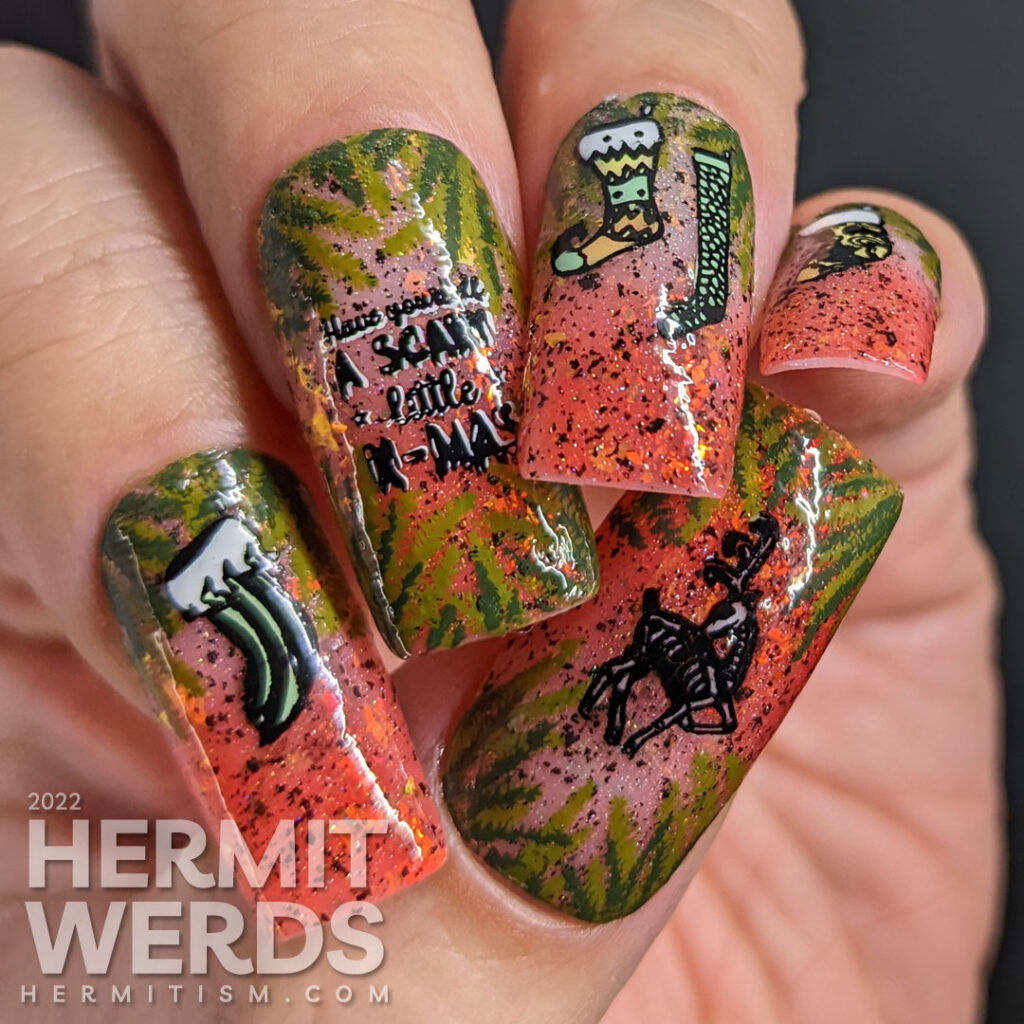
I have been posting a lot and kinda crashed a little, but there’s more Christmas nail art to post so it’s time to dust myself off and share today’s look: a nod to my favorite Christmas movie The Nightmare Before Christmas. I don’t have a Christmas tradition that I perform every year, but if I did it would be watching that movie. Come to think of it, I don’t even have a regular Christmas meal anymore. I think we’re having a Thai panang curry with fish, but if my husband doesn’t feel like cooking we can throw a frozen pizza in the oven. Still yum.
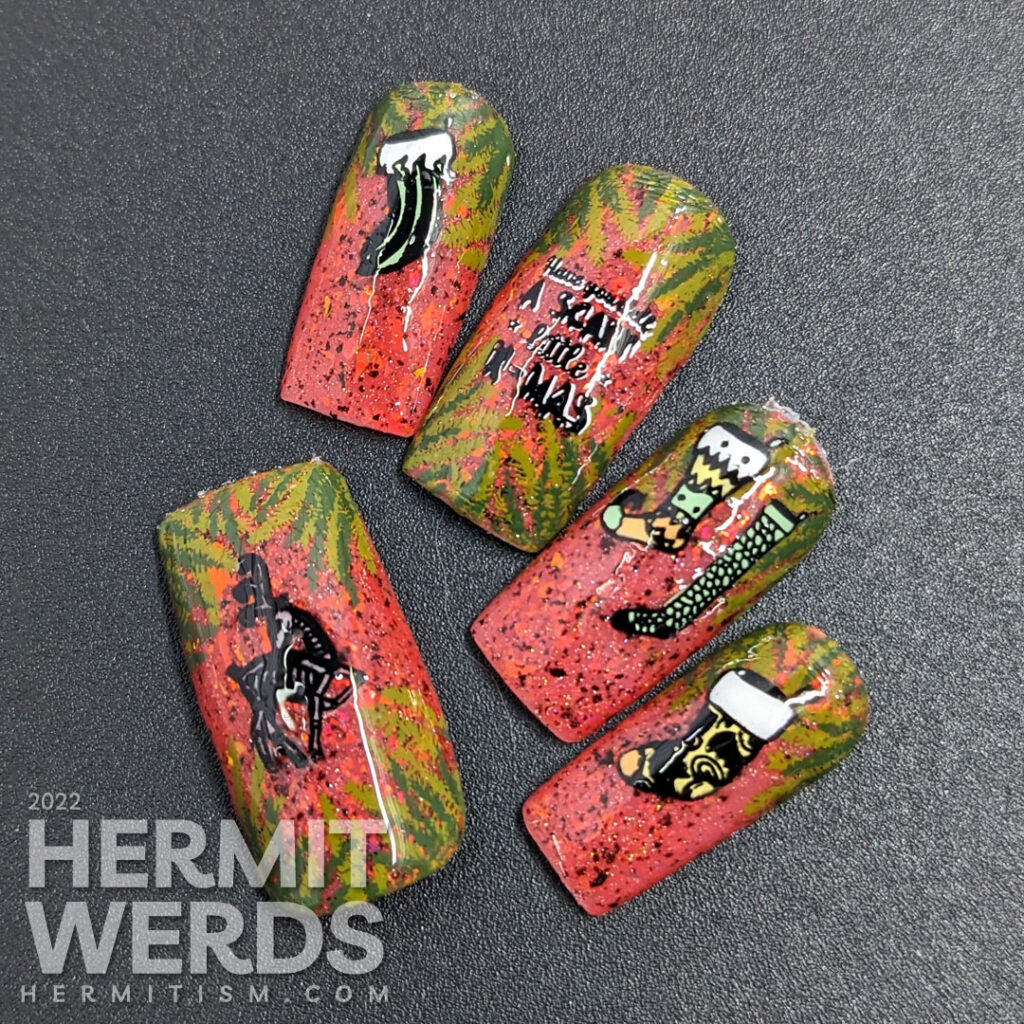
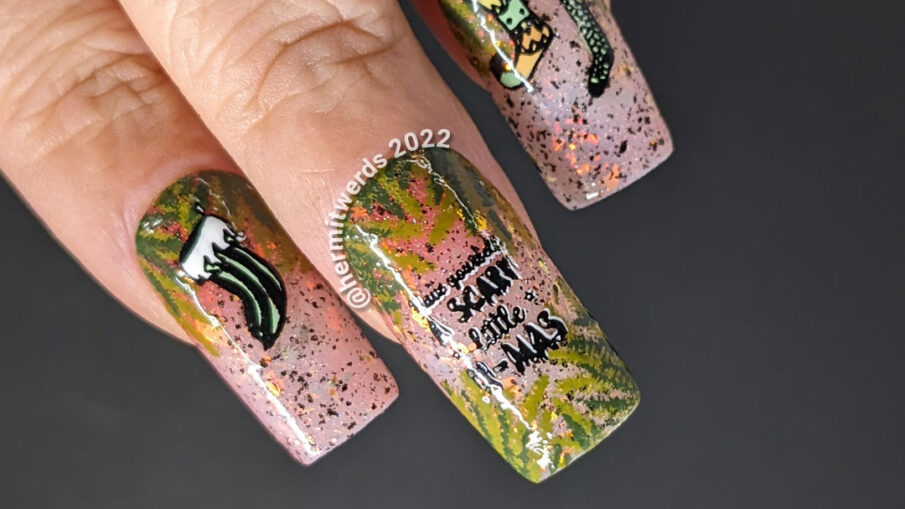
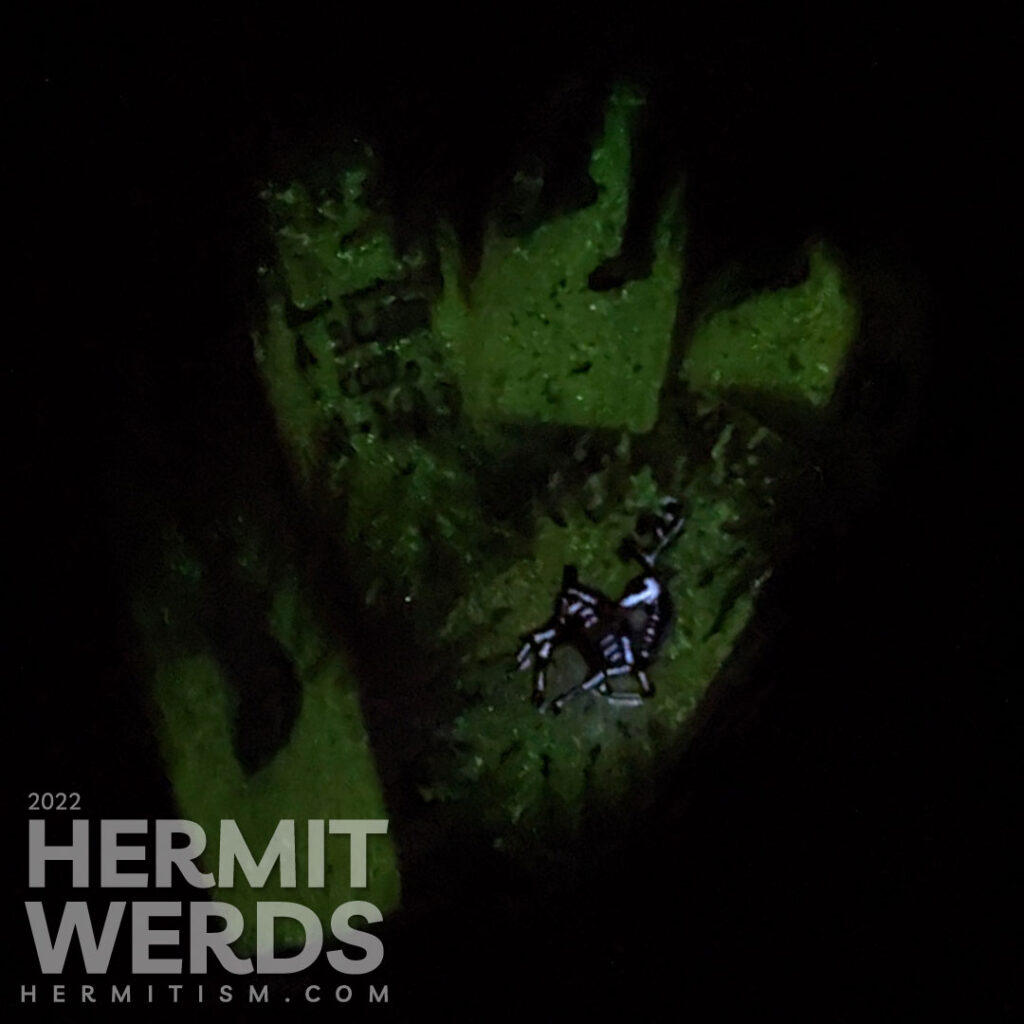
This mani is like the Maniology stamping plates (M165 & M166) that remind one of Nightmare Before Christmas without actually being it so they don’t have to pay licensing fees. Makes sense since I used M166. 😂 It also glows in the dark. Because I’m still me and I have to have my Halloween and some glow.
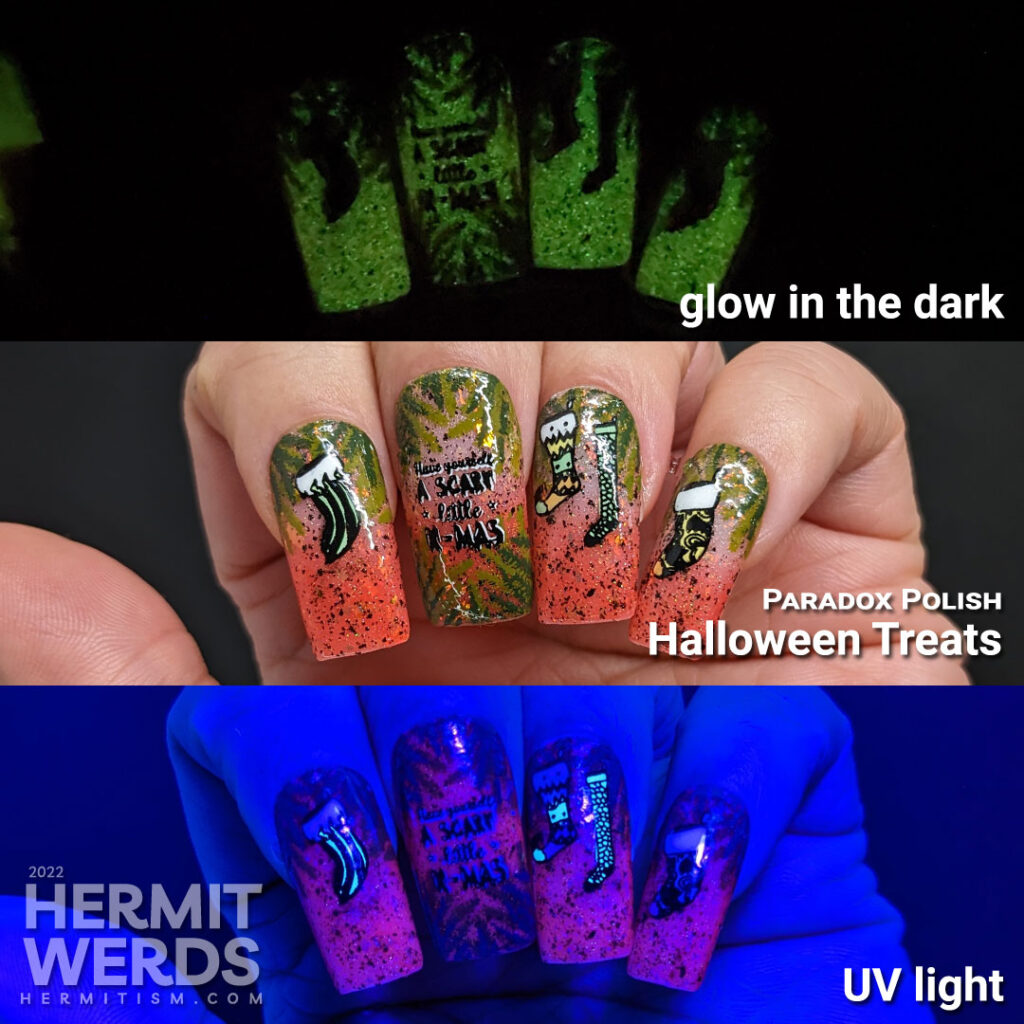
Here is where we also learn that Maniology’s “Mint” is also UV reactive. Huh! Now I kinda want to go through my whole collection and test them all…
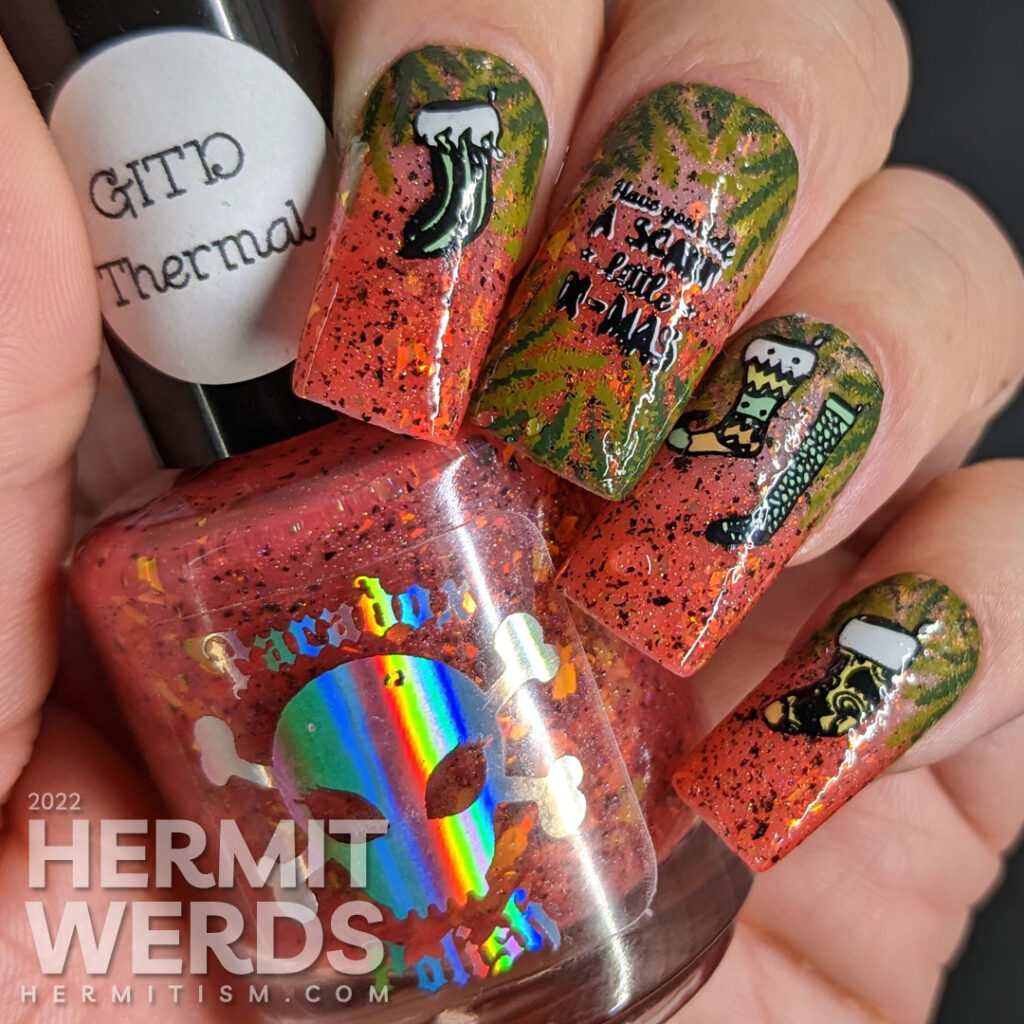
Nail art products used
- Base Polish:
- Paradox Polish’s “Halloween Treats“
- Stamping Polishes:
- Hit the Bottle’s “Slitherin’ Serpentine“; Maniology’s “Evergreen“; and UberChic’s “Essential White” + “Pure Black“
- Advanced Stamping Polishes:
- China Glaze’s “Tangerine Heat“; Familiar Polish’s “Ghostly Glow“; Maniology’s “Mint“; and Sinful Colors’ “Snow Me White” + “V.I. Peach“
- Stamping Plates:
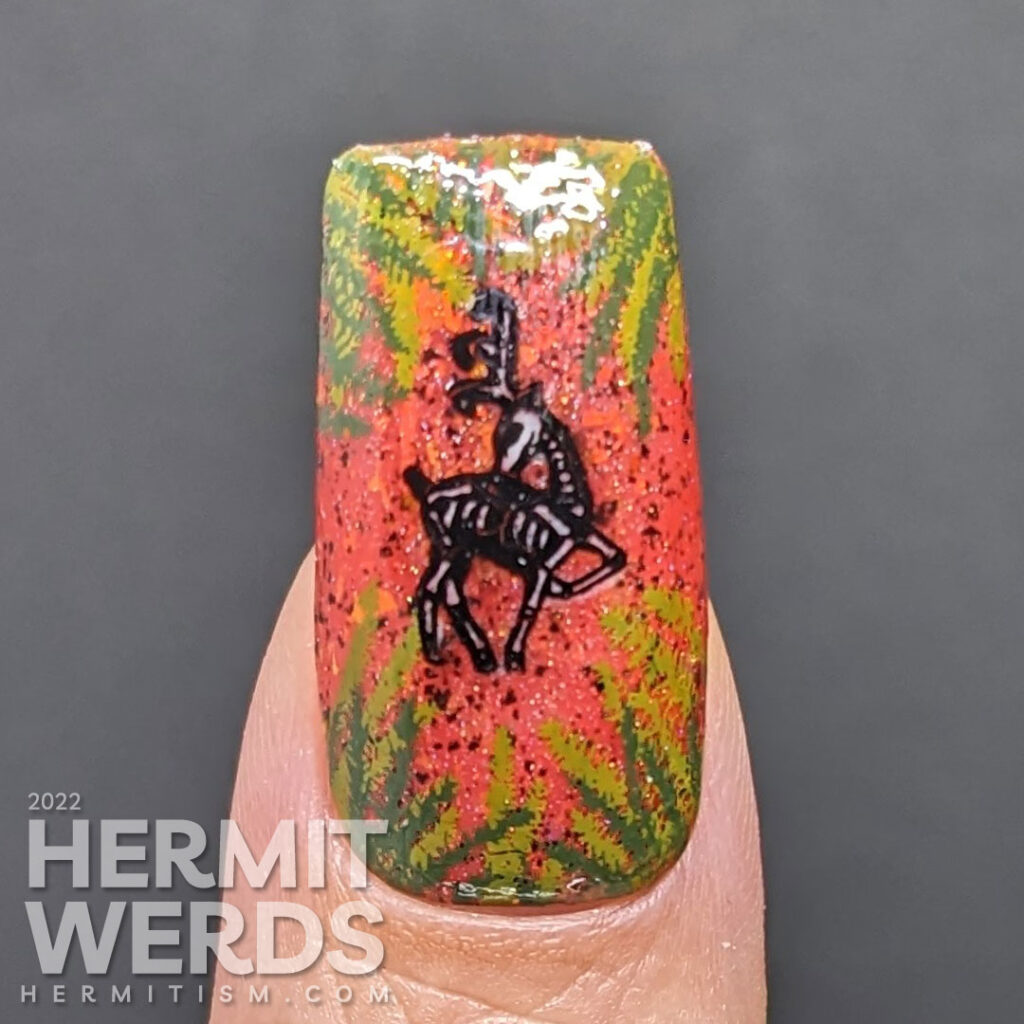
- Maniology “M036” (framing evergreen branches), “M166“ (Halloween-themed Christmas stockings), “MXM091“ (skeletal reindeer), and “MXM092” (“Have yourself a scary little x-mas”)
Items in italics are debuting on the blog for the first time.
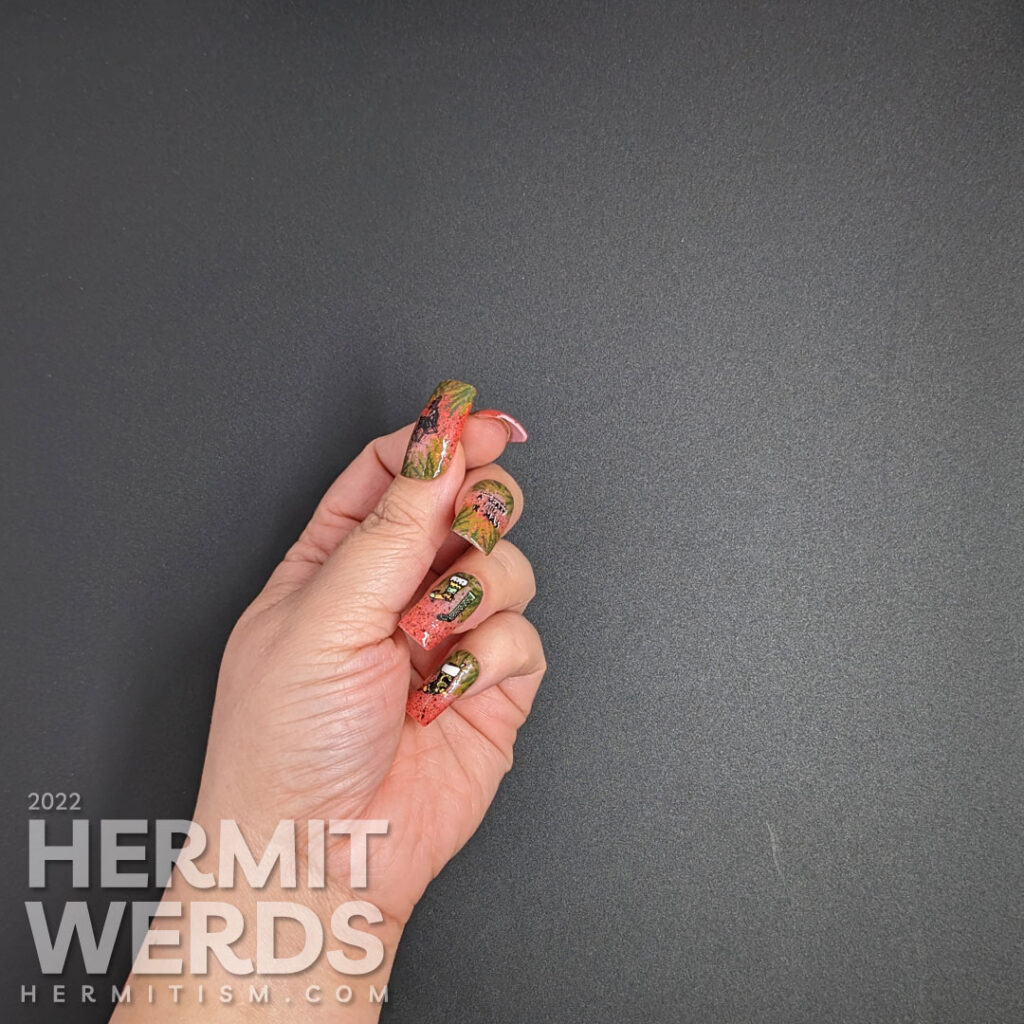
This nail art design was so much simpler when I first drew it out. There was only one layer of pine at the top of each nail. I was only going to make decals of the Halloween-esque Christmas stockings. In fact, I had to throw out two stockings because I no longer needed them. This is called scope creep in project land and while I love how this turned out, it was stressful to try and get it done on time.
It initially looks like a lot of double stamping, but the pine boughs were pulled from a framed full nail image (which is where you have things like branches sticking inward all around the rectangle and a clear area in the center). I got 2 1/2 stamps of the light green, decaled/removed half to place on my nail, then went back and did the same with the darker green, and finally stamped the opposite side of each image further back on the nail.
Then I decided I wanted to put more than Christmas stockings on and ended up needing more pine for the bottom, but I would have needed to split the stamping image anyway because these nails are too long for them. So…I guess that’s another method for making a smaller image fit a longer nail. 😁
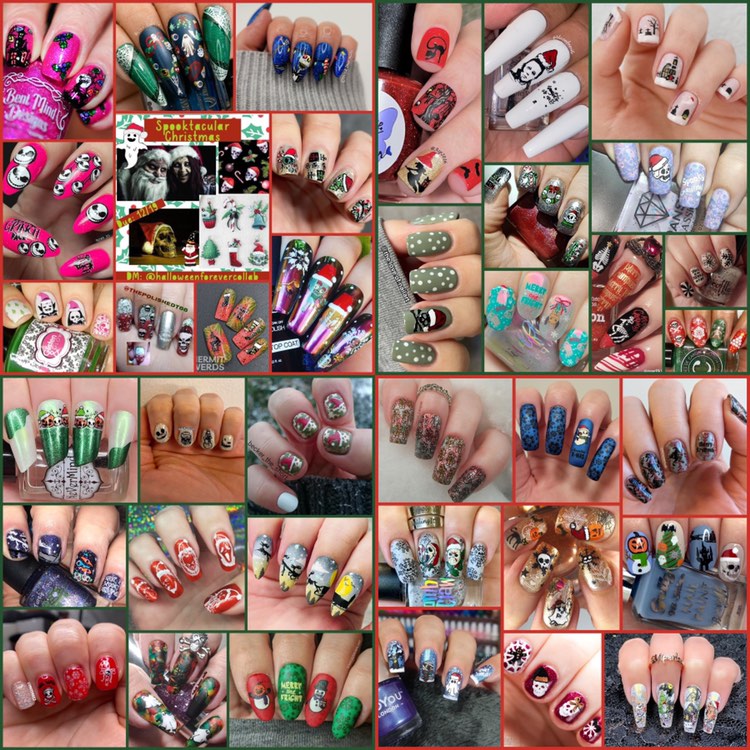
@HalloweenForever Collab – Spooktacular Christmas
- Instagram Group: @HalloweenForeverCollab
- Hosts: Grace @viperlovr and Chelsea @semplynailingit
- Group tag: #HalloweenForeverCollab
- Prompt: Spooktacular Christmas
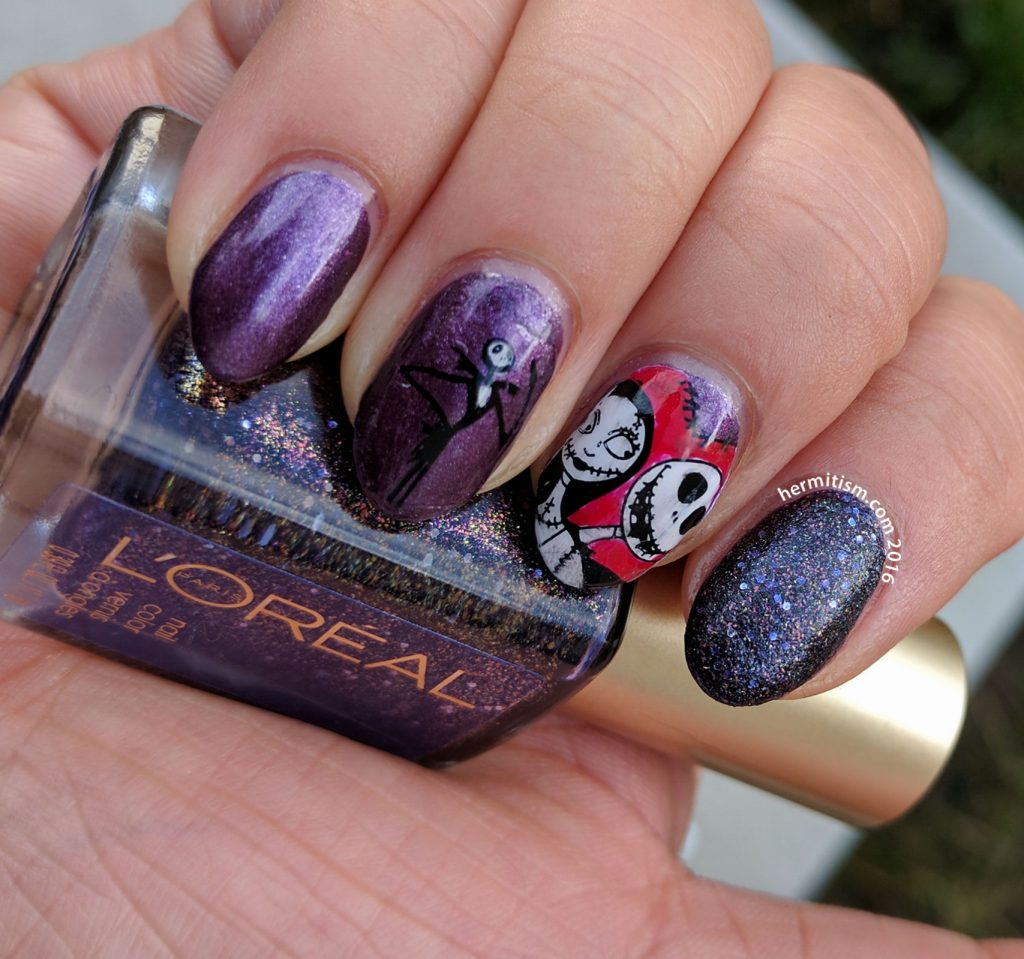
Long, long ago…
I’ve been meaning to paint more Nightmare Before Christmas nail art, but previously the blog only had this mani I painted in 2016. I’ve got the stamping plates (and freehand skills) so there needs to be more of this in 2023!
Final Nightmare Before Christmas nail art photos
I wanted to show the reindeer glowing and feel a little apologetic that I didn’t have the energy to stick the nails back on my hands and take a brighter glow image. Sorry, y’all. I’m tired. 😭
Until next time, friends! 🙋♀️

Leave a Reply