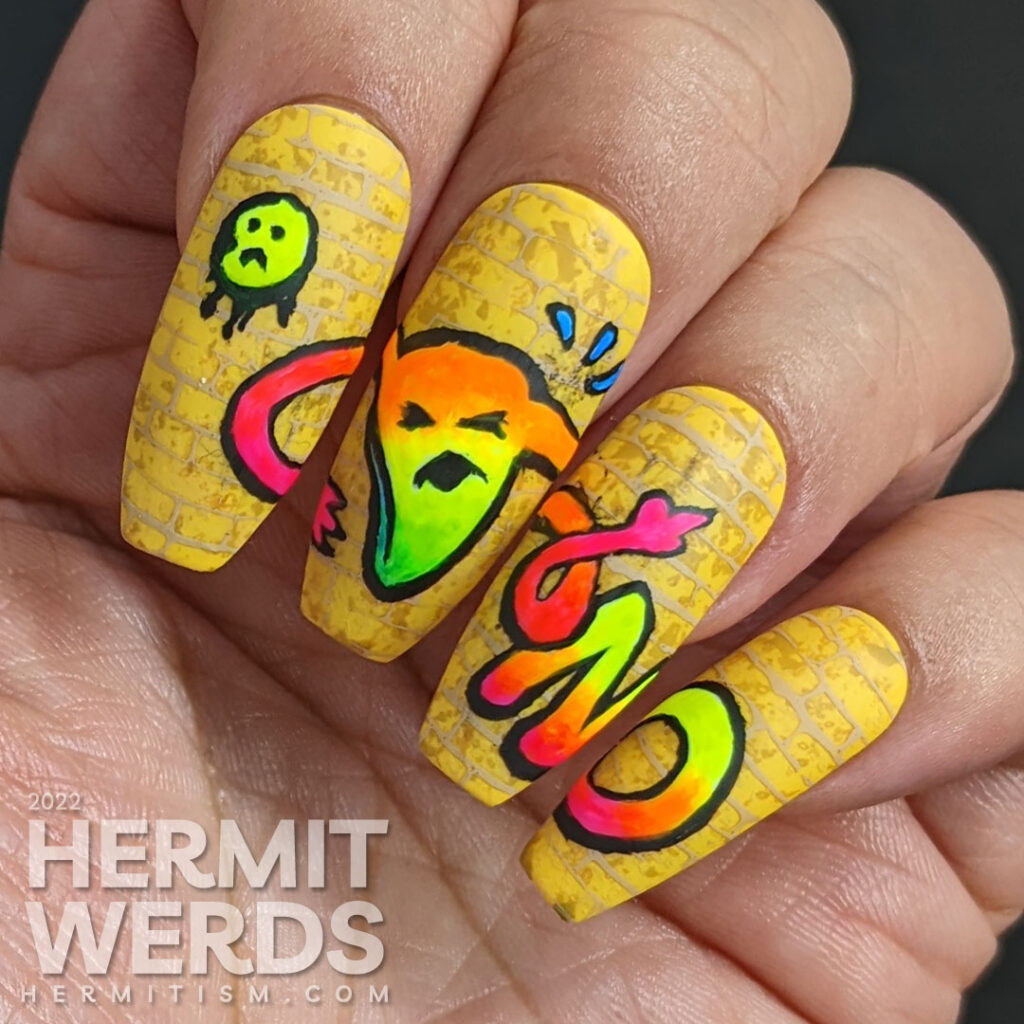
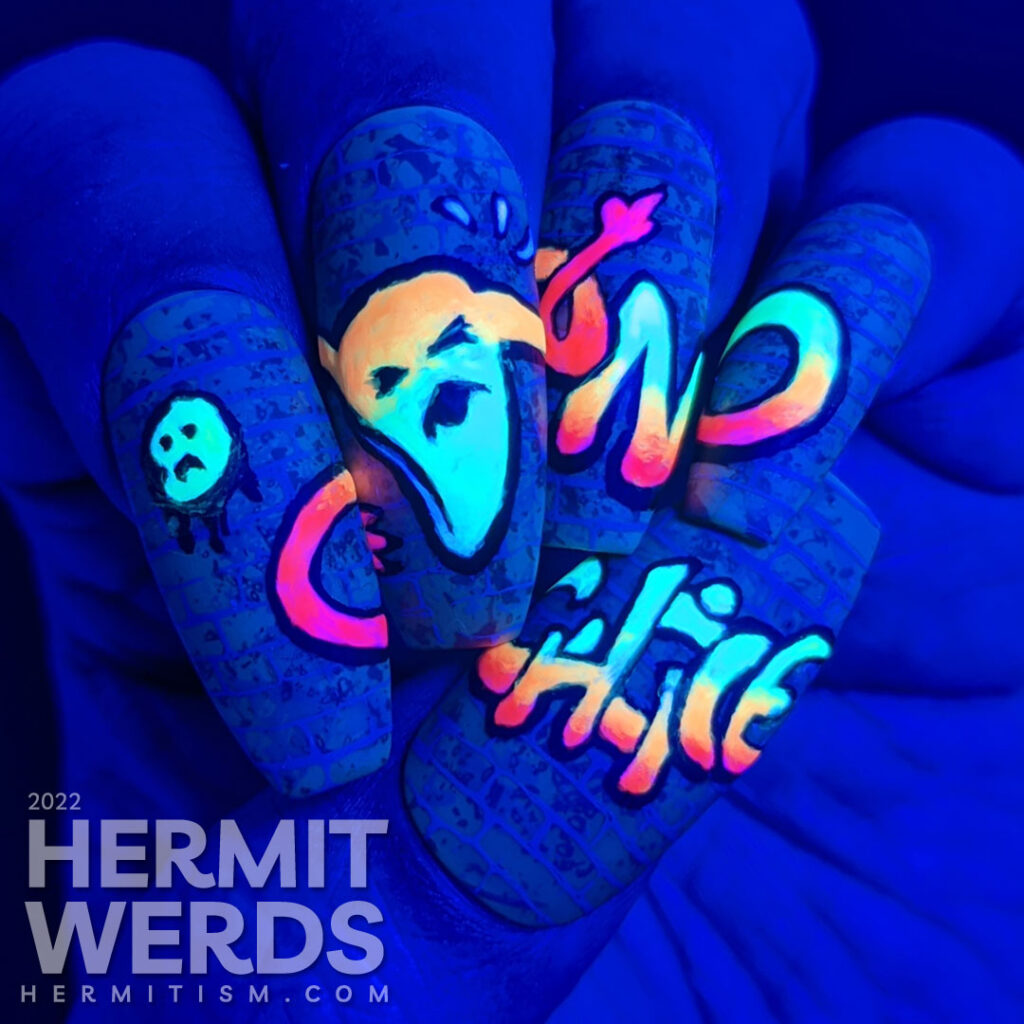
In case it wasn’t clear enough when I posted my own thoughts on Maniology’s non-support for women’s reproductive rights, I am very much pro-choice. And in fact, I have been wondering why we on the side of choice continue to allow so-called “pro-lifers” to call themselves such. We know it’s not about life. It’s about control over women. And we should refer to this group of people as what they really are: no-choice. So when a graffiti prompt came up, I decided to hop up on my soap box…which is apparently my left hand. 😆
Nail art products used
- Base Polish:
- Harunouta gel polish yellow-06
- Stamping Polishes:
- Dimension Nails’ “Mustard Bird“, Hit the Bottle’s “Swept Away“, KADS’ “40 Ginger“, Nicole Diary’s “Rush Lyon“
- Freehand Painting:
- Americana Neons Neon Blast set with 6 little “pots” of neon acrylic paint used over freehand painted white base and black outlines.
- Stamping Plate:
- Hit the Bottle “Urban Wild Style“ (brick pattern) and Lantern & Wren “Grunge Backgrounds” (texture)
Items in italics are debuting on the blog for the first time.
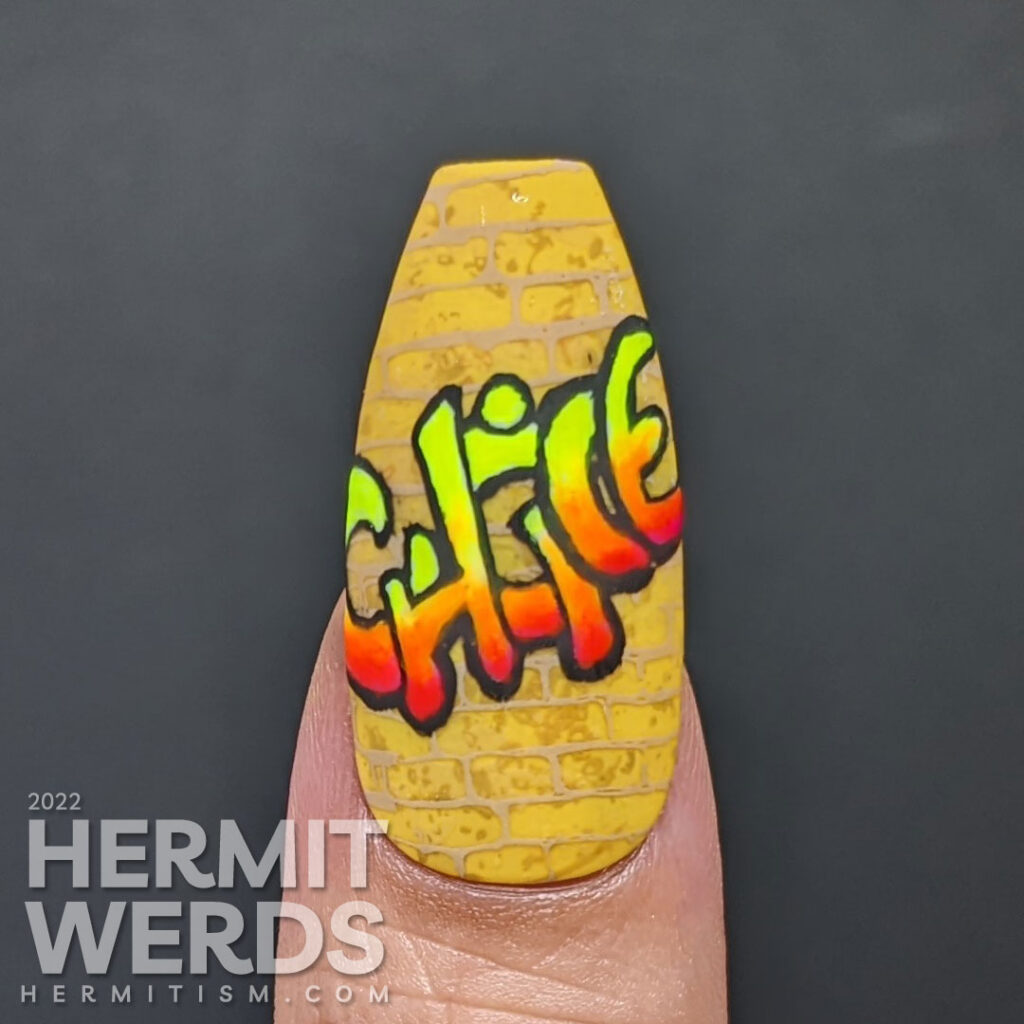
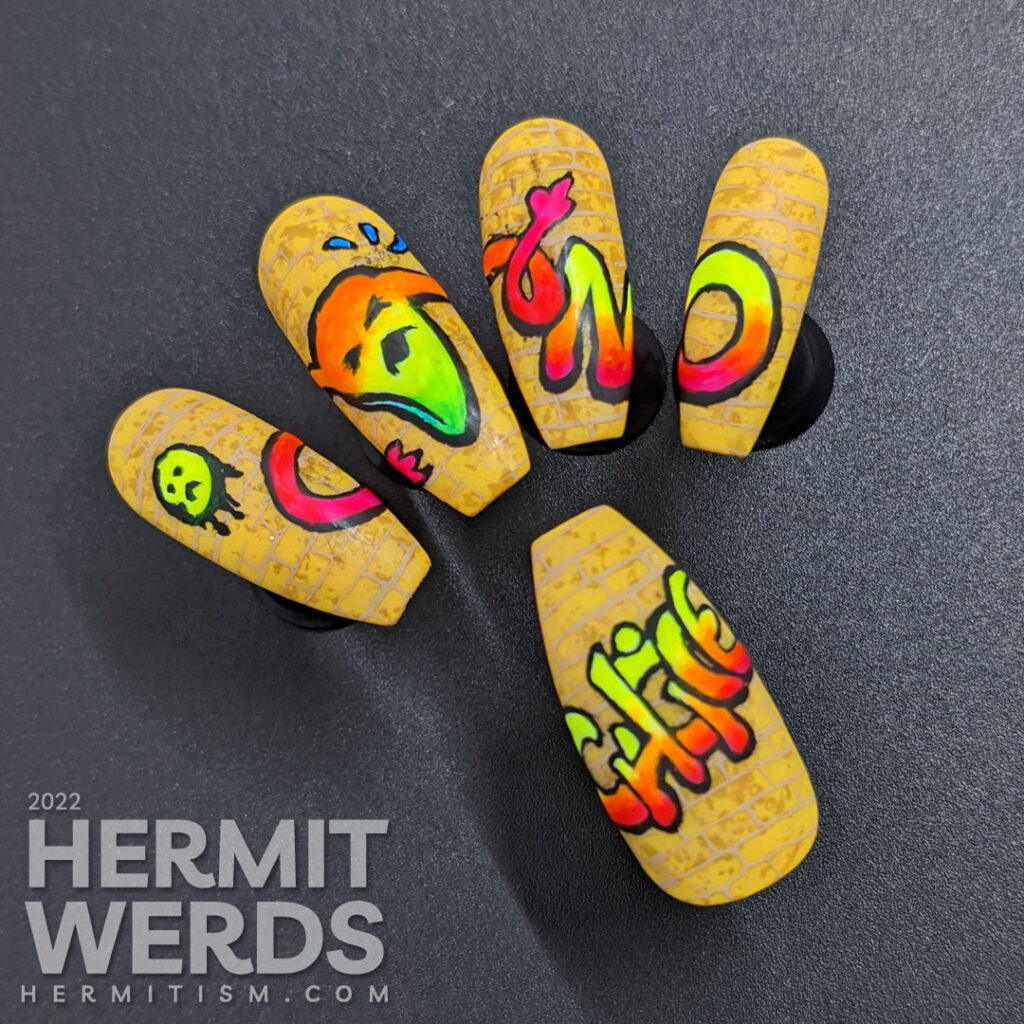
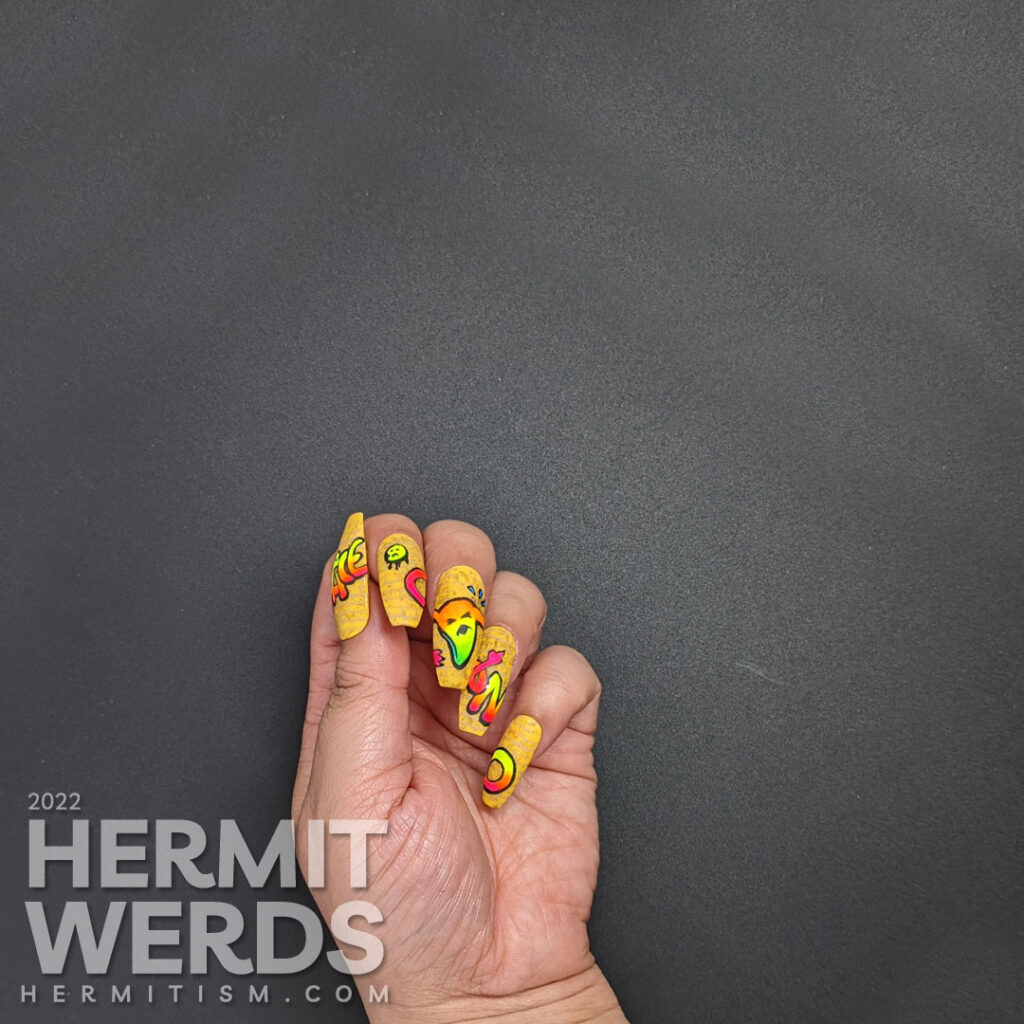
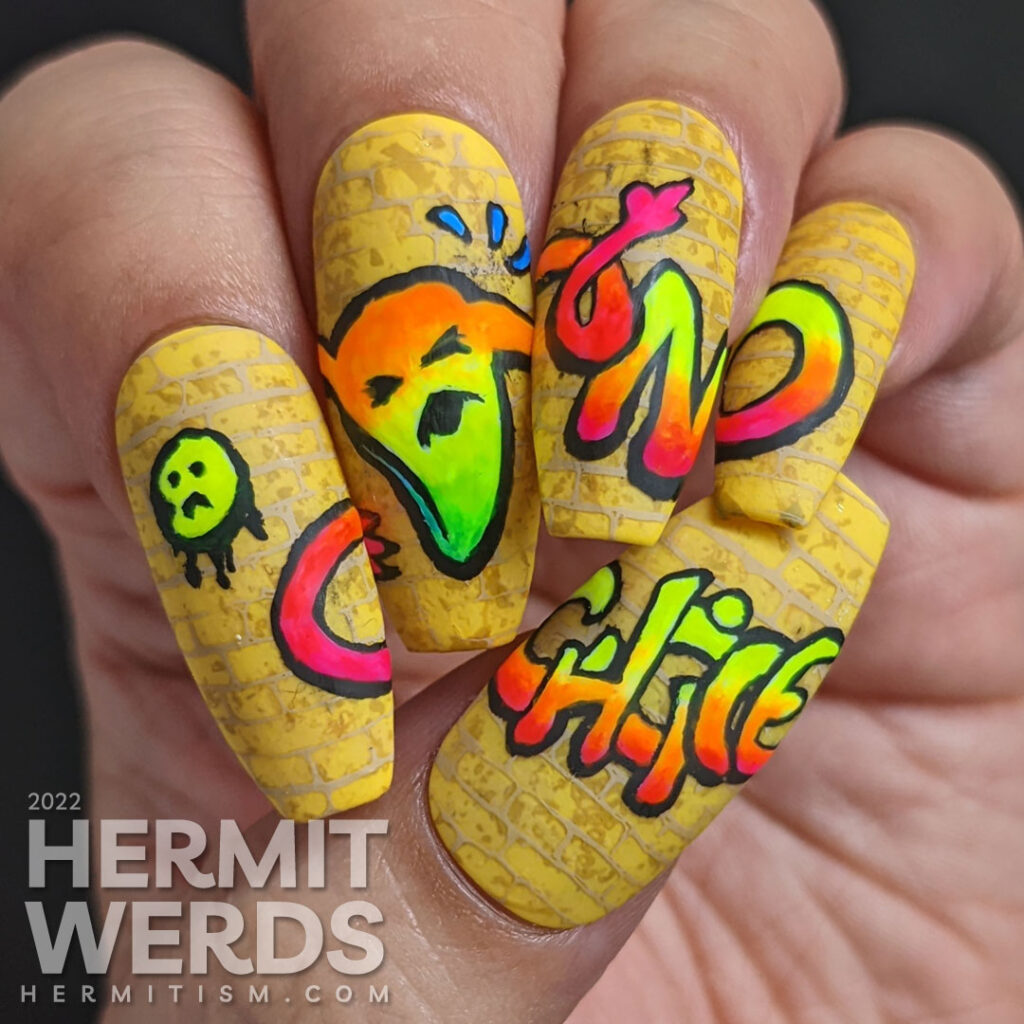
This nail art says several things. First, it highlights the true nature of the opposing group “no-choice” and flips the bird at them. Hah! When only the fingernails are pictured, it says “no” to the whole situation. When all of the nails are photographed together, it clearly states where we are which is “no choice” in many states. Anger, anger all around.
I had a real mental block on painting this. I had the brick base painted for over a week but my brain kept saying “Too hard! Let’s procrastinate until it’s too late!” I literally had a stamp on the side from the Hit the Bottle Urban Wild Style all ready so I could turn in something at least. Unfortunately for our host, the lovely Tana, life has been chaotic so my full nail art (instead of the progress shot) still made the collage even though I started so late. Take that, brain!
And now a mini tutorial…
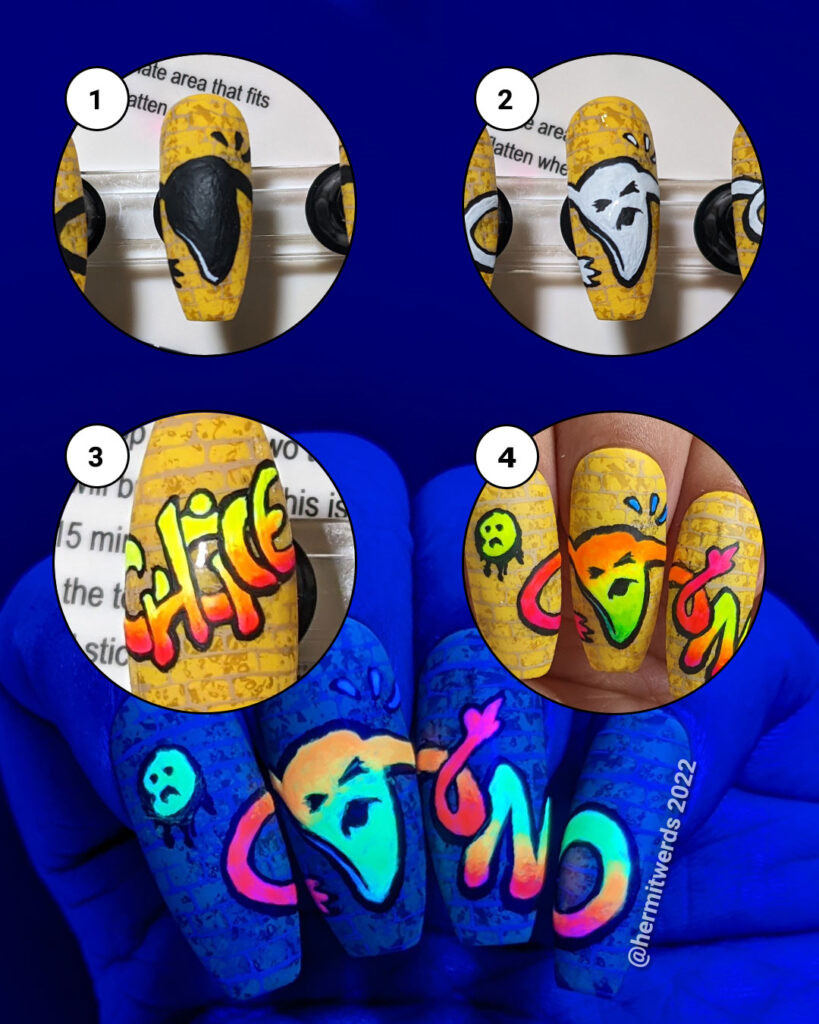
No Choice Graffiti – mini tutorial
- The realistic first step is to look up some reference images on google. But you will finally get the point where you have to block out your shapes in black. Keep in mind that this is the shape _and_ the outline. If you use acrylic paint over a good fast drying top coat you can scrape off your mistakes, which I did plenty. 😆
- Next go back and only fill in the shape with white. This will ensure that you know exactly where to paint with your neon paint and also keeps the colors bright.
- Get all the paints you’re going to work with on your palette and start painting. I worked one shape at a time starting with the first color. Then cleaned my brush, painted with the second color, and picked up more of the first color with the still-dirty brush to help blend them together and so on.
- Since I wanted a more colorful gradient on the uterus, I painted that last. I also took some time to make the outlines on the bottom of the image wider since I noticed that was a stylistic trend in a lot of graffiti.
For a first time, I didn’t do too badly, but there are definitely changes I’d make if I did this again. It really helped that I’d followed some of Robin Moses’ tutorials previously (and used her wand brush). Using a water spray bottle to slightly dilute the acrylic paint and keep it wet also really helps. I didn’t follow either of her graffiti nail art tutorials since they are abstract, but they are here and here.
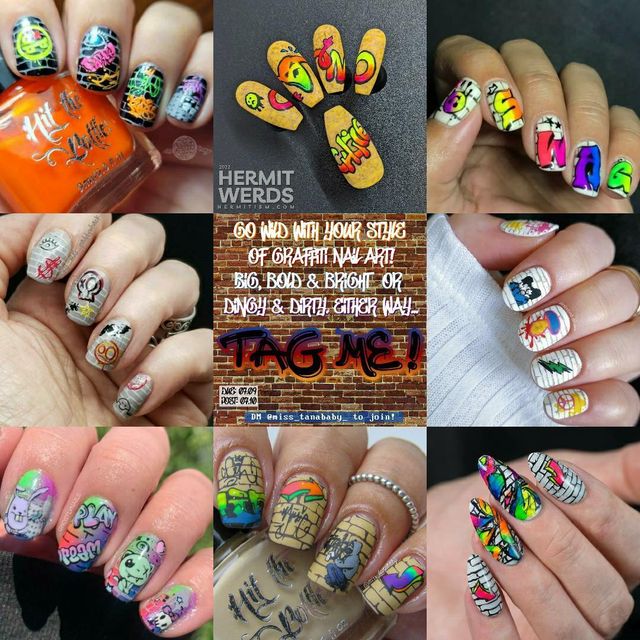
#SaucyManiGraffCollab – Tag me!
- Host: @miss_tanababy_
- Parent group: @saucy.mani.challenge
- Group tag: #SaucyManiGraffCollab
It was a small group of participants, but I love every look!
Final graffiti photos
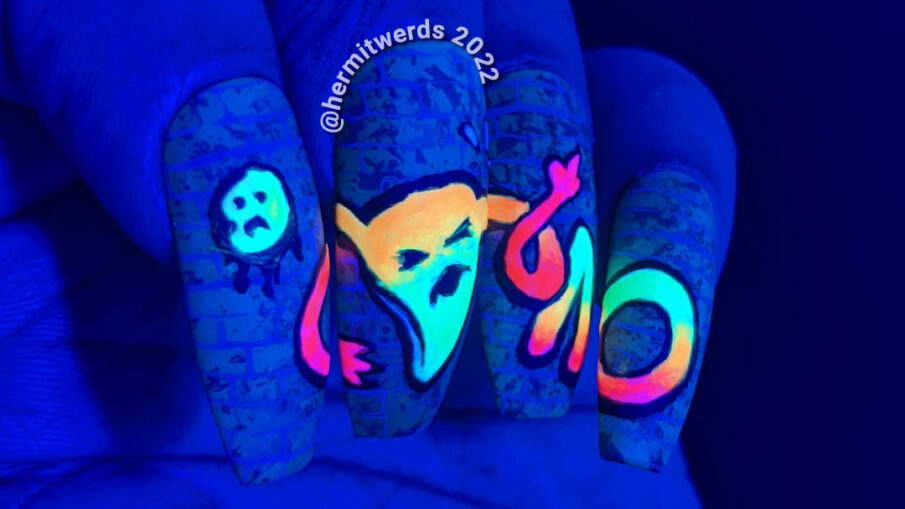
I thought it would be fun to see the no-glow and glow side by side in the same pose…
Until next time, friends! 👋
Leave a Reply