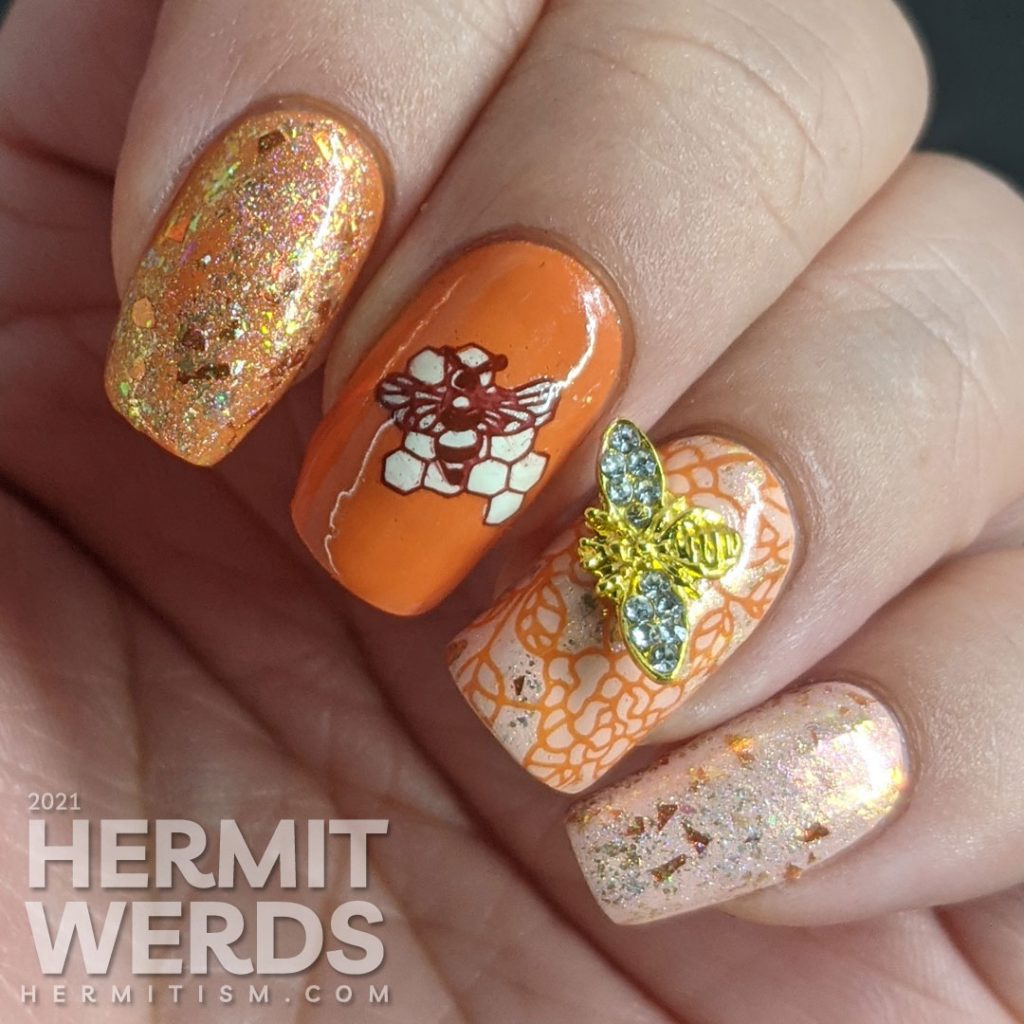
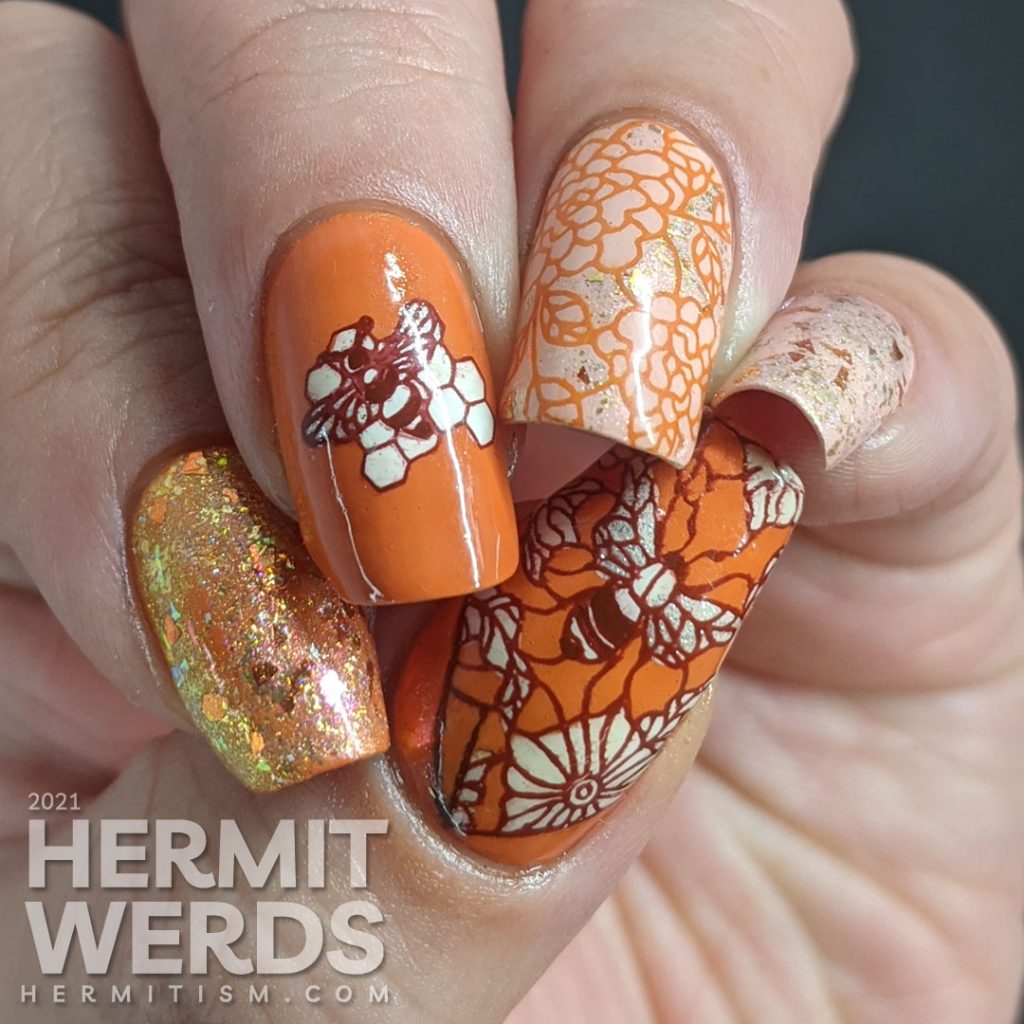
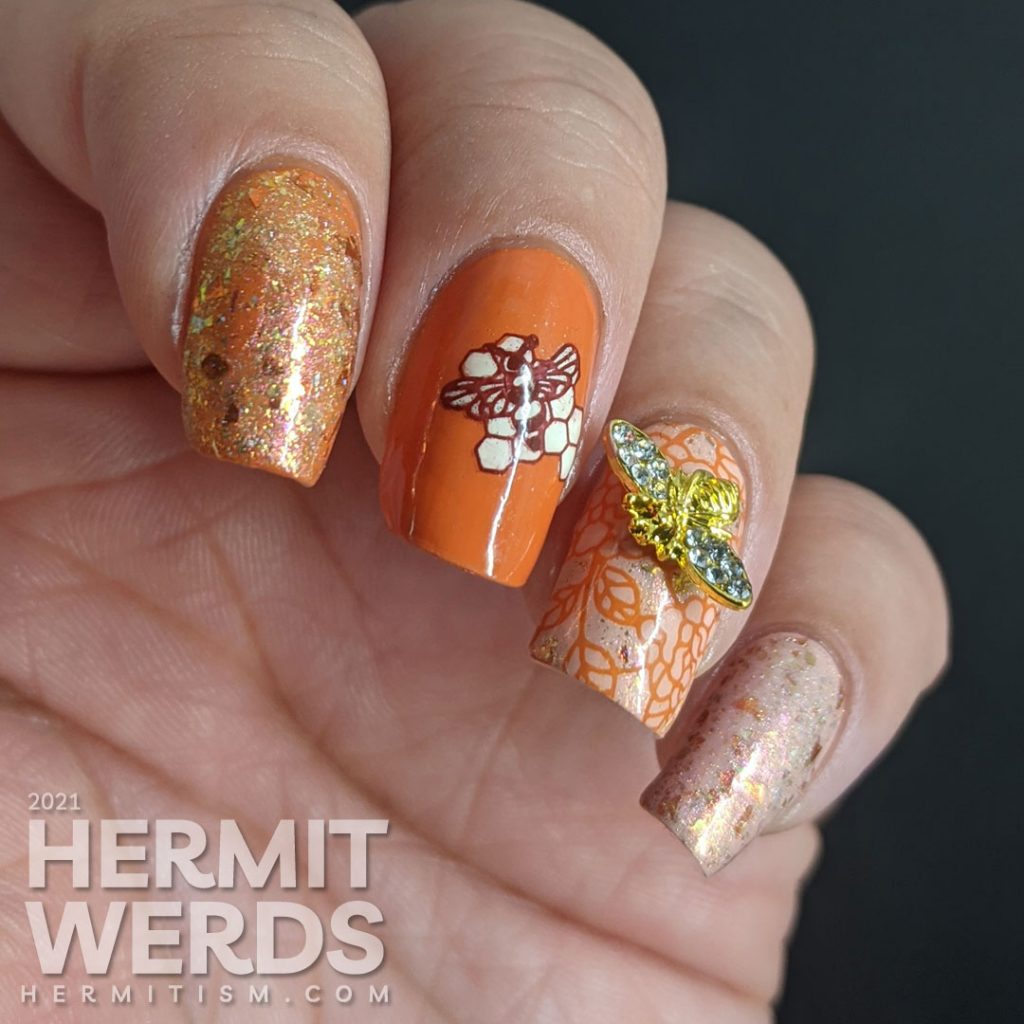
It’s still spring even if it doesn’t feel like it some days. And with the blooming of the flowers comes the buzzing of the bees and the need to paint bee nail art. Naturally, I had to once again dodge the typical yellow and black color scheme in favor of something orange and pink. I also picked some mosaic stamping images with the idea that I’d end up lead lighting a little, but I ended up liking the stark white against the chaos of all the flakies so…
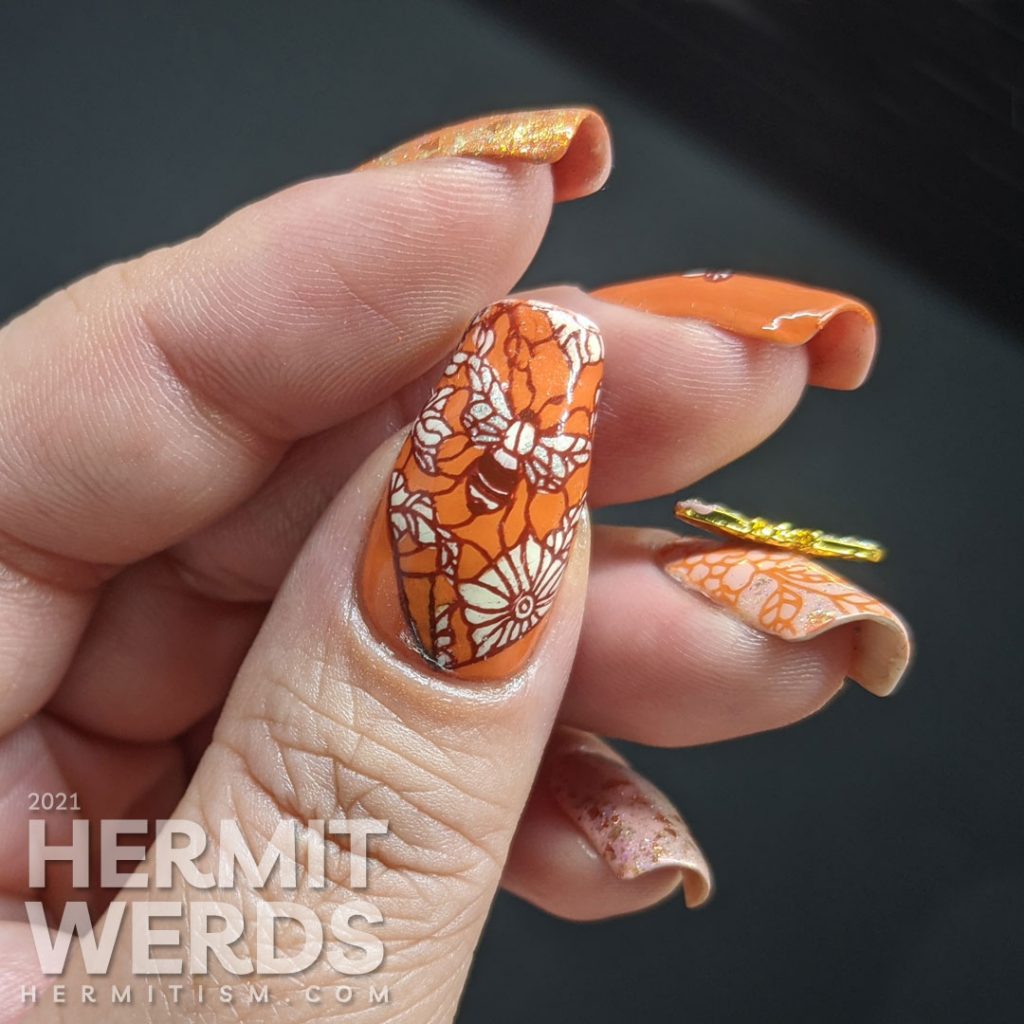
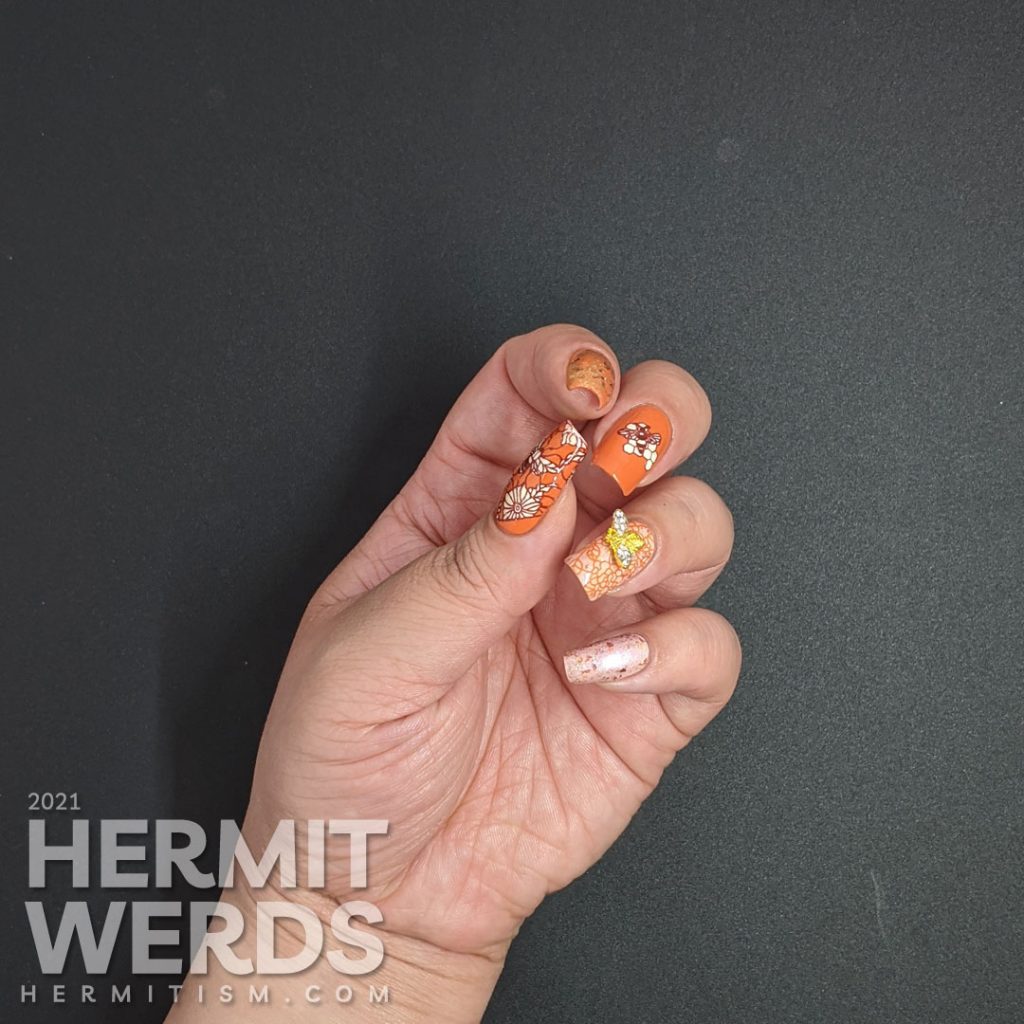
The mosaic image for my thumb wasn’t long enough and had a border all around it so no fading things out. I solved my length problem by turning it on its edge instead.
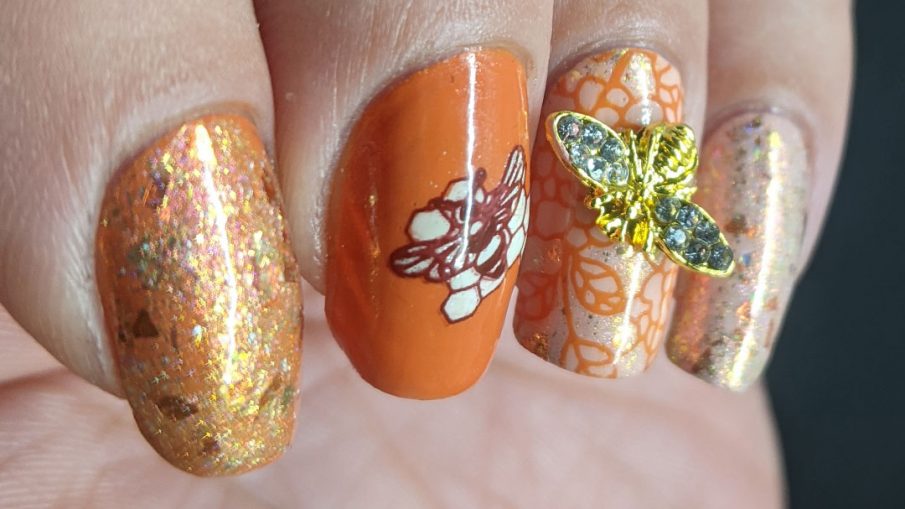
It pleased me quite a bit to finally use one of the little bee nail charms I bought last year; however, it’s kind of nice to see the nail art without it as well. I filled in the non-flower areas with the flakie topper for my nail charm nail. It provides a nice contrast to the simpler accent nail.
Nail art products used
- Base Polishes:
- Apipila’s “Pink Lake” and “Galo da Serra“ + Rogue Lacquer’s “Tiger Lily“
- Stamping Polishes:
- Born Pretty’s “Orange Autumn” and Apipila’s “Galo da Serra“
- Advanced Stamping Polishes:
- Born Pretty’s “Orange Autumn“, Rogue Lacquer’s “Tiger Lily“, Smacker’s “Wickedly Stylish“, and Zoya’s “Seraphina“
- Nail Charm:
- A bee nail charm from Aliexpress
- Stamping Plates:
- EDK “Mosaic 2“ (floral and bee mosaic) and Maniology “MXM056“ (bee on honeycomb)
I’m really happy I bought Rogue Lacquer’s limited edition “Tiger Lily” topper when I did. It not only helped pay for the medical bills for her poor pup Lily, but it’s simply stunning. Next time I use it, I expect I’ll try it matte. Meanwhile, it was fun just to see how it looked on lighter and darker colors.
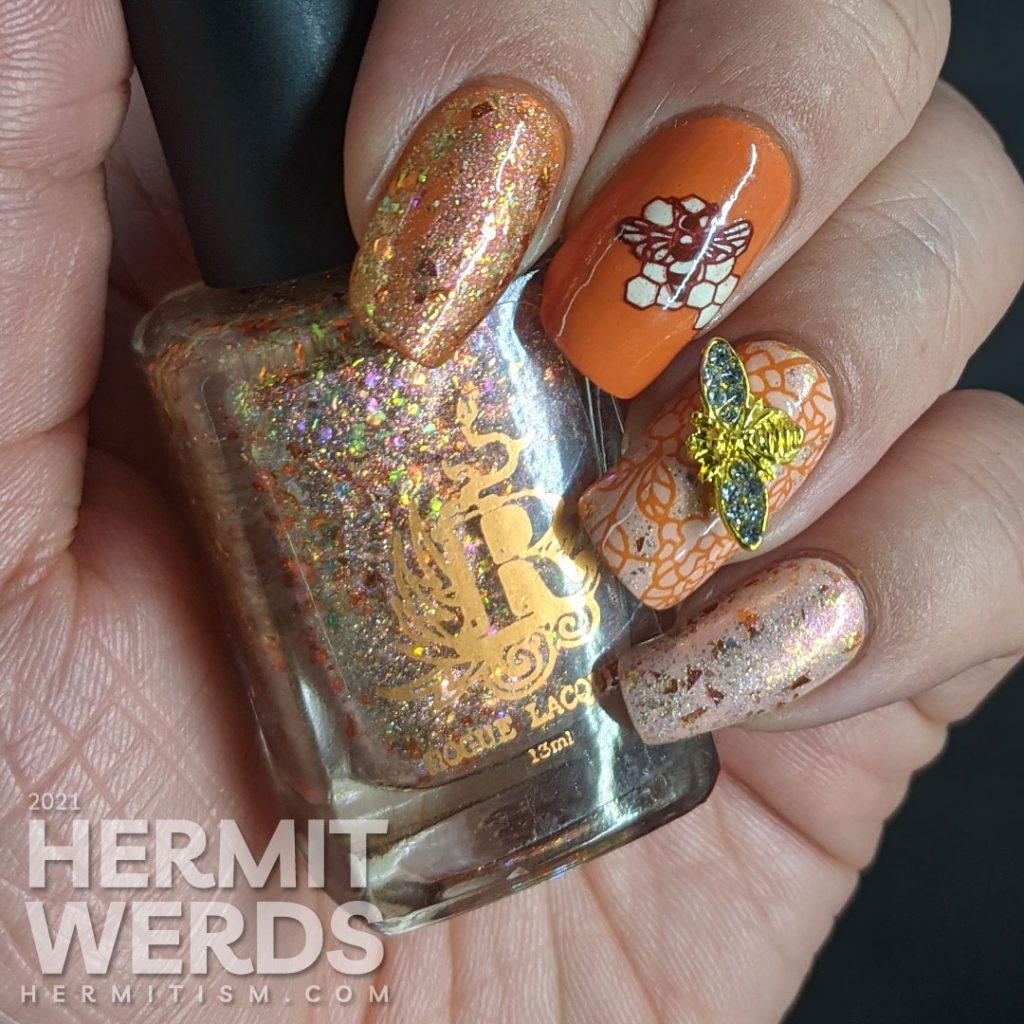
Since I didn’t add any additional colors for lead lighting, this nail art remained pretty high contrast and therefore quite visible from a distance. Amusingly enough, the bee charm just kind of turns into a vaguely bug-like gold blob.
Until next time, friends! 🙋♀️
Leave a Reply