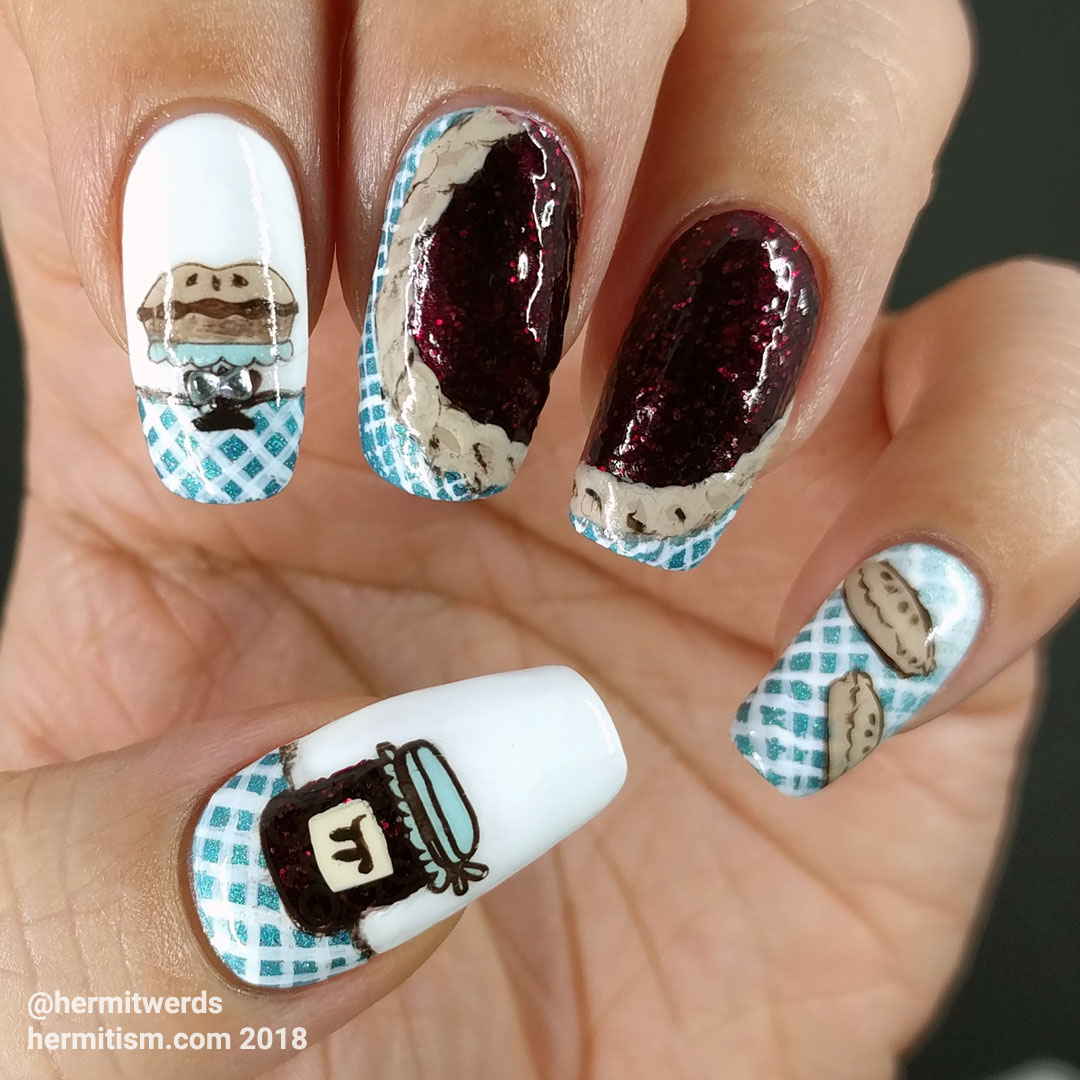
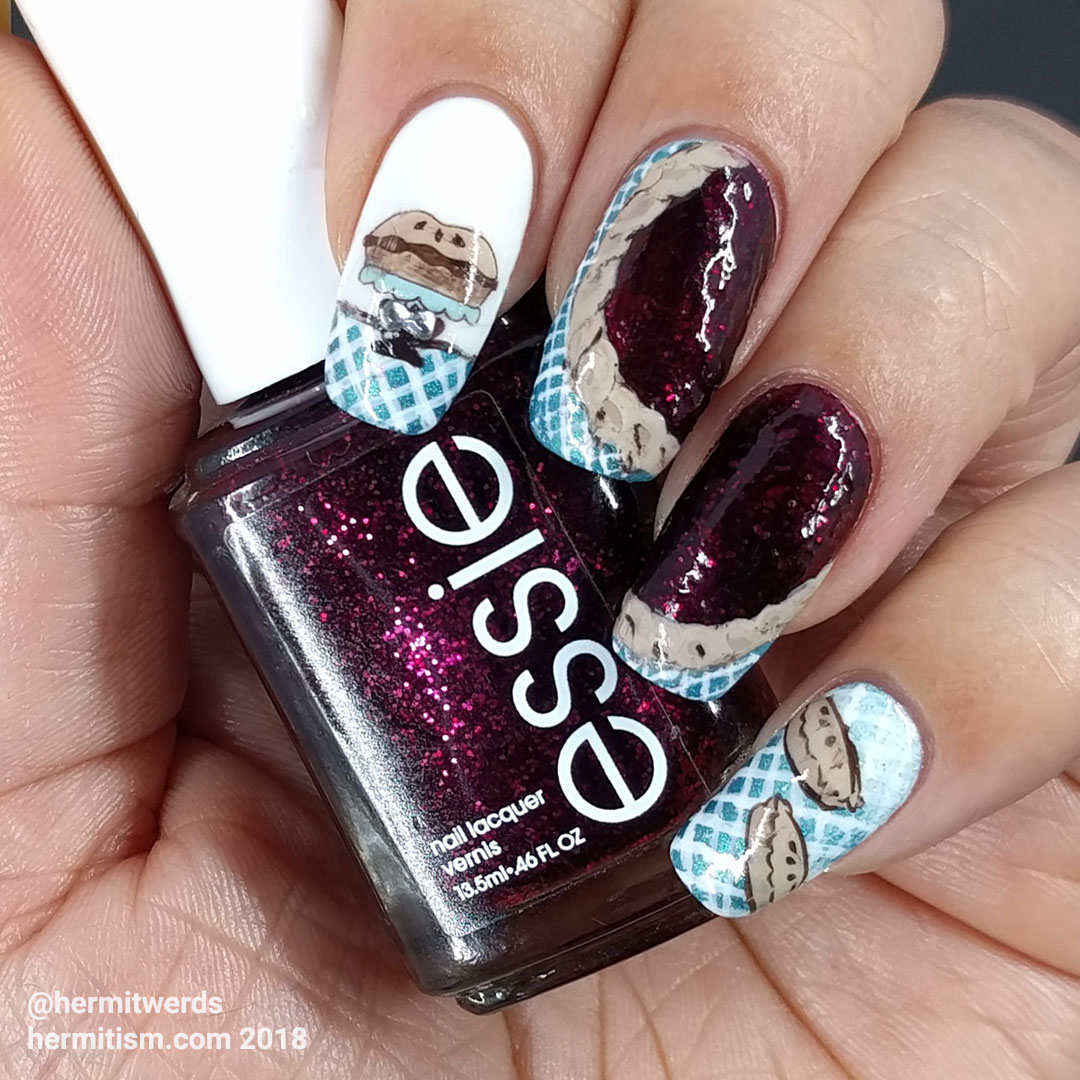
When I purchased Essie’s “Toggle to the Top” I thought it was the perfect polish to represent berry pie filling. It’s this dark raspberry color packed with glitter and so yummy. I must do pie nails with this, I thought. On Pi Day. So for the past two Pi Days I faithfully painted my nails with it and then tried to plan out how to make the rest of the imagery work and…never finished. Instead, I was reminded each time that “Toggle to the Top” is beautiful, but has a crappy formula that chips within 24 hours. Always. :p
I guess I finally have enough stamping plates and freehand skills in my arsenal because it finally happened! And now I can move on next year to a different kind of pie. Lemon meringue maybe. Or chocolate cream. This brings my heart joy and also I am really hungry for pie right now. Because I love pie. I would choose pie over cake, cookies, brownies, just about any other kind of sweet. But it has to be good pie and, as a person who has been rolling out their own pie crusts for over two decades, who will stand by a hot stove and stir filling for half an hour, my standards are high.
So don’t worry. My snobbery means I get plenty of cake and cookies too. 😉

Nail art products used
- Reusable white gel base
- Stamping Polish:
Essie’s “Partner in Crime” - Freehand lines drawn in white acrylic on top of Shinespark Polish’s “Blue Zircon”
- Advanced Stamping Polishes:
Essie’s “Blossom Dandy”, “Partner in Crime” and “Toggle to the Top” + Revlon’s “Elegant” and Zoya’s “Jacqueline” (sometimes mixed together) - Freehand pie and “pie” label done in same polishes as Advanced Stamping, also “pie” label, also a rhinestone bow
- Stamping Plates:
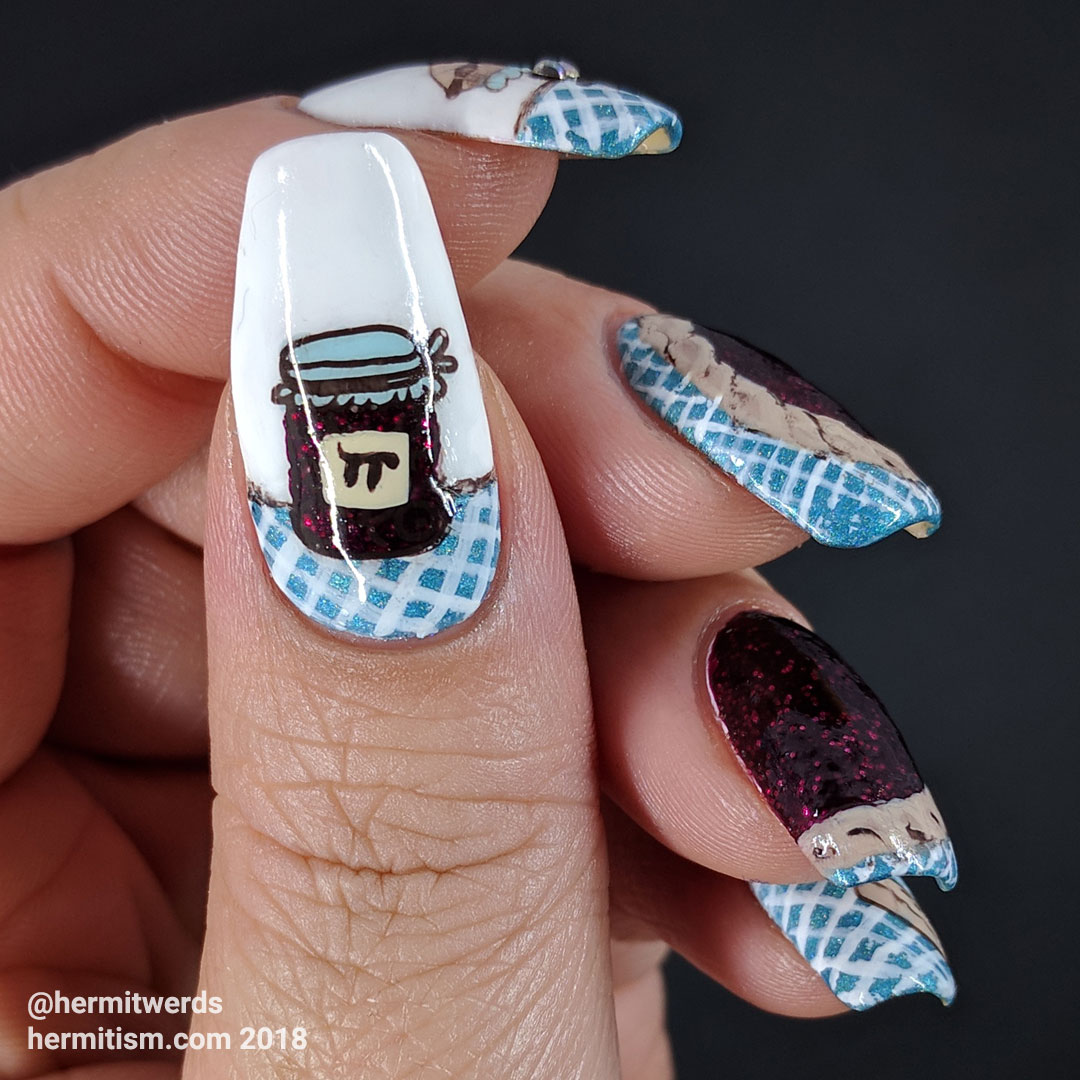
Bundle Monster BM-H13 (pinkie pies (Get it? Get it? :D)), Harunouta L022 (jam jar), QJ-L43 (pie on stand)
The Order of Painting
I’d originally planned to paint this with a blue background and a white “tablecloth” with blue stripes. But since I was painting these on white nails and didn’t feel like adding watercolors to the list of supplies, I decided to swap my background colors. This meant that the table surfaces would have more polish on them and subtly be closer to the viewer. To help with this I also added a line of brown to divide the two spaces because I’d already learned the hard way that it makes a difference.
To start, I masked off non-table areas with liquid latex and painted on the blue. Then I removed the latex (while the polish was still wet so it didn’t peel off the polish with it) and freehand-ed the berry filling for the big pie. This left me a little tunnel between filling and table that I filled in with medium brown. Then I painted on my thin white lines using acrylic because it’s hard to do thin anything with nail polish. Alternatively, I could have masked things off with liquid latex again and nail stamped.
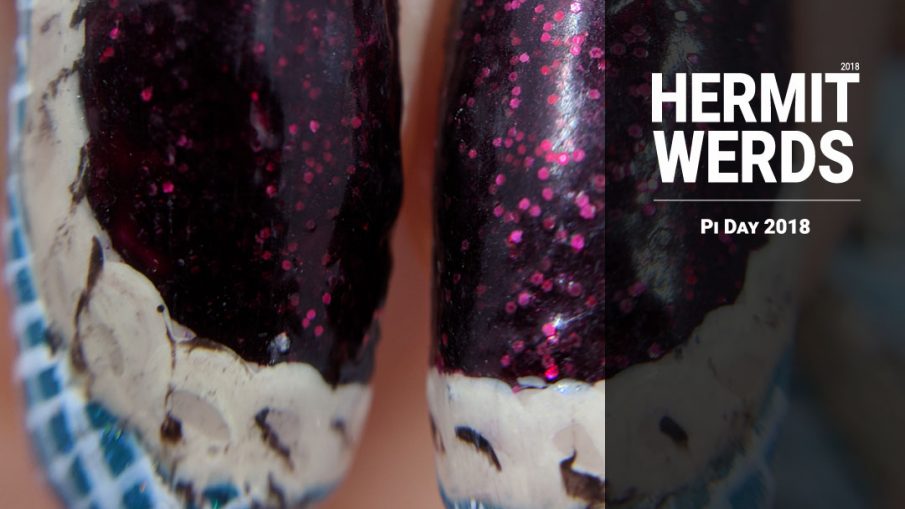
Then I went back in and blended the lighter two brown polishes together and painted s-shaped lines around the pie to make the crust. This happily covered any overlapping of the white lines and berry filling that I didn’t want. Finally, I went back with a little bit of dark brown and added a bit of outline here and there to give it depth. I wish I’d done that with acrylic paint so I had more control over where the color landed.

The Advanced Stamping Decals
I had no luck with decals this time. I accidentally smeared one of the pies on my pinkie and ended up sticking part of another pie decal on top to mostly disguise it. Then I smeared the jar on my thumb. Completely. So I did that decal twice which also meant I had to make my own “π” label twice. Ugh. I really like that jar of filling though. I want to eats it. Finally, I added the rhinestone bow because the QJ stamping plate is etched pretty shallowly and the bow on the image looked really meh.

To sum up, this whole manicure felt like a lot of blind and futile flailing. But it still ended up being the mani I’ve wanted to do for three years. So here’s to math! And pie! And pizza if you really want to stretch it. 🙂
Happy Pi Day!

Leave a Reply