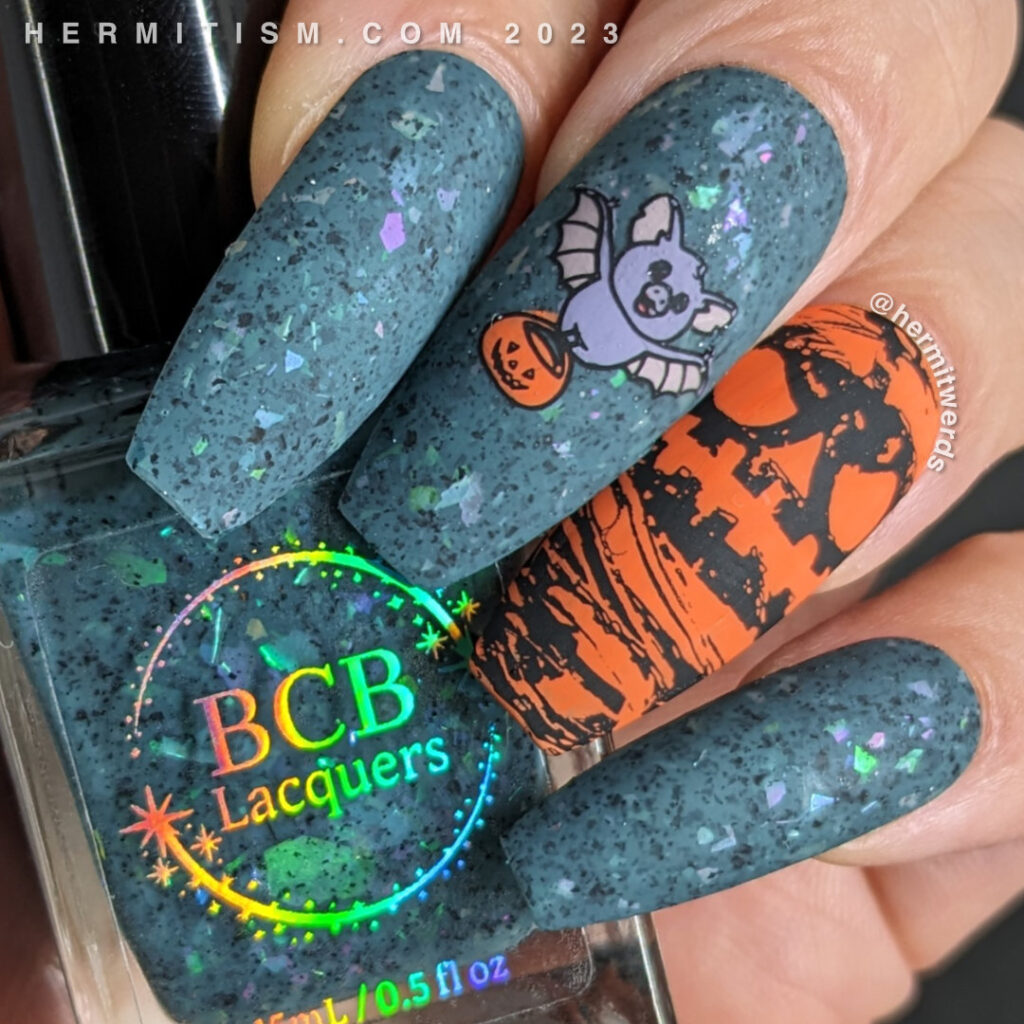
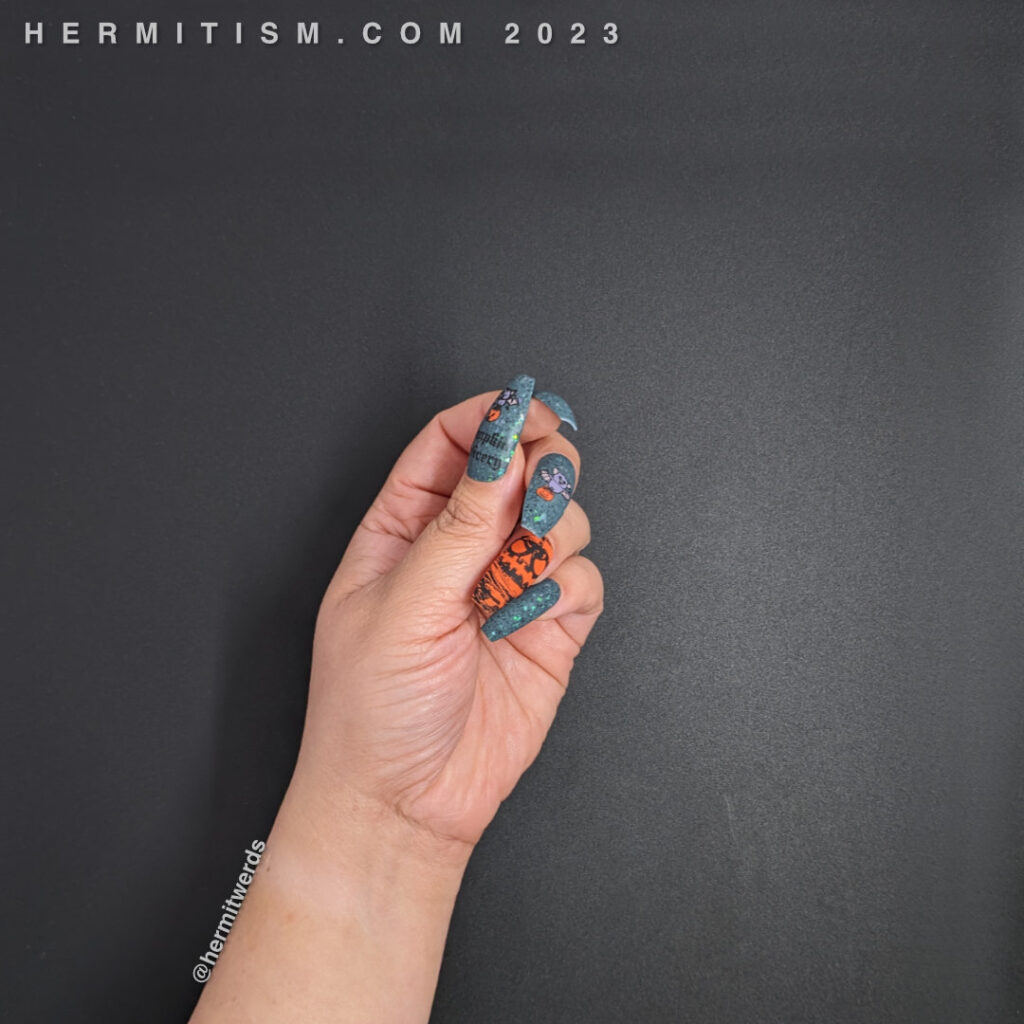
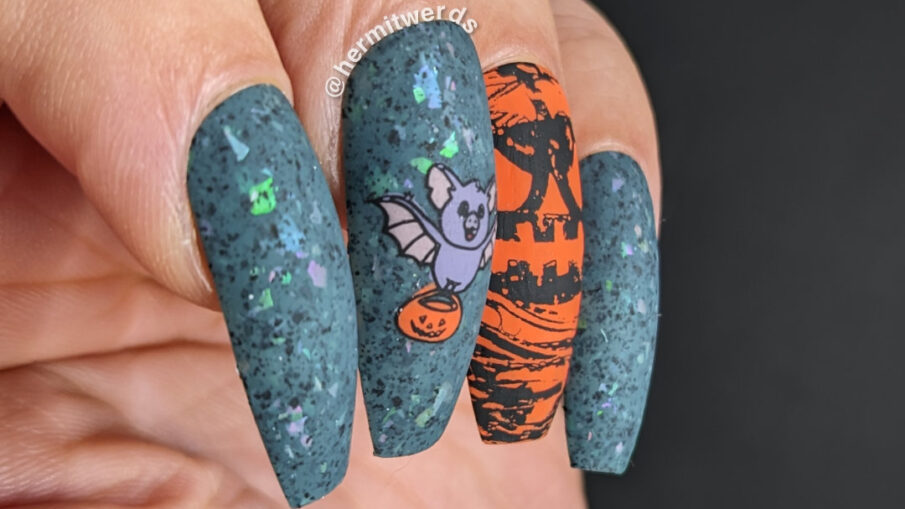
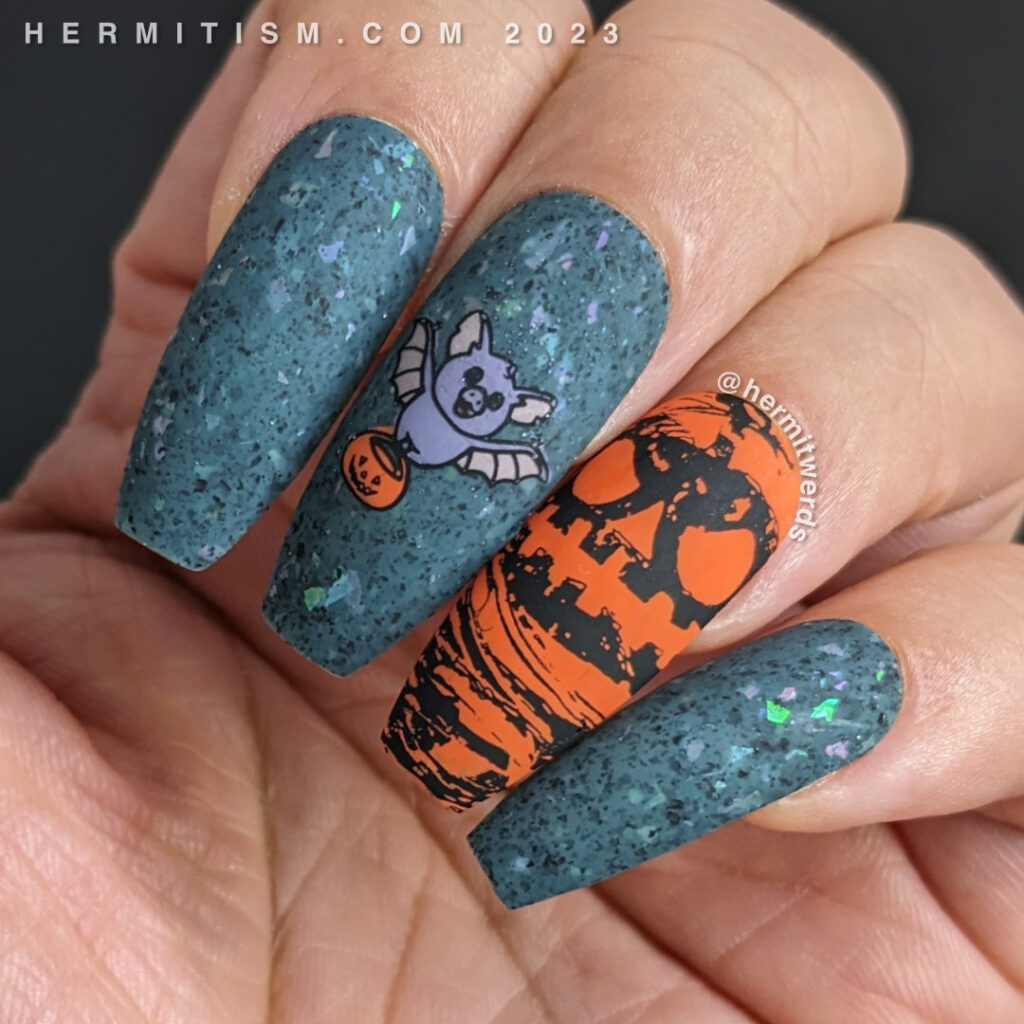
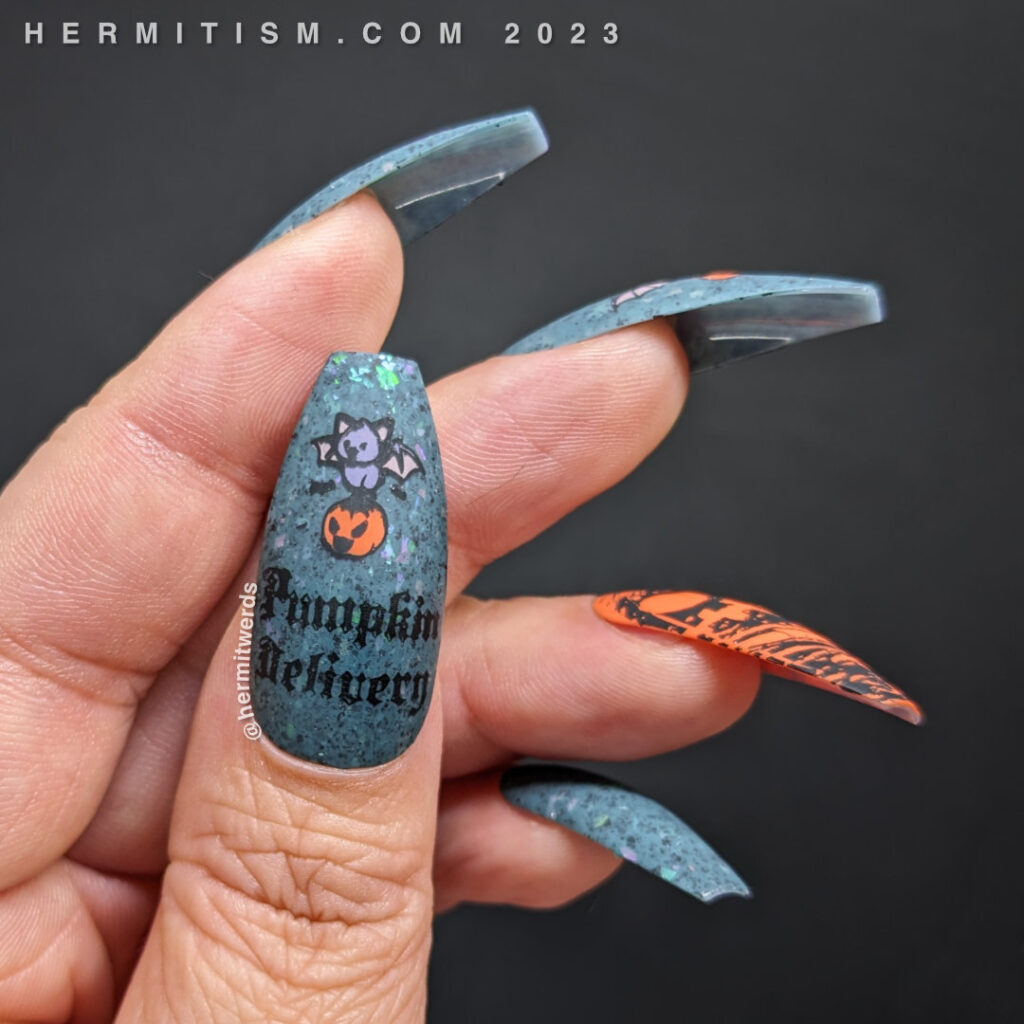
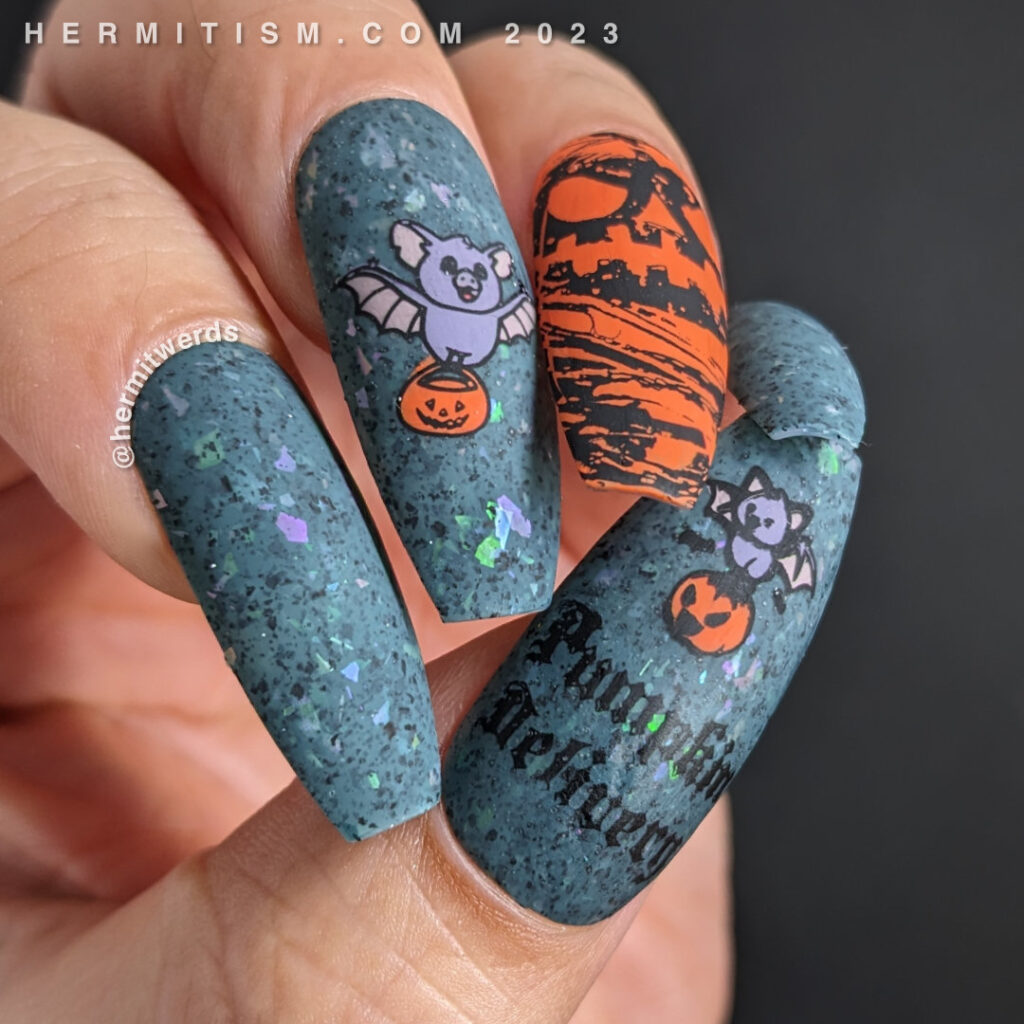
I didn’t have a bat prompt for this Halloween, so of course I had to find a way to sneak them in because I love bats. I had this design sketched up last year of little bats delivering pumpkins so when the jack-o-lantern prompt came up, I knew what I was going to paint. I ended up changing my design a little bit because I no longer liked what I had on the thumb. Plus even though I used the smallest letters, the phrase “pumpkin delivery” was too large to fit across any other nail than my thumb. Woops. But it still turned out and I got to feature some super cute bats.
It’s only a minor crime that I didn’t make the orange nail glow in the dark. Sorry!
Nail art products used
- Base Polishes:
- BCB Lacquer’s “Haunted Lane and Maniology’s “Pumpkin Head“
- Stamping Polish:
- UberChic’s “Pure Black“
- Reverse Stamping Polishes:
- Maniology’s “Candy Apple“, “Marzipan“, “Pumpkin Head“, and “Woolly“
- Stamping Plates:
- Apipila’s “Ghosts“ (giant jack-o-lantern)
- Fashion Disaster “Kawaii Halloween 1“ (large bat carrying a jack-o-lantern)
- Fashion Disaster “Kawaii Halloween 2” (small bat carrying a jack-o-lantern)
- “MouTeen-018“ (“Pumpkin Delivery” letters)
Items in italics are debuting on the blog for the first time.
First brush with a Supersizer stamper
Another thing I got to do with this mani is try out one of the new kinds of Supersizer stampers. I’ve actually had a shrink stamper for years, but it’s very awkward to use it to make a stamping image bigger. Now I used one of the knock-offs from Aliexpress, but I will be buying the original from Moyra because they do deserve my money for putting all the time into developing it. I did, however, want to see if they worked first since I spent the money on Maniology’s awkward attempt and never used it because I already had something that worked better. These work though. You just have to remember to set up the stamper correctly for shrinking or expanding an image. *cough*
I expanded both the larger bat and the giant pumpkin image. I was not able to expand the bat to the maximum size because that would have distorted the image too much. But I got close and painted some clear polish on top and when that dried removed it. Then I filled it in and stamped it on my nail after throwing some sticky base coat down first.
For the pumpkin I wasn’t going to have to color anything in so I tried using the image while it was still on the stamper. Very awkward. The stamping head is clear, but everything is in the way so you can’t see what you’re doing as clearly. (Plus the screw is still pressing into it from below and that feIt weird.) I ended up placing it a little high. I used what remained on the stamper to fill in the bottom of the nail, which only worked because it’s a scribbly kind of image.
Final Supersizer thoughts (for now)
- Using it to shrink is easy because you’re pushing the stamping head out first and then you can unscrew everything to shrink it. That means you can take the whole screw part out if you’re stamping directly on the nail.
- Expanding is trickier because everything is in the way. It’s going to be easier to make a decal out of it with clear polish and remove it from the stamper head. Especially if you’re working on the image more.
- Just like with other shrink stampers, the shrinking is not straight across. The image will be distorted in a radial pattern so this won’t work well with things like very precise stripes.
- Always return the stamper to the unexpanded state. I don’t think it would be good for the stamping head to remain stretched out when not in use.
- Super useful tool. I’m glad I have it so I can expand images as well as shrink them. When I buy the original (hello, black friday sales), it will be from Lantern and Wren.
Item was purchased with my own money. I am not affiliated with any nail product makers currently.
Final bat nail art photos
Until next time, friends! 🙋♀️

Leave a Reply