
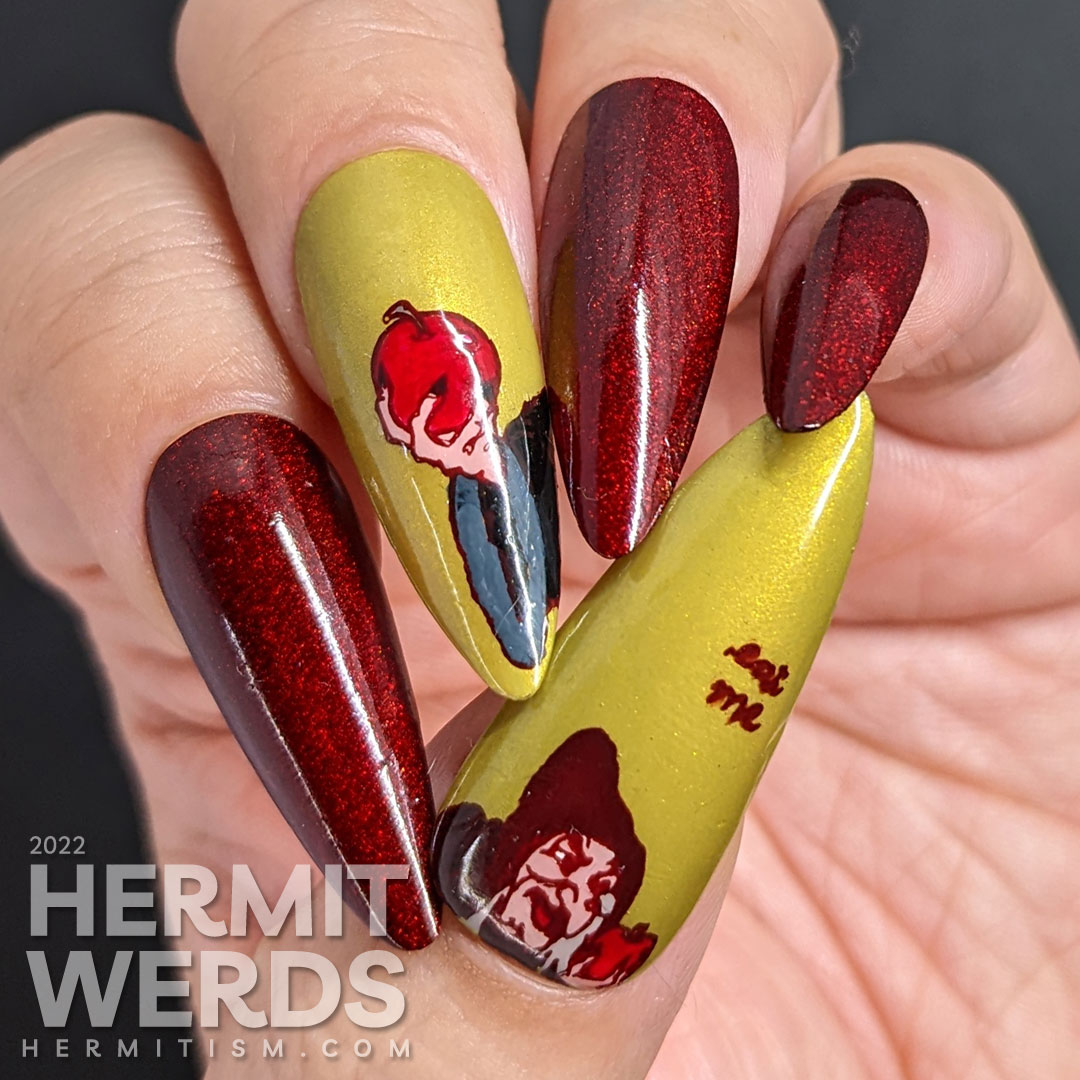
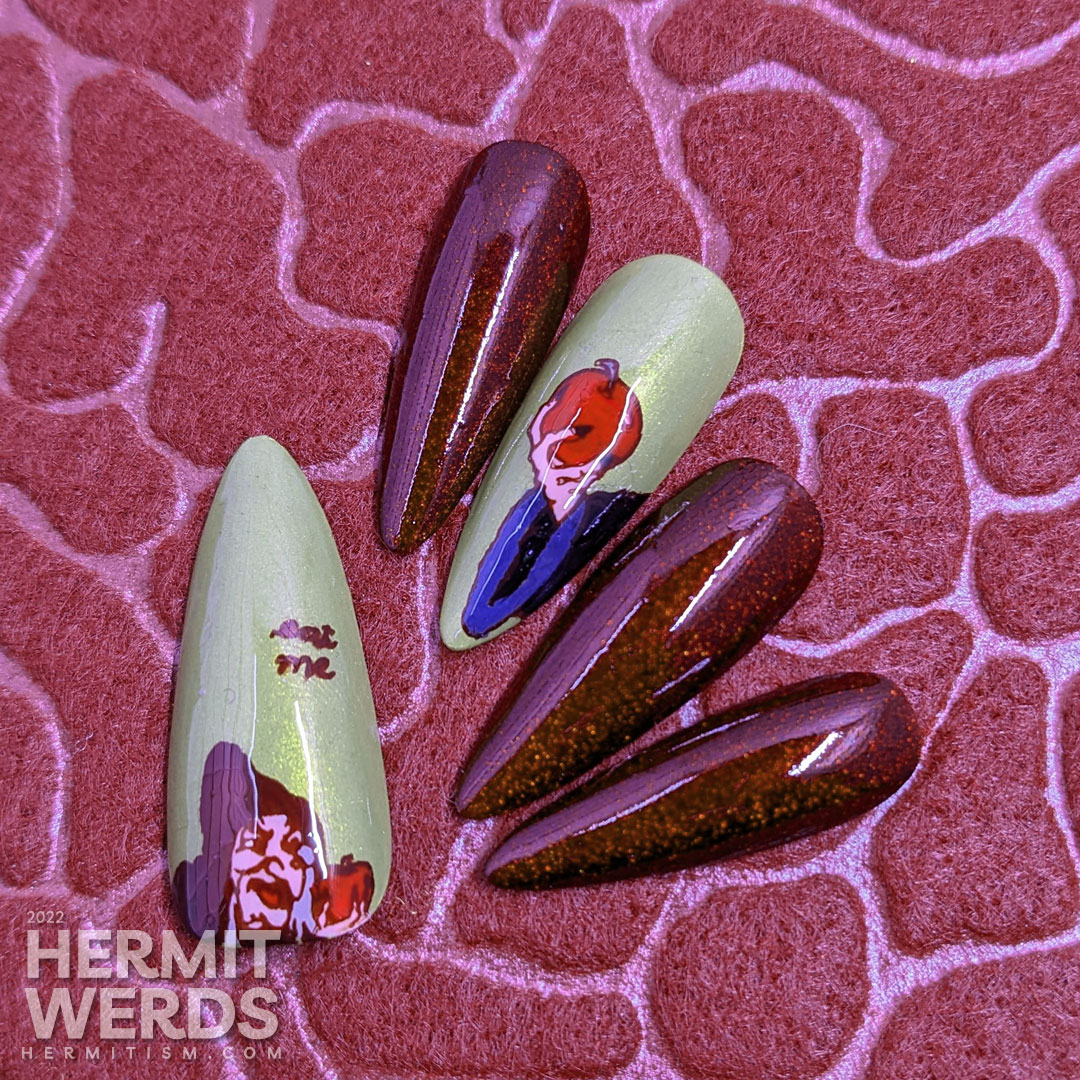
Today’s look was inspired by the second baddest Disney queen: the evil queen. I’m not sure she even had a name, but I love her nose when she goes full crone. I don’t think I’m alone in loving her elderly form so much more than the haughty younger one. She’s just so happy when she’s planning Snow White’s demise! Happily I had two images of her on an Apipila stamping plate and didn’t even have to think about tapping into my beloved Happily Never After set (which has gotten plenty of love over the years). However, I did have to extend some of the images to fit the nails…
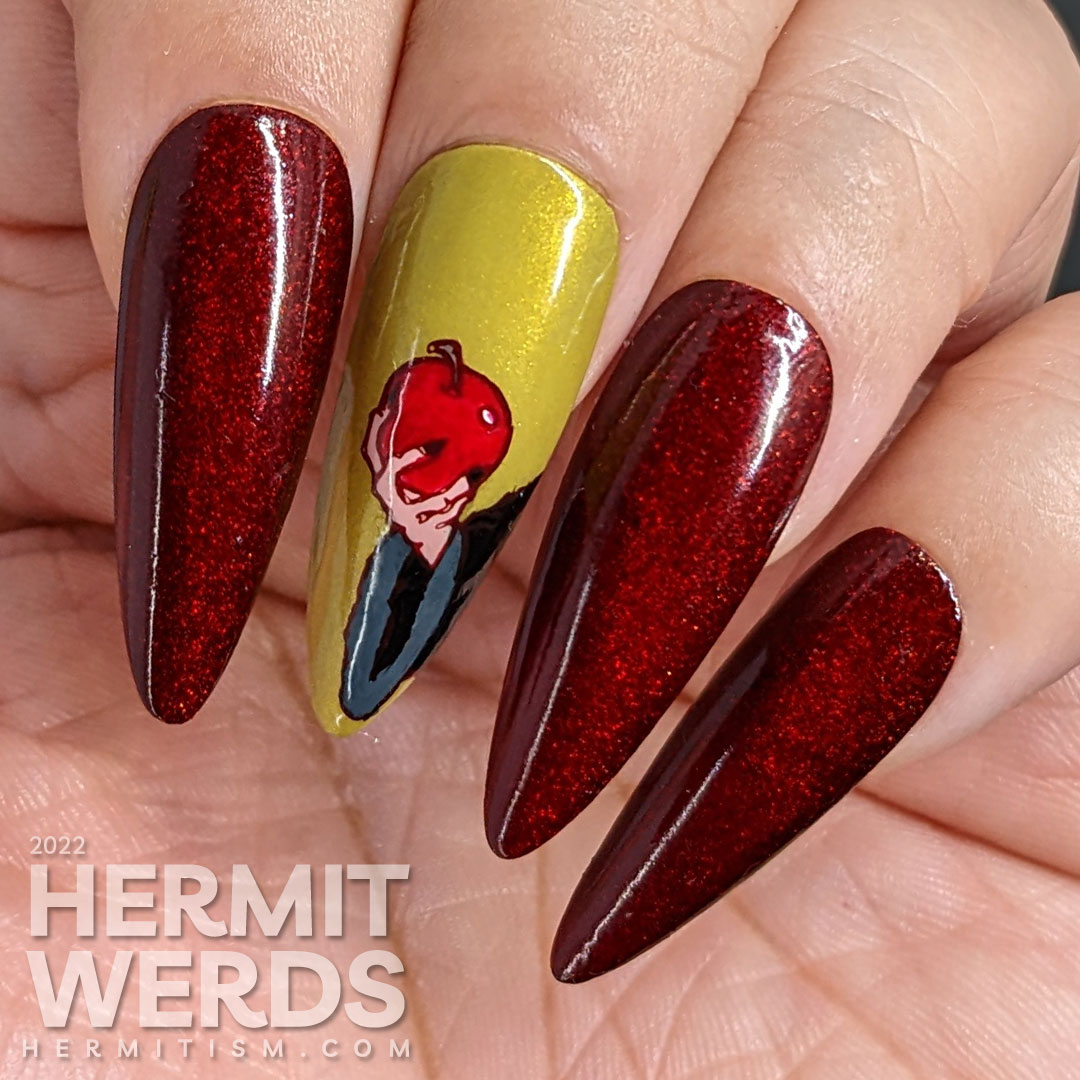

I was really tempted to piece together a “just one bite” phrase, but laziness won so I stamped an image of a fitting phrase I already had.
Nail art products used
- Base Polishes:
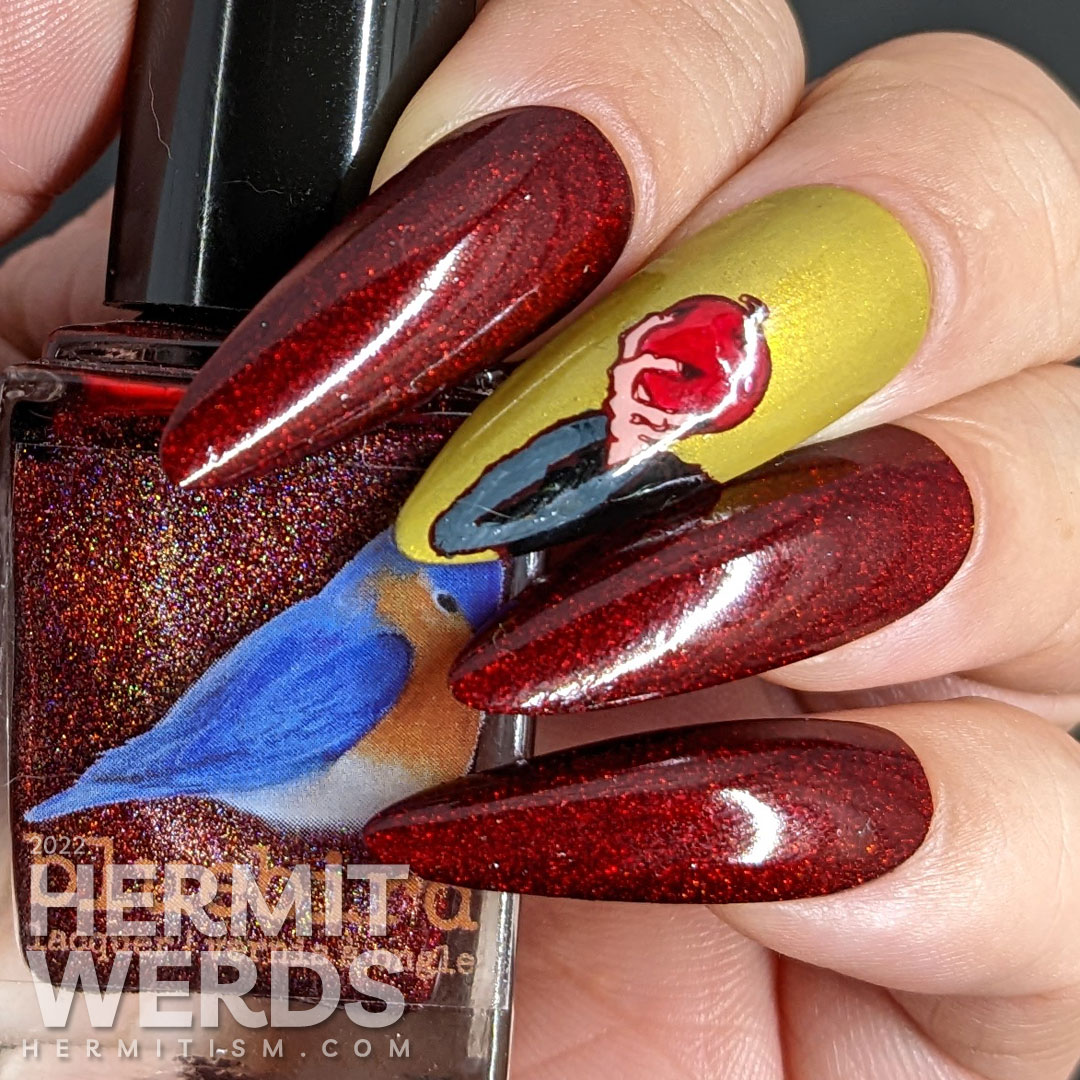
- Bluebird Lacquer’s “Centaur of Attention“ and Zoya’s “Scout“
- Stamping Polish:
- Maniology’s “Red Sea“
- Advanced Stamping Polishes:
- KADS’ “36 Warm Grey“; Revlon’s Parfumerie “Espresso“; Sinful Colors’ “Dream On” + “Snow Me White“; and Zoya’s “Cala” with a little red added to make it pinker
- Freehand Painting:
- Extended the stamping decals to fit the nails with the same polishes.
- Stamping Plates:
- Apipila “Hocus Pocus“ (hand holding apple, wicked witch with apple) and Moyou London “Alice in Wonderland Collection-03” (“eat me”)
Items in italics are debuting on the blog for the first time.
I feel like I’m finally fulfilled when it comes to having holographic red nail polishes. I’ve been hunting for the right red shades for a long while, but usually when you get a dark red it’s got a lot of blue in it, which is not what I want most of the time. I found my bright red holo a few years ago in Ms. Sparkle’s “Fiesta” and now I have found my dark vampy red in Bluebird Lacquer’s “Centaur of Attention” (although I do still love Vapid Lacquer’s “Lonely Hunter” and Cupcake Polish’s “Bloodhound”). I do suspect that Colores de Carol’s “Slappy’s Tie” might have also fit the bill, but somehow I never got around to buying it.
Either way, this dark beauty combined perfectly with my favorite dark red polish Maniology’s “Red Sea” and I think Disney’s Evil Queen at her most witchy is deserving of such loveliness. And since I’m talking about reds, Hit the Bottle’s “A Vermillion to One” is my favorite bright red stamping polish. And both stamping polishes are still available for sale at the time of this post.
And now a mini tutorial…
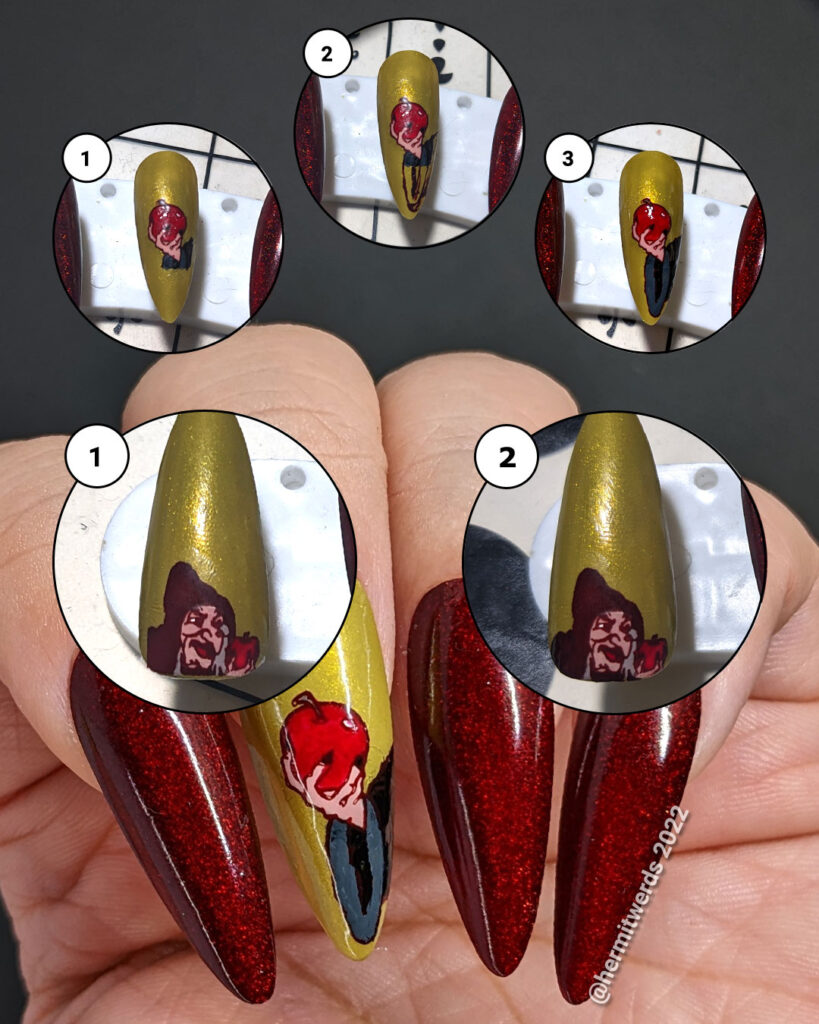
Eat the Poison Apple mini tutorial
Today’s look used two different stamps that didn’t even come close to filling the falsies they were placed on. We’ll talk about the first row of images (1-3) with the hand holding the apple and then cover it again in the simpler image of the witch (1-2).
Extending a reverse stamping decal
Note that steps 1 & 2 can be switched. It was just as easy for me to paint on a false nail, but it would be more difficult if you’re working on your hand. Make it as easy to get your painting done as possible.
- Since the details in my stamping image would have been much harder to fill in once the image was stamped, I did that first. Then I took a moment to position the stamping image on my nail, keeping in mind how it would look with the image extended.
If you need to draw it out on paper first to help you “see” it, do so before stamping. - Using a fine brush, I sketched out the outlines of the image with the same polish used to stamp the original image. I needed a loop for the sleeve with another inside to define the edge and a line where the sleeve would connect to the body.
- Finally I filled in the decal with the other colors. If you need to go back and refine some of those outlines, that’s okay. I definitely went back and forth with them. Once you’re done, be sure to cover with a smudge-proof top coat because that was a lot of work you don’t want to have to do again.
Extending a decal’s outlines only
- Once again I positioned and stamped the witch decal on my nail. I analyzed it to find what needs work. You can see there’s a little bit on the bottom that is showing and her back got cut off.
- Now fill in areas where your decal’s outline would have had polish if only it were bigger! I just rounded off the vertical line of her back and then splashed a tiny bit of polish below, keeping in mind that her hair is hanging below the nail’s edge. No additional colors necessary!
That did leave me with a large amount of “blank” space above her, so I ended up adding a quick phrase that made me laugh, which you can see in the other photos.
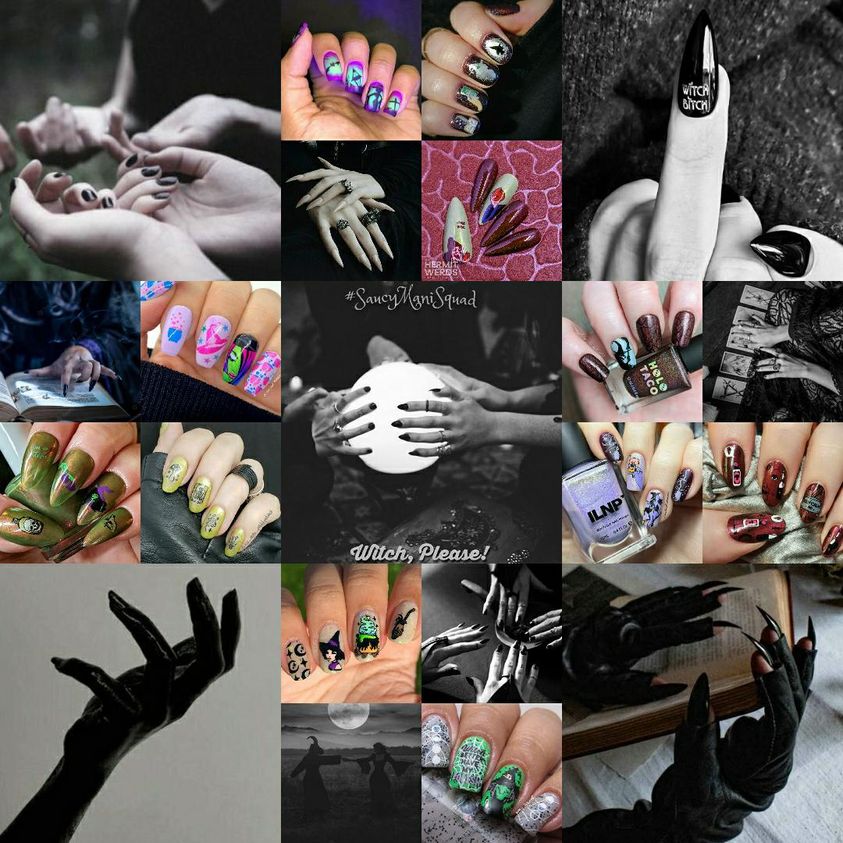
#SaucyManiCollage – prompt
- Host: @miss_tanababy_
- Parent group: @saucy.mani.challenge
- Group tag: #SaucyManiSquad
- Prompt: Witch, Please!
- Next prompt: What the fox?
Final poison apple nail art photos
Yet another example of why I need to stop using colorful backgrounds. I am way too lazy to color correct it all the way to match my other photos (which are color correct). 😅
Until next time, friends! 🙋♀️ Halloween is almost here!
Leave a Reply