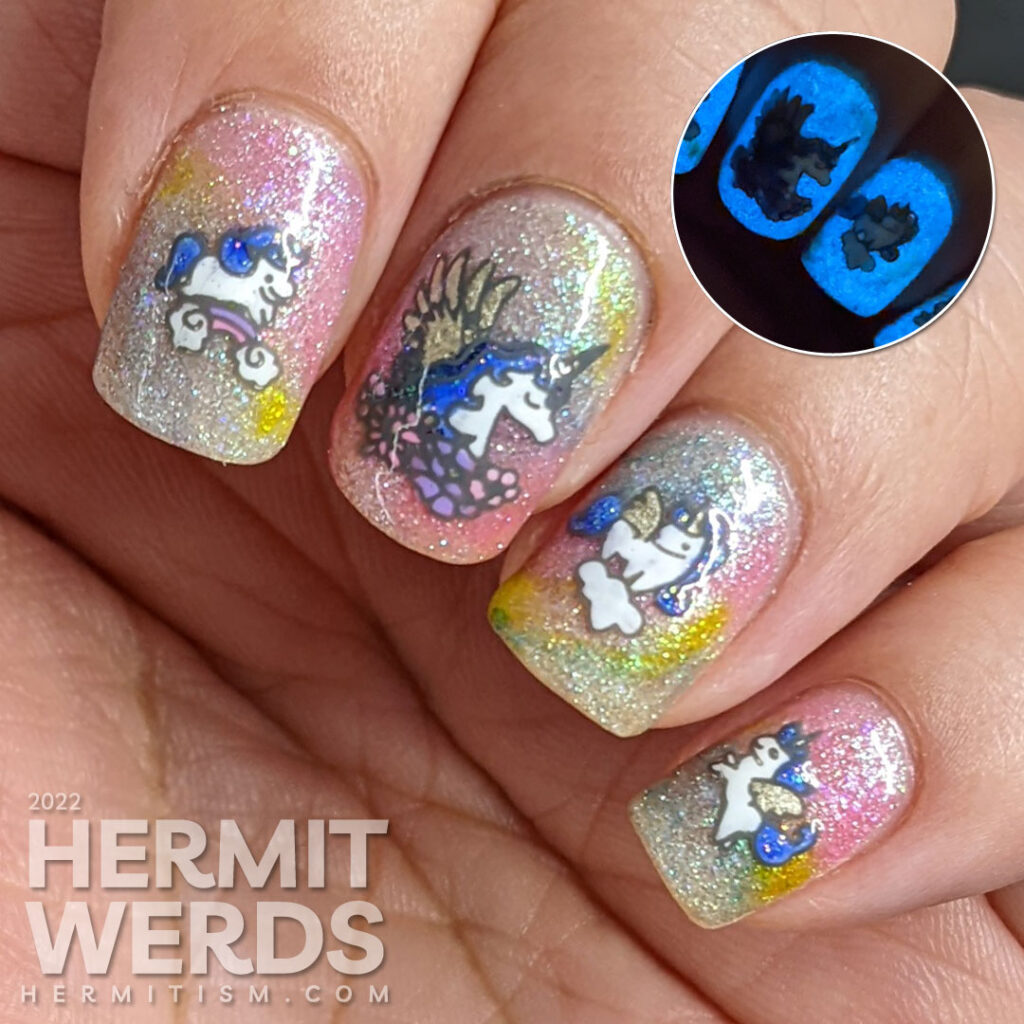
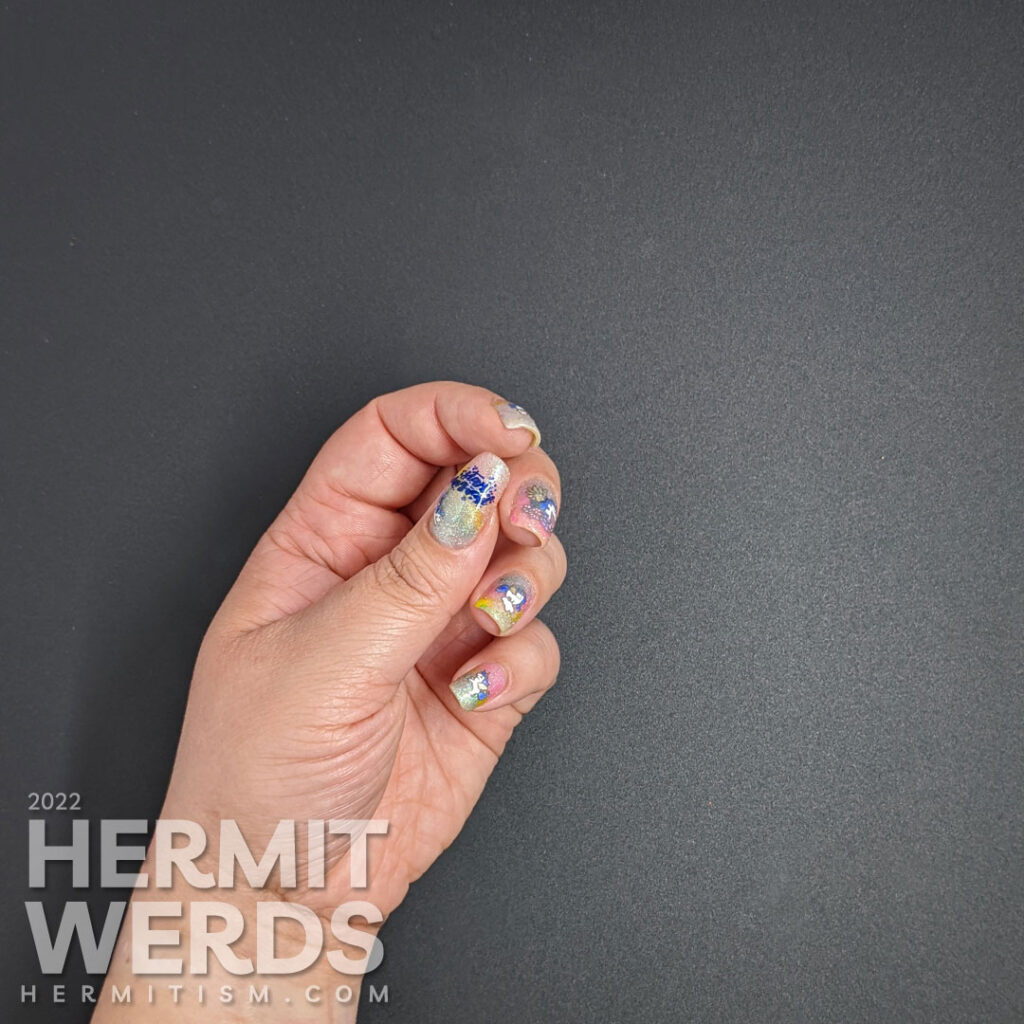
It’s June and I’m finally getting myself together to paint a unicorn mani for Junicorn. Naturally I had to drag some glow in the dark stuff into the party. And it is a party because this is my mani for the Saucy Collab and the prompt was Juneicorn Jubilee. I wanted something pastel and rainbow-y to go with the whole unicorn vibe. Although most of my unicorns have wings so rightfully I could call this an alicorn nail art.
Nail art products used
- Base Polishes:
- Cat Tail’s “Phos-4-us“
- Covered with washes of alcohol ink (sharpies) washed out with rubbing alcohol
- Stamping Polishes:
- Born Pretty’s “Diana” and Maniology’s “Storm Cloud“
- Advanced Stamping Polishes:
- Bee’s Knees Lacquer’s “House on Haunted Chill“; Essie’s “Good as Gold“; Frankenstein-ed “grey french tip“; Pretty Serious’ “Cutie Patootie” + “Fluffykins“; and Sinful Colors’ “Snow Me White“
- Stamping Plates:
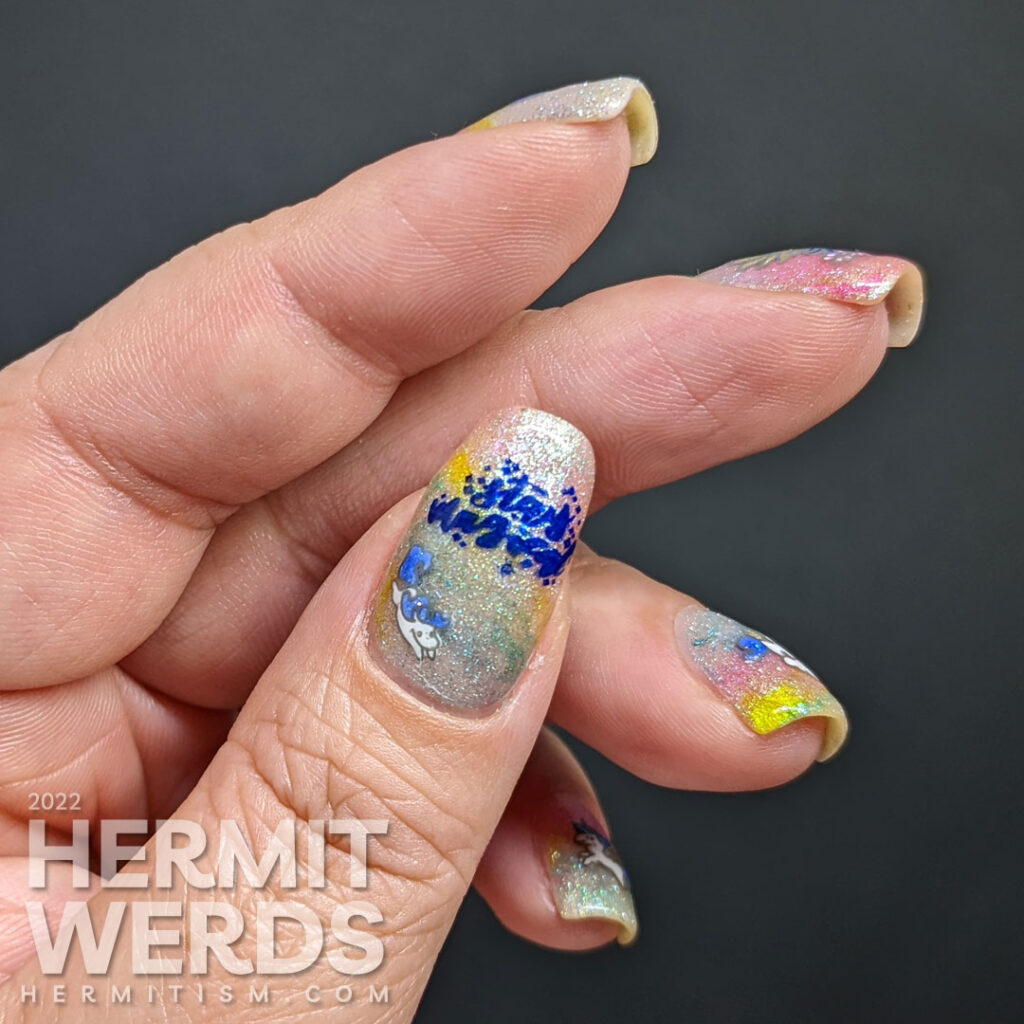
- Beauty BigBang “XL-081” (tiny flying alicorns), KADS “Immaturity 011“ (unicorn profile with flowers and wing), UberChic “Unicorn Love 2“ (“stay magical”)
Items in italics are debuting on the blog for the first time.
I have a history of taking a full background stamp and breaking it up into elements to make a different nail art. I think this cat nail art is probably the best example. All that from one little image. Anyway, I did support this one with some text (“Stay Magical”) and a unicorn in profile with flowers. I added some wings to it to make an alicorn since that’s what most of the other little chibi horned beasts actually were.
And now, a tutorial…
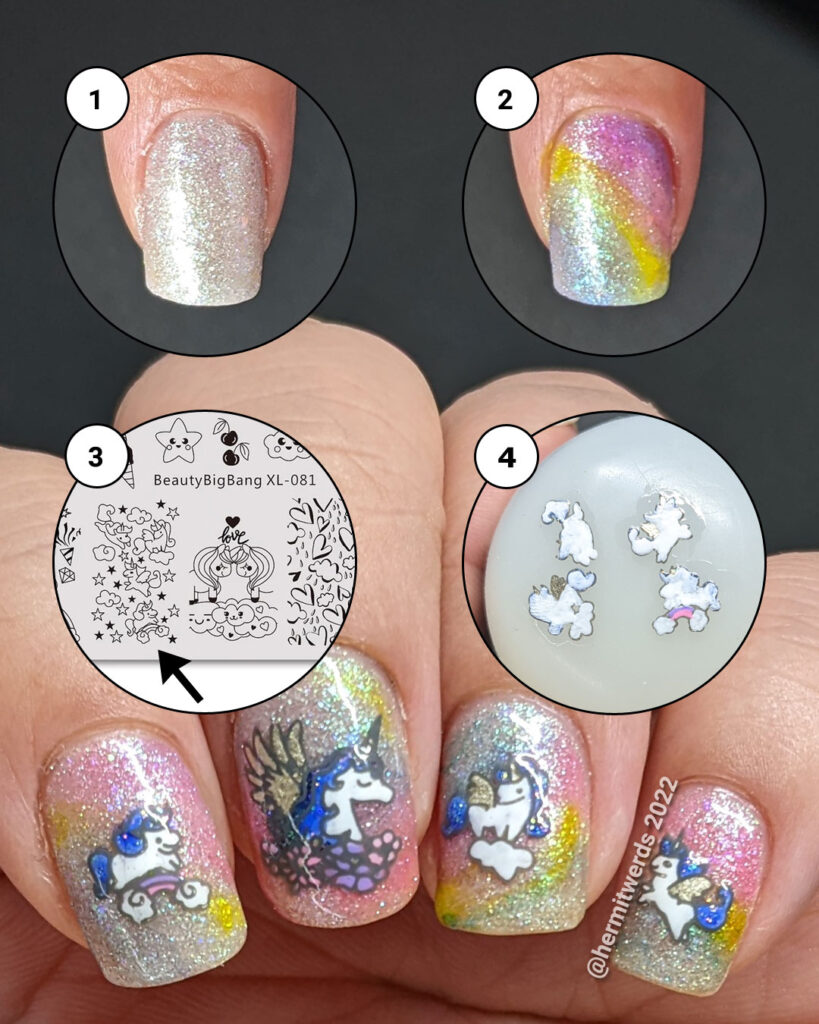
Stay Magical, Unicorn! Mini Tutorial
- Start with a sparkly base. I used Cat Tail’s “Phos-4-us” which is also glow in the dark. It’s a little gritty so there are several layers of glitter grabber topper to help smooth things out.
- Next pick a few Sharpie colors (or other alcohol ink). Scribble onto something like a plastic lid and then spray with rubbing alcohol before picking up with your brush. This gives you more control over the color, lightens it to keep things pastel, and also helps to set the ink when it dries.
I painted a long wavy line of rainbow across my nails. - Now use a stamper to pick up the full nail pattern. You’ll want to use a piece of tape or a dotting tool painted with a li’l sticky base coat to remove the extra stars, etc. Whatever you’re not going to use.
- Paint on a quick layer of clear (not quick) polish, let dry for about five minutes and then fill in the decals with your colors of choice.
- Use scissors to separate the decals from each other and place on your nails. Congrats! You have made that full nail pattern work. 😂
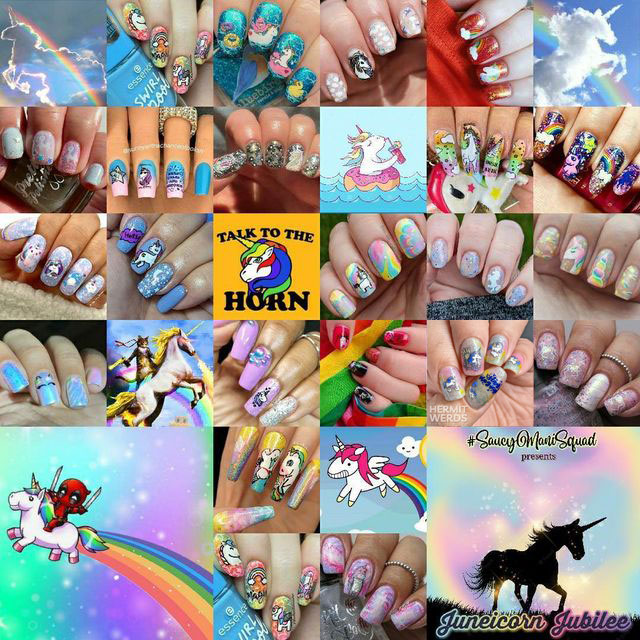
#SaucyManiChallenge – Juneicorn Jubilee
- Hosts: @miss_tanababy_
- Group tag: #SaucyManiSquad
- Prompt: Junicorn
- Next prompt: Spooky Summer
I did not edit my photos before I went to bed, missed the cut-off point, and am not in the original collage… But I edited myself into this one! heh
Alicorn nail art photo dump
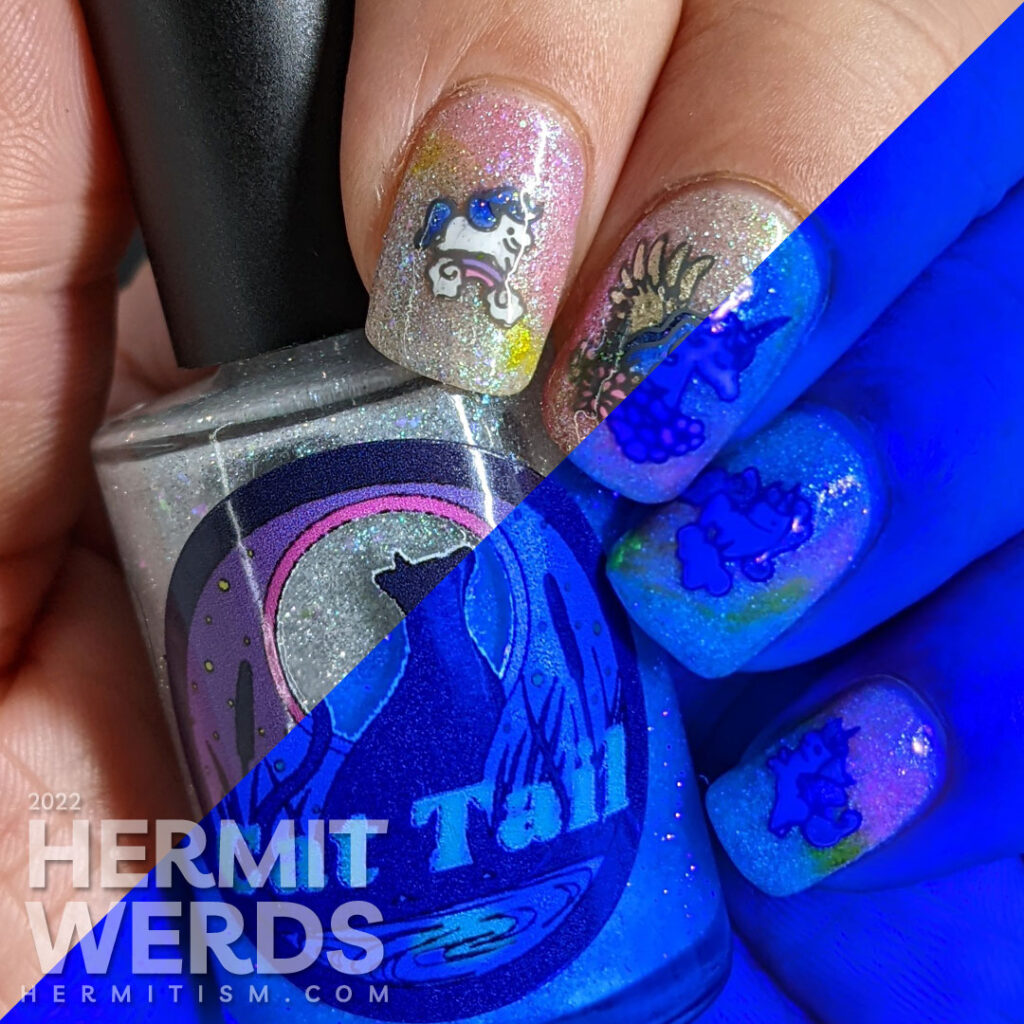
As you can see from the bottle, this Cat Tail nail polish is not UV light reactive. I decided to post this photo with the bottle so you can see that any reaction it has is actually from the glow of the alcohol ink. It’s kind of a nice and soft effect, but since I didn’t use UV reactive polishes with the stamping decals, the look didn’t build on itself and just looks very blue. Ah, well.
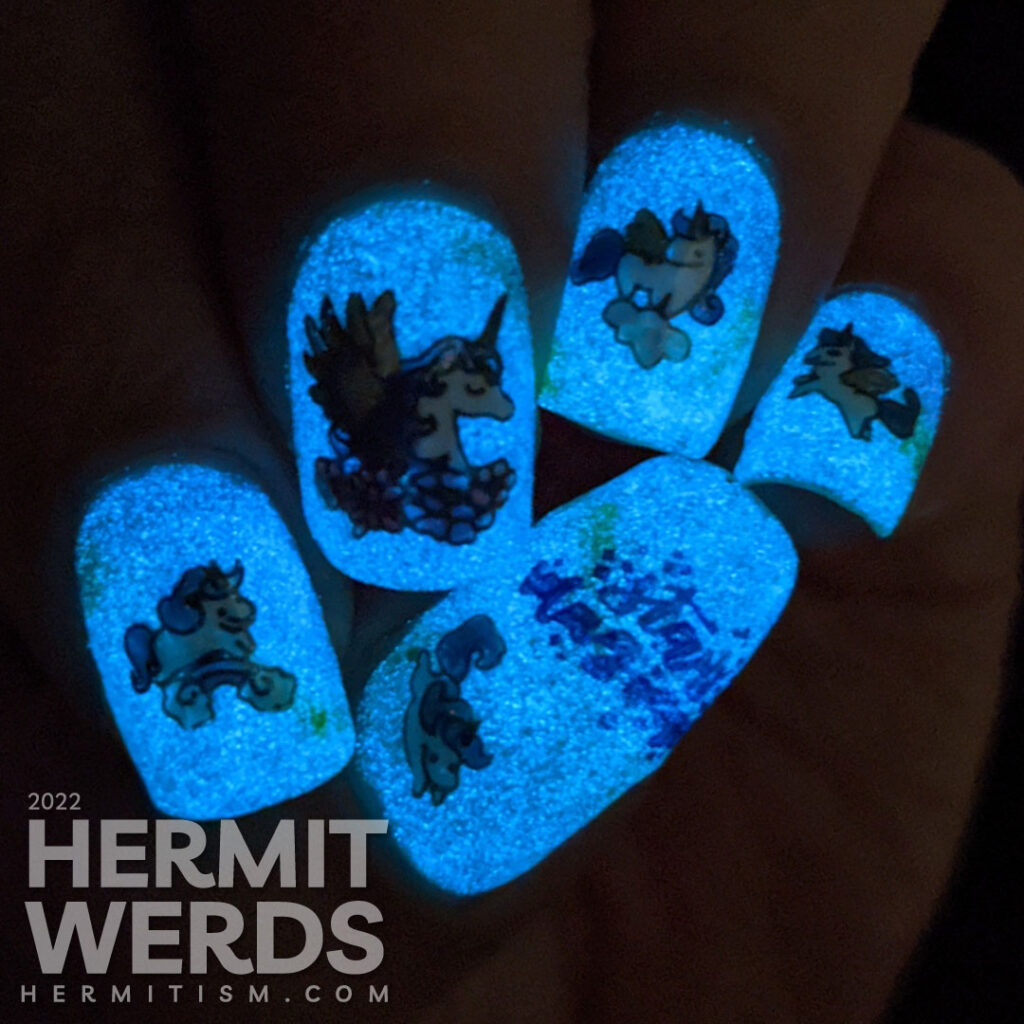
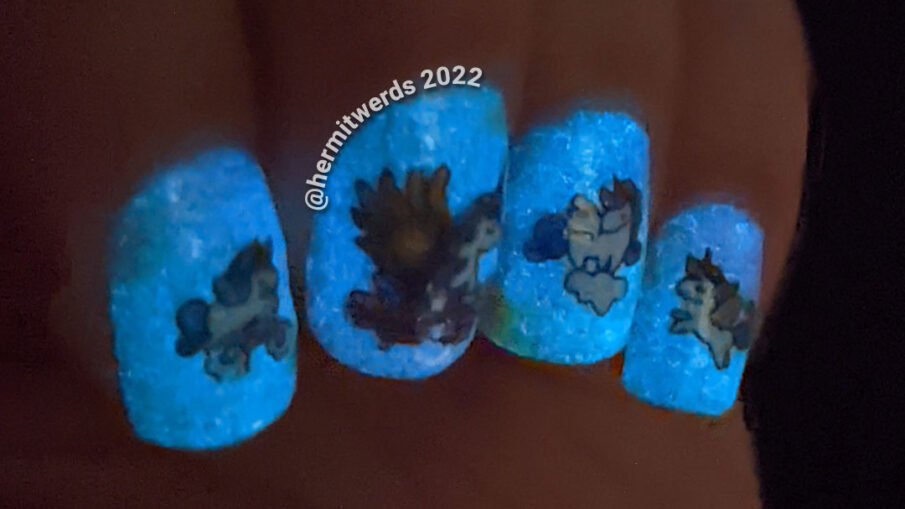
Still, the polish has great aqua glow from natural light and my understanding is that it’s returning for a re-spawn in July’s Polish Pickup sale. So if you like it, that’s probably your last chance to buy it.
Until next time, friends! Stay magical! 👋
Leave a Reply