
I’ve been using nail foil glue with nail stamping fairly regularly for a few months now so I think it’s time to talk about its pros and cons while sharing this cute tiger nail art. 🙂
How I used to decal everything…
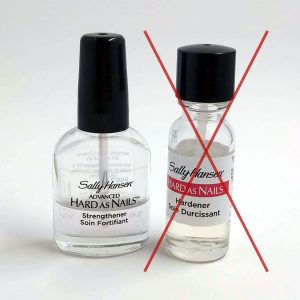
I both live in a dry climate and use several layers of Seche Vite top coat as I paint my nails. The top coat is necessary not only because I tend to flail and destroy everything, but it also prevents the base colors from bleeding into the stamping (some polishes are more prone to this than others). So this means that decals and stamping will usually not stick to my nails without some help. I normally make a decal out of even a simple background stamp and stick it on with an extra coat of clear polish. It holds the lines together so there’s less chance of wobbles like I have on On Violet Waters. My secret weapon for stamping decals is Sally Hansen Advanced Hard as Nails Strengthener. It ticks several great points for me:
- It’s cheap. Around $3 for .45 FL OZ (13.3 ml).
- It dries quickly. Waiting five minutes is best, but I’m impatient and don’t always wait that long.
- It dries thin so the edges of the decal blend in instead of leaving an obvious line.
- Because it’s a strengthener, the decal is slightly stiff and less likely to fold in on itself while you’re trying to manipulate it.
- It doesn’t get brittle too quickly. Overnight isn’t a great idea, but it’s possible. However, the bottle I crossed out (purchased when I couldn’t find my favorite for months) works the same but gets brittle within fifteen minutes. Look for the bottle shape and also “Strengthener” not “Hardener”.
- It doesn’t tend to smear stamping lines (until it gets old and then you need to add polish thinner and you’re back in business).
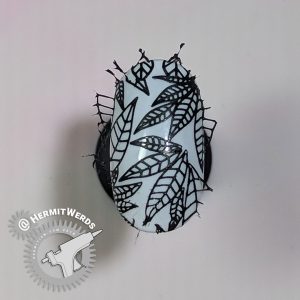
When making decals, I get the image on my stamper, lay down a coat of the clear stuff, and let that dry before coloring it in with polish. This keeps me from accidentally removing or distorting the very lines I’m trying to color in. It also lets me flip the image over if it will look better facing the other way. Once dry, I remove it and place it on a clear stamper. Then I swipe another layer of the strengthener on my nail, wait a minute for it to dry a little, and place the image on my nail. Then I pat down the decal very gently with my finger (a smooth silicone tool would be wiser) to make sure it is fully stuck to my nail. Top coat and done!
Pros & cons of using foil glue with nail stamping…
DISCLAIMER: it was in no way my idea to use foil glue to help stick stamping/decals to the nail. Several different nail artists mentioned that they were doing this so I decided to try it and see how it works for me. I’ve now been playing with it off and on for a few months and these are my thoughts on it.
What is foil glue?
Foil glue is used with nail foil and nail foil is basically ink printed on a sheet of plastic that cannot be removed with water like a water decal. The foil glue is super tacky and basically pulls the pigment off the plastic as you peel it away. Foil glue does not dry out, which is why people are liking it for stamping. You can paint it on and stamp several minutes later and it will still grab the image right off the stamper. I have removed the polish off my nails several days later and the foil glue was still tacky.
(Foil glue and nail glue are two very different things, so don’t mix them up.)
I have a 99¢ bottle of foil glue from ebay with no brand name or even a label to tell me what it is. Your results may vary depending on the quality of glue you have.
Best process
I’ve had the best and least lint/hair/booger-filled results by following this method:
- Have everything ready. Completed decals, stamping plates, polishes, clean up tools, top coat. Everything. Your nails are going to be sticky and the last thing you want right now is to have to fish around for anything. Lint sucks!
- If you’re stamping on a background pattern, paint liquid latex around your nails. This isn’t to protect your skin, it’s to give the lines of your stamping something to cling to so they don’t fly up and fall across your nail as you lift the stamper away. (See 4)
- Paint on your foil glue. Be careful to only paint it where you need it. It is not fun to clean up and will leave “boogers” around the edge of your nail that will pull off some of your design with it when you pry it away. Mani ruined. 🙁
- Stamp away! The longer your nails are, the more careful you need to be that the stray lines left on your stamper don’t fold down to touch the nail surface. They will stick and you will be stuck with them.
- As long as most of the surface is still sticky, you can add more background stamps or decals. You could easily add another stamp over those leaves.
- Top coat asap. I like to finish one or two fingers at a time, top coat, let that dry and then finish the other fingers.
Cons of foil glue
- My nail art-ing environment is a landmine of lint and cat hair. The foil glue attracts these things like nothing else. You need to have everything ready before you start because the longer it takes, the more likely things will get hairy.
- It’s occasionally lumpy and may need more than one layer of top coat.
- No second chances. Once a decal is down, it’s there to stay. I have a 33% chance of salvaging some of my work when using clear polish, not so with this.
- Because it never dries, it kind of weakens your mani. Like, if it peels, it will peel between the foil glue and whatever is on top of it. Then you’ll have this exposed tacky layer on your nails. I change my nails constantly, but it may be a problem if you want your nails to last for a few weeks. Sadly, I don’t know and this is probably where the brand/quality of your foil glue is going to be more important.
- Unless you’re doing a full nail stamping background, it’s more work than my normal way of adding decals with more risks of lint or bad placement destroying everything.
Pros of foil glue
- Stamping on full nail patterns takes less time. They will likely appear in my nail art more now that it’s easier to get them done.
- With practice, less image distortion (esp on full nail patterns) than when I make decals of everything. Decals will always crease where your nail curves.
- Thinner designs. I hate having thick layers of polish on my nails. Most manis can be done with one layer of foil glue to stick everything down. With clear polish you have to add more each time because the old layer dried up.
- I can’t speak for super humid or hot humid environments, but works well for me in dry/humid temperate, dry hot, and dry/humid cool.
- Uses up foil glue. I can’t speak for everyone, but I rarely use nail foil. It’s nice to be able to get more uses out of a tool I already have.
Conclusion
I think using foil glue for stamping is fantastic, but since my environment will always be linty/hairy (because: cat/sewing) I will (mostly) stick to using it for full nail designs and not smaller decals. Otherwise the risk of stray hairs is much greater and it’s just as easy to throw down a quick dash of clear stuff.
Back to the Nail Art
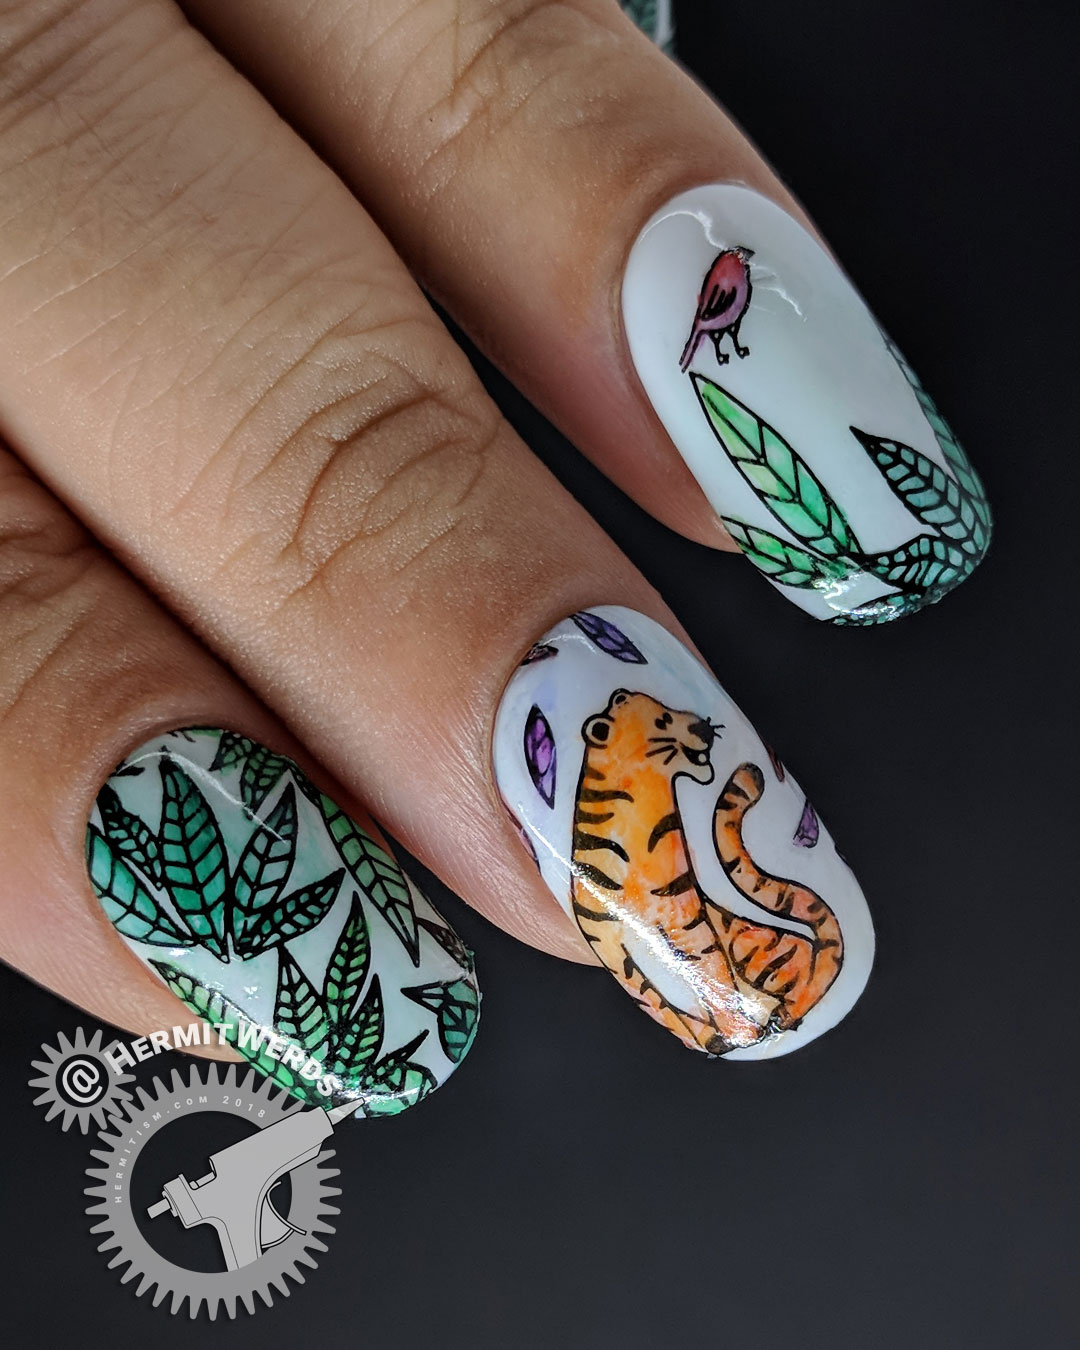
And, now…how about some tiger cuteness. Oh, that hungry boy is ready to eat bird…
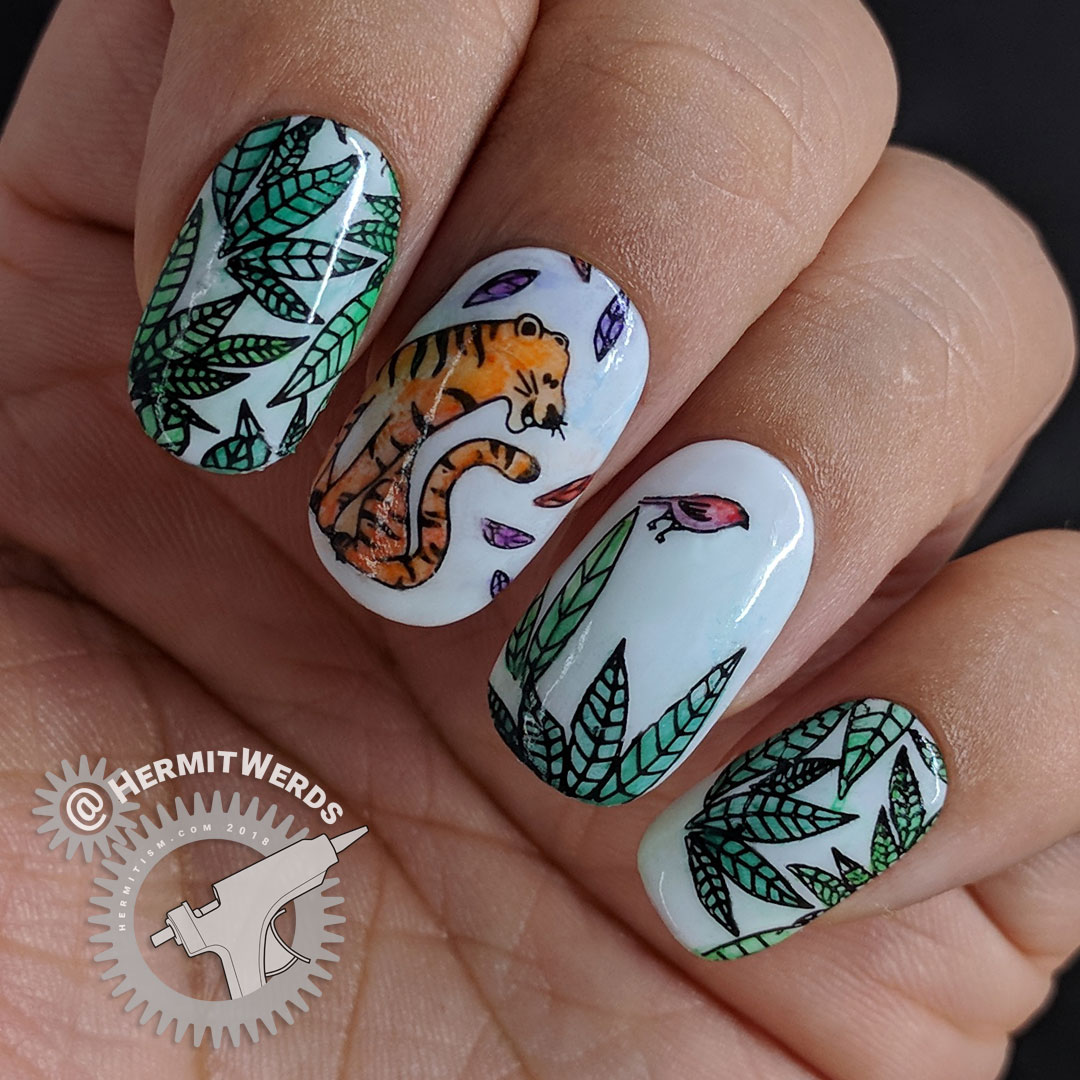
- White gel polish on false nails.
- Stamping Polish:
Mundo de Unas’ “Black” - Stamping colored in with watercolor paint.
- Stamping Plates:
Born Pretty BP-156 (leaves), Nicole Diary Nature World ND-005 (tiger, bird & feathers)
I have so much nail art I want to paint this month and I’m not sure how many I will be able to get out of that list and then there’s this Nicole Diary plate with so many cute animal images. I want to play with it more, but it doesn’t look like they fit with anything I have scheduled. I keep talking about breaking away from challenges, but they are so fun. *sigh* There’s no winning: only playing. But, oh, how I enjoy the game. 🙂
Edit: I should add that I posted the tiger today for #glamnailschallengesept’s first prompt of the month. 🙂
Well, I hope all my notes helped you decide if you want to include nail foil glue in your nail art game (or even improved your decal-ing). Until next time, friends!
Leave a Reply